Transfer Assembly Dismounting and Remounting: Dismounting
- In engine room
- Disconnect negative (-) cable from battery.
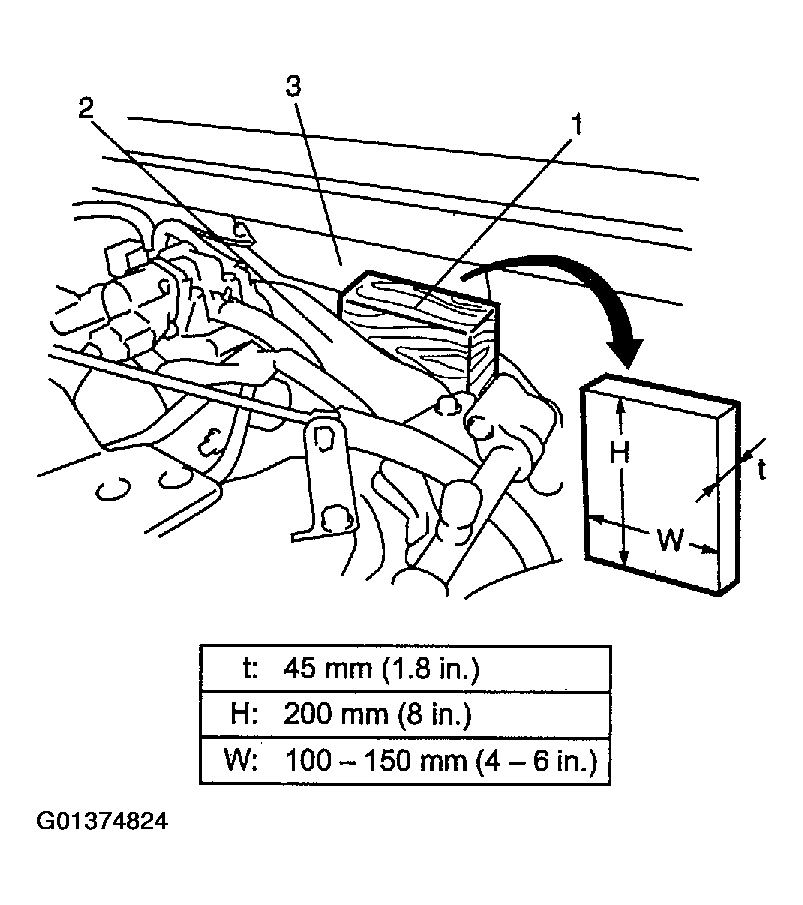
- Place wood block (1) between intake manifold (2) and dash panel (3) so that it serves as stopper when engine, transmission and transfer unit hangs down as rear mounting member is removed.
CAUTION:
Make sure to use wood block (1) to prevent contact which may occur between the following parts.
- Dash panel (3) and intake manifold (2)
- Cooling fan and its shroud.
 Courtesy of SUZUKI OF AMERICA CORP.
- In cabin
- Remove console box.
- Remove transmission and transfer shift control levers referring to TRANSMISSION SHIFT CONTROL LEVER REMOVAL AND INSTALLATION
.
- On lift
- Drain transfer oil referring to TRANSFER GEAR OIL INSPECTION AND CHANGE
.
- Remove rear propeller shaft and front propeller shaft referring to PROPELLER SHAFT REMOVAL & INSTALLATION
.
- Disconnect exhaust No. 2 pipe referring to EXHAUST SYSTEM COMPONENTS
.
- Disconnect speed sensor referring to SPEED SENSOR REMOVAL AND INSTALLATION
.
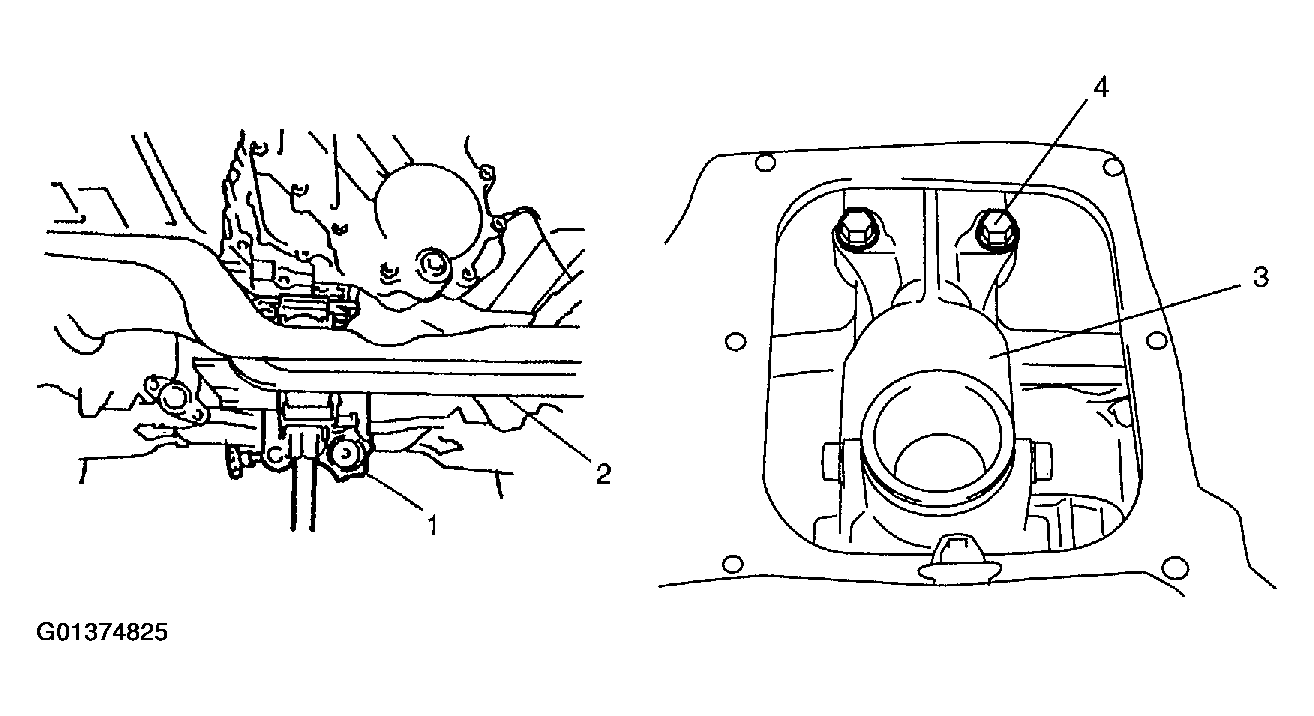
- Place transmission jack (1) and remove mounting member (2).
- Lower transmission jack (1) gradually and check to ensure that wood block serves as stopper between engine and dash panel.
- Remove bolts (4) for gear shift lever case (3).
 Courtesy of SUZUKI OF AMERICA CORP.
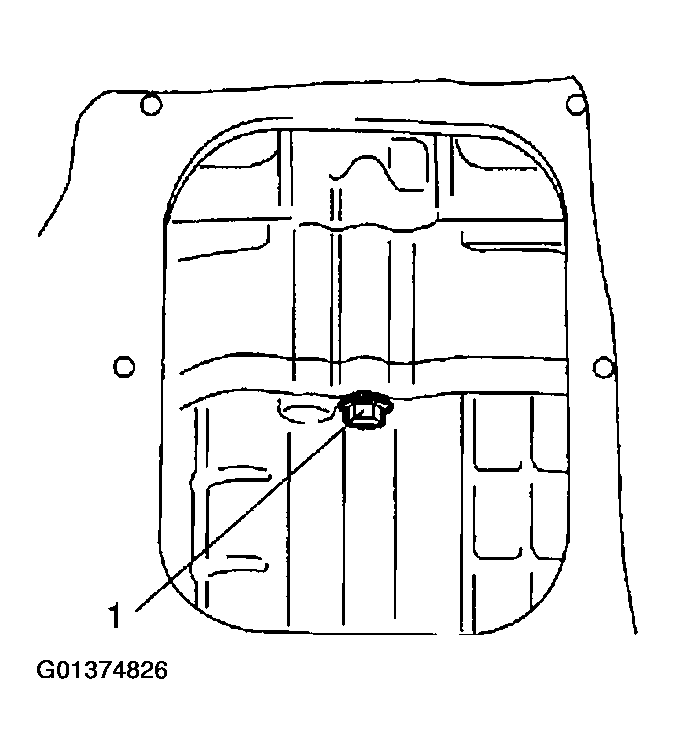
- Pull off breather hose.
- In cabin
- Remove gear shift lever case and then remove transfer front case bolt (1).
 Courtesy of SUZUKI OF AMERICA CORP.
- On lift
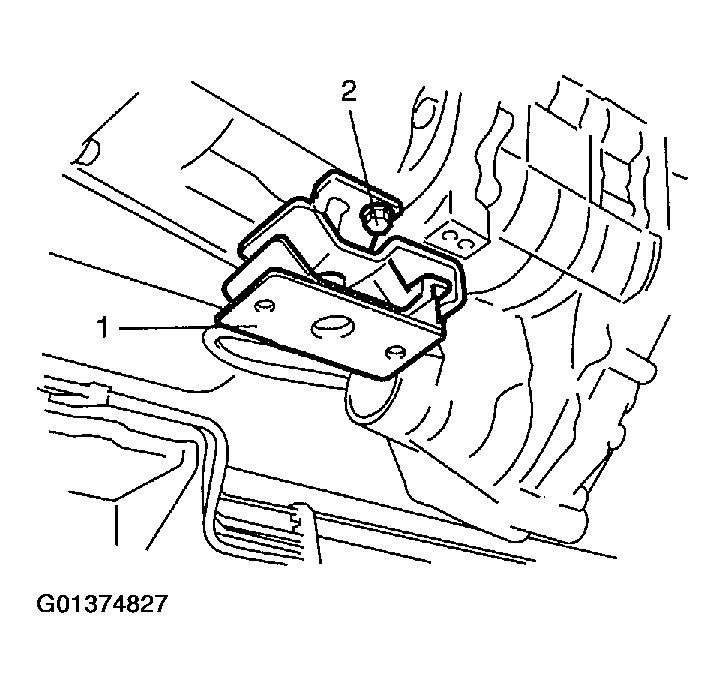
- Remove transfer mounting (engine rear mounting (1)) by removing bolts (2).
 Courtesy of SUZUKI OF AMERICA CORP.
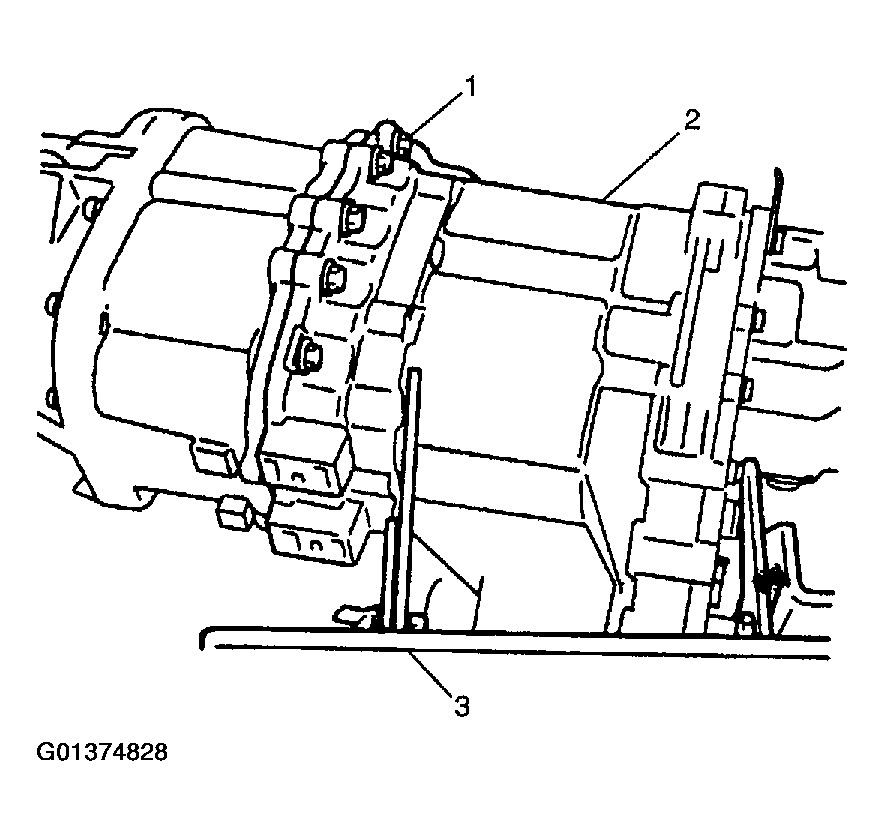
- Apply transmission jack (3) to transfer (2) to support it.
- Remove couplers for 4WD/4WD-LOW switches lead.
- Remove transfer front case bolts (1).
- With transfer assembly (2) supported with transmission jack (3), slide it rearward and when it is apart from transmission, lower it.
 Courtesy of SUZUKI OF AMERICA CORP.