Steering Wheel: Installation
- Center contact coil by gently turning contact coil cover counterclockwise until it stops. Turn contact coil cover clockwise 2 1/2 turns and align alignment arrows on contact coil cover and housing.
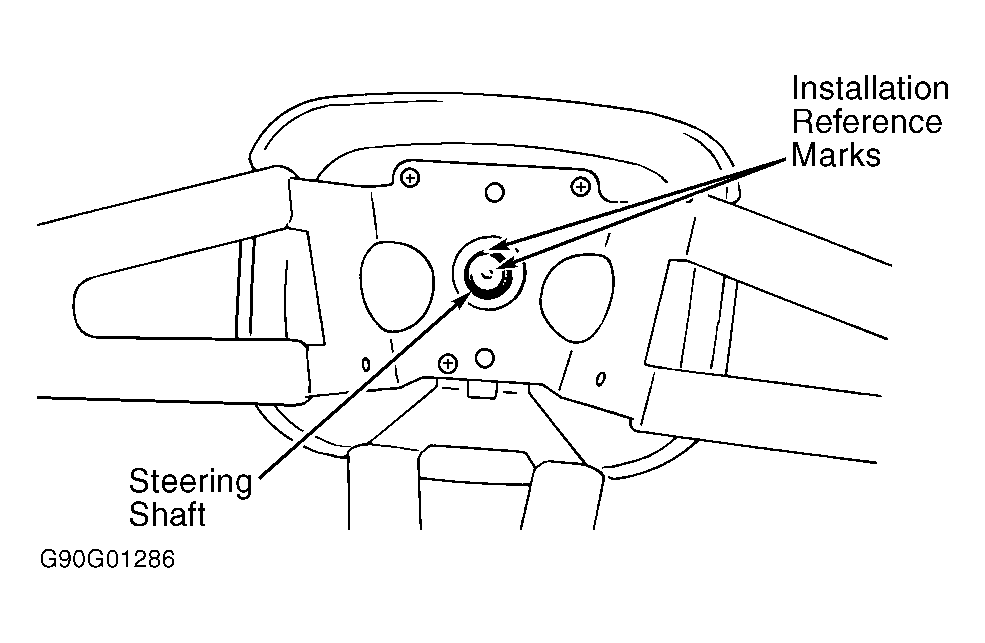
- Install steering wheel on steering shaft paying attention to alignment marks and with 2 contact coil lugs fitting into grooves on back of steering wheel. Tighten steering wheel nut to specification. See TORQUE SPECIFICATIONS
. Tighten air bag module bolts to specification.
- To complete installation, reverse removal procedure. Connect driver's side and passenger's side Yellow air bag connectors. Reinstall AIR BAG fuse. Turn ignition on and ensure AIR BAG warning light flashes 7 times then turns off. If AIR BAG warning light does not operate as described, see AIR BAG RESTRAINT SYSTEMS article.
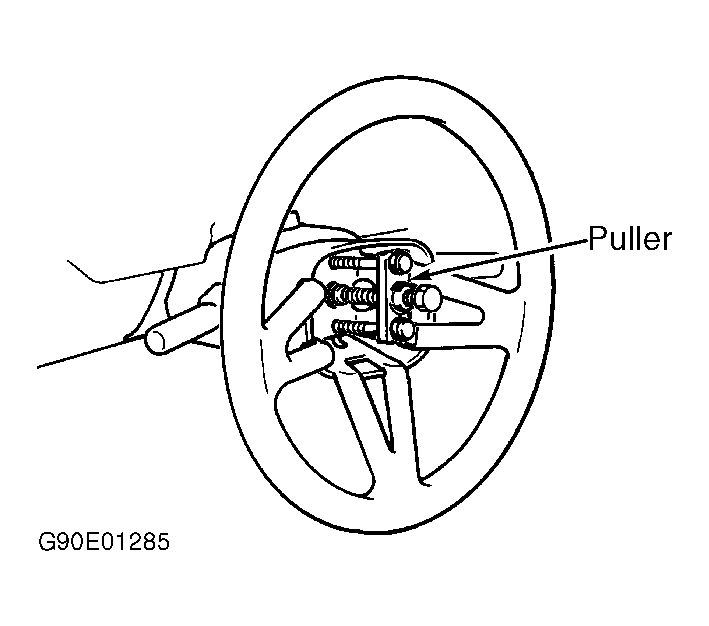 Courtesy of SUZUKI OF AMERICA CORP.
 Courtesy of SUZUKI OF AMERICA CORP.