September 30: LEMON manuals is back up on a temporary server! Slowness is possible
Remove Sand Mark
- Install a cutting pad on the buffer, and then apply 4 evenly spaced 20 mm diameter dollops of cutting compound on the cutting pad.
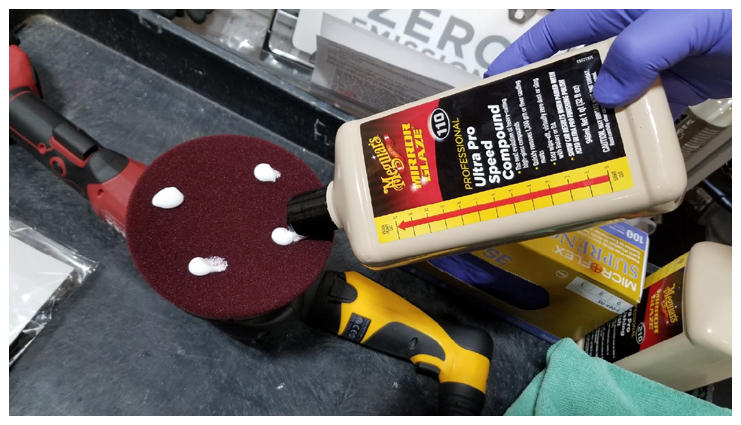 Courtesy of TESLA, INC. Courtesy of TESLA, INC.
|
- Set the buffer speed according to region, and while the buffer is off, place the tool on top of the sanding mark.
- NA: setting 3
- APAC: TBD
- EMEA: TBD
- Keeping the pad flush with the body panel, activate the buffer for 5 seconds, making 1 foot long side to side swipes over the sanding mark.
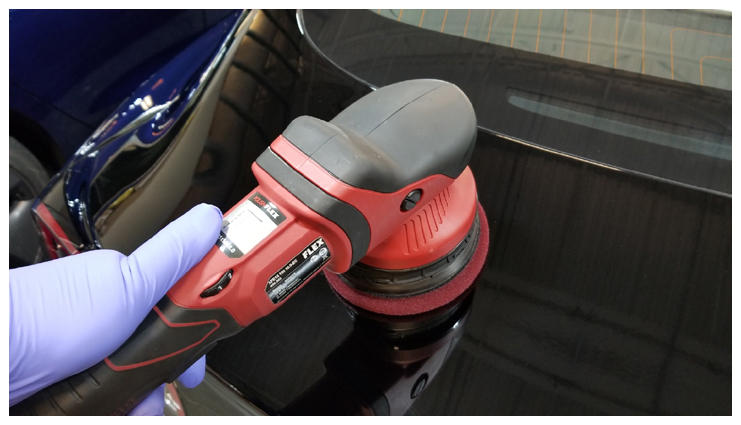 Courtesy of TESLA, INC. Courtesy of TESLA, INC.
|
- Turn off the buffer and remove the buffer from the body panel only when the pad stops spinning.
- Remove the cutting compound from the body panel with a clean microfiber towel.
- Apply one 10 mm diameter dollop of cutting compound on the center of the sanding mark.
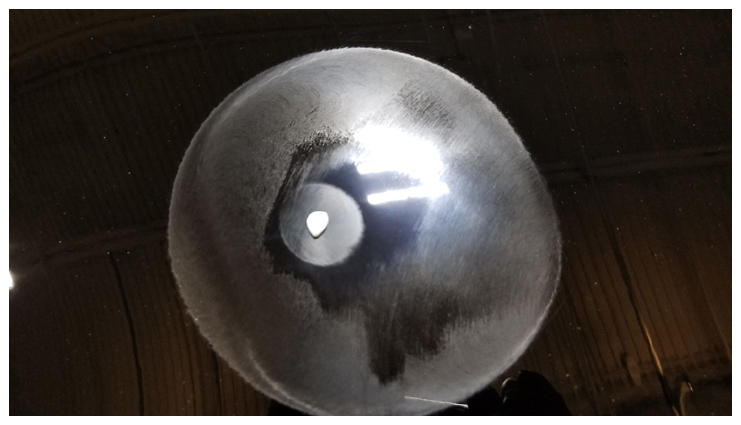 Courtesy of TESLA, INC. Courtesy of TESLA, INC.
|
- Set the buffer speed according to region, and while the buffer is off, place the buffer on top of the sanding mark.
- NA: setting 5
- APAC: TBD
- EMEA: TBD
- Keeping the pad flush with the body panel, activate the buffer.
- Apply pressure until the buffer begins to stall, and then reduce pressure until the buffer rotates normally.
- At a rate of 1 inch per second, move the buffer side to side in a 6 inch area centered on the paint inclusion.
CAUTION:
Keep the tool level and continuously moving.
- Turn the buffer off after 15 seconds or when the cutting compound begins to dissipate. Remove the buffer from the body panel only when the pad stops spinning.
- Remove the cutting compound from the body panel with a clean microfiber towel.
- Inspect the affected area.
- If sanding marks are still present, perform steps 6 to 13.
- If sanding marks are no longer present, and only hazing/swirling remain, continue to the next step.
- Turn on the buffer, and then clean the pad with a pad cleaning brush.
- With the buffer still running, use a microfiber towel to remove as much residual compound as possible from the pad, and then turn off the buffer.