Valve Body Assembly Removal and Installation: Removal
- Remove CVT oil pan and oil strainer, see CVT OIL PAN AND OIL STRAINER REMOVAL AND INSTALLATION .
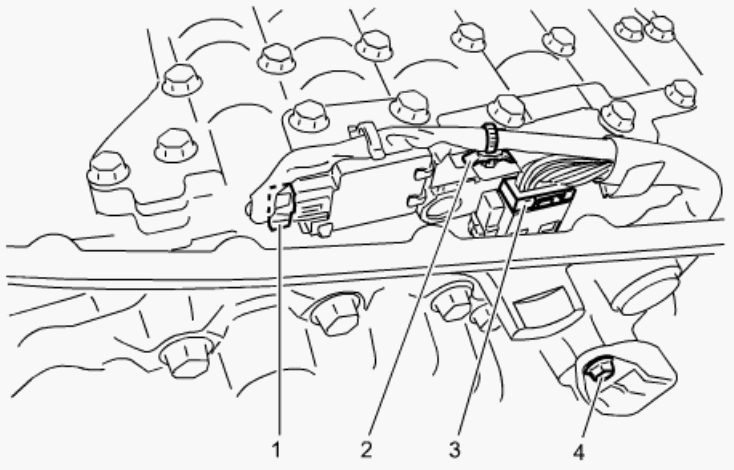
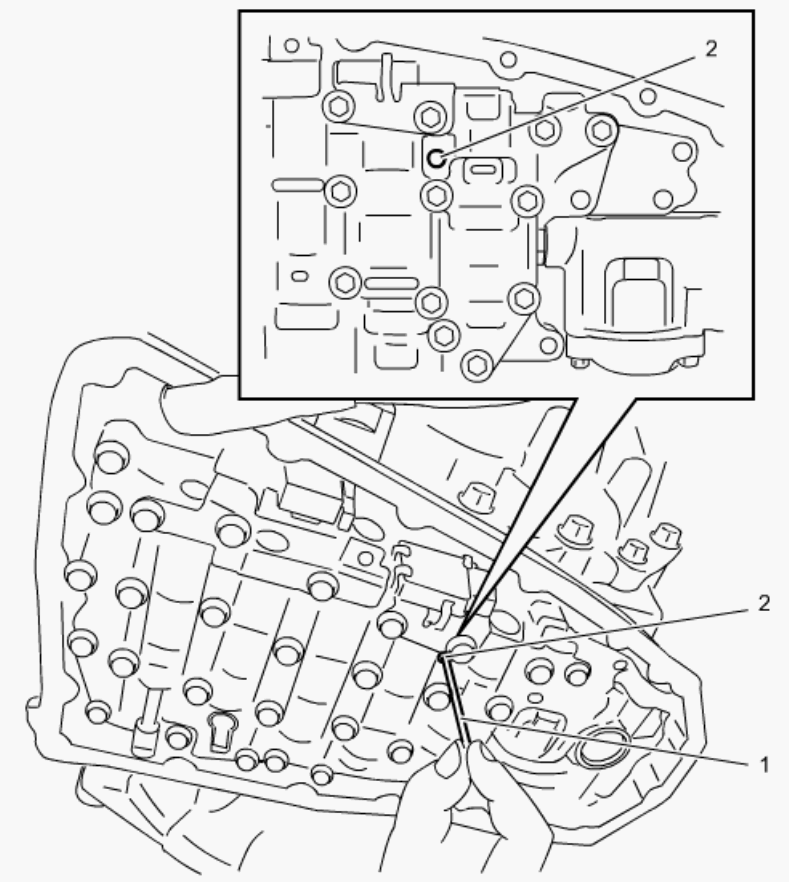
- Disconnect ROM connector (1), solenoid connector (3) and remove wire harness clamp (2).
- Remove solenoid harness fastening bolt (4), if necessary.
 Courtesy of SUZUKI OF AMERICA CORP.
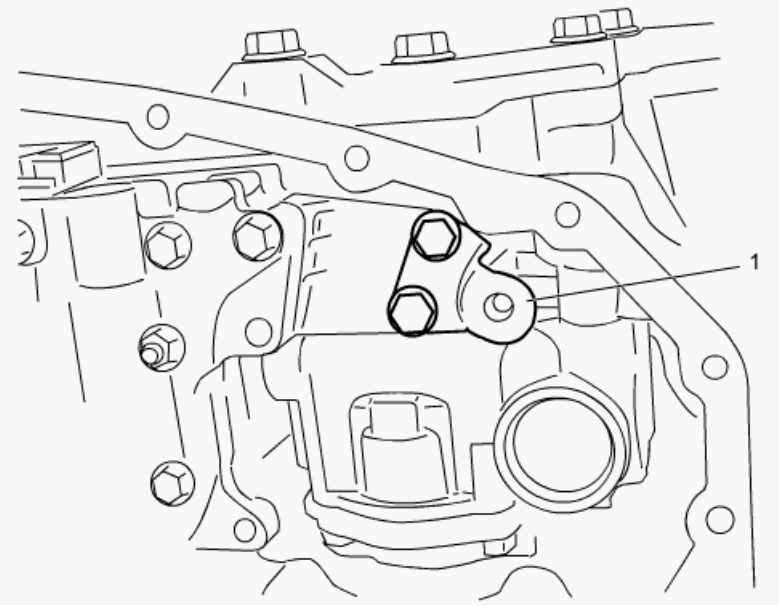
- Remove oil strainer bracket (1) from valve body by removing bolts.
 Courtesy of SUZUKI OF AMERICA CORP.
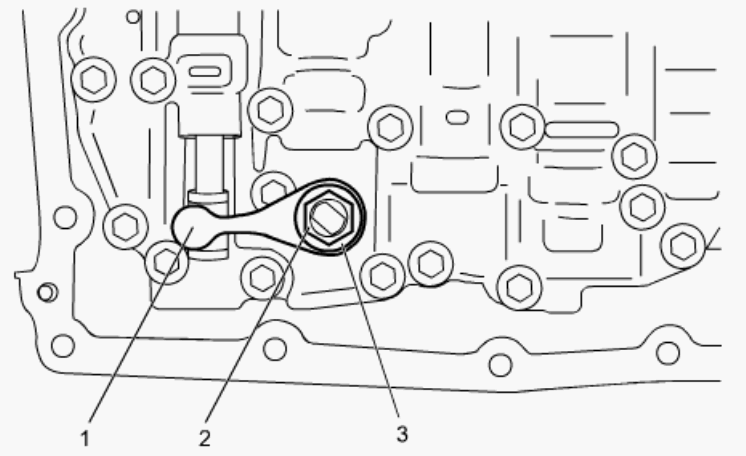
- Remove manual valve lever (1) by removing nut (2) and spring washer (3).
 Courtesy of SUZUKI OF AMERICA CORP.
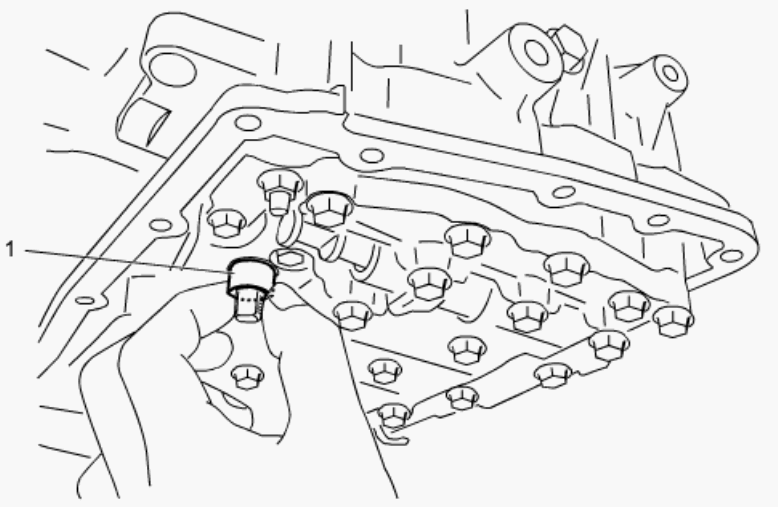
- Remove spacer (1) from valve body.
 Courtesy of SUZUKI OF AMERICA CORP.
- Remove valve body assembly according to the following procedure.
- Insert a pin (1) (3 mm dia.) through linkage stopper hole (2) in order to retain pulley ratio linkage.
 Courtesy of SUZUKI OF AMERICA CORP.
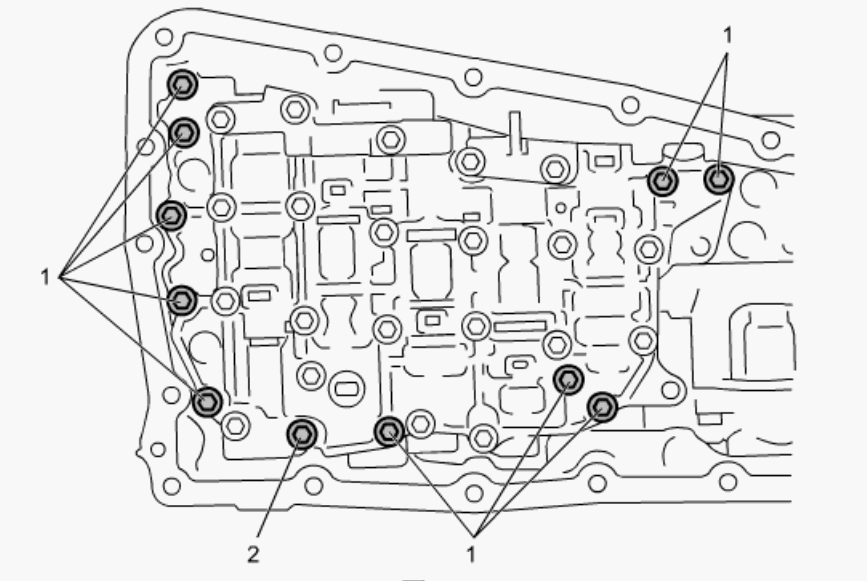
- Remove valve body bolts (1) and (2).
 Courtesy of SUZUKI OF AMERICA CORP.
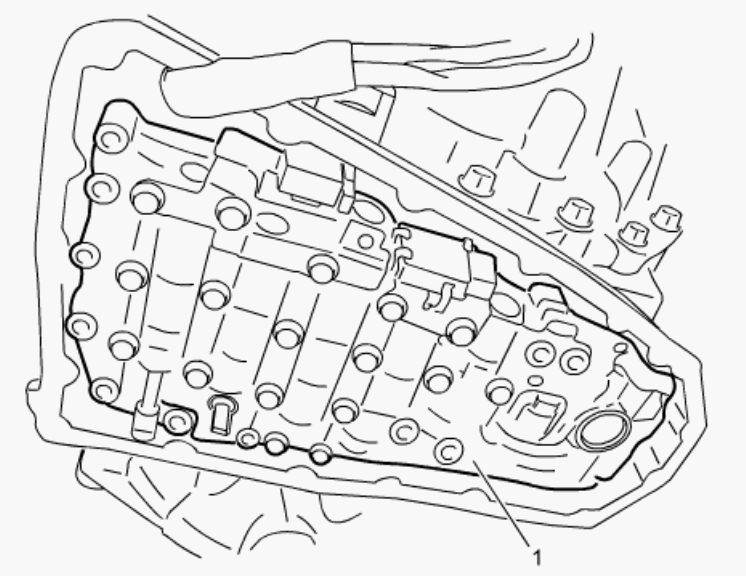
- Remove valve body assembly (1) from transmission case.
NOTE:
Keep the pin inserted at step a) as it is while removing the valve body.
 Courtesy of SUZUKI OF AMERICA CORP.
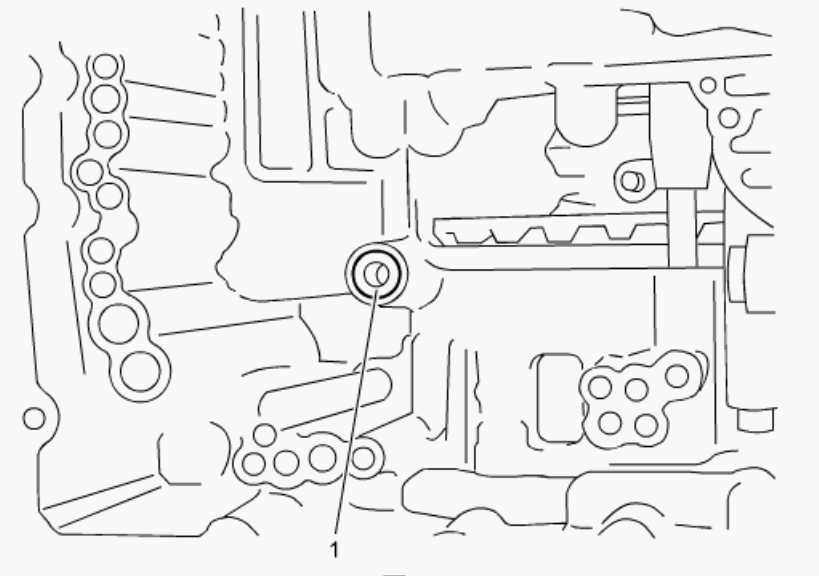
- Remove lip seal (1) from transmission case.
 Courtesy of SUZUKI OF AMERICA CORP.
- Remove solenoid harness from transmission case, if necessary.