Combination Meter Removal and Installation: Notes
- Remove floor console front garnish, see CENTER CONSOLE BOX REMOVAL AND INSTALLATION
.
- Remove audio unit, see AUDIO UNIT REMOVAL AND INSTALLATION
.
- Remove column hole blind holder, see STEERING WHEEL AND COLUMN COMPONENTS
.
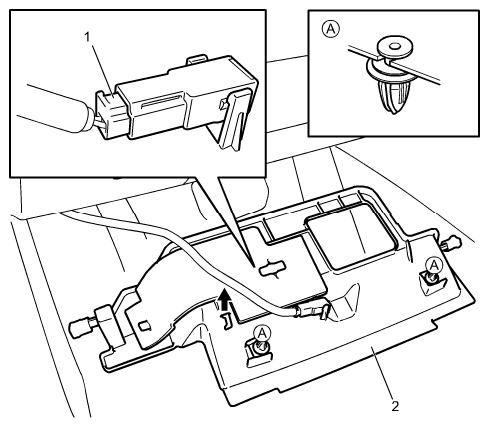
- Remove driver side instrument panel undercover (2) and, while supporting it, disconnect connector (1).
 Courtesy of SUZUKI OF AMERICA CORP.
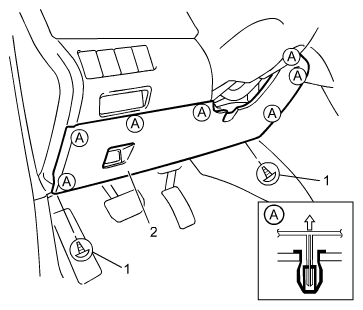
- Remove screws (1) and remove steering column hole cover (2).
 Courtesy of SUZUKI OF AMERICA CORP.
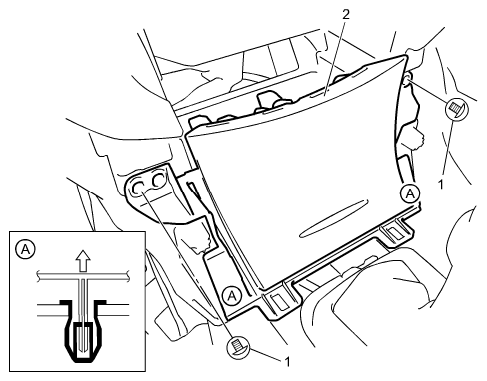
- Remove screws (1) and remove instrument panel center lower box (2).
 Courtesy of SUZUKI OF AMERICA CORP.
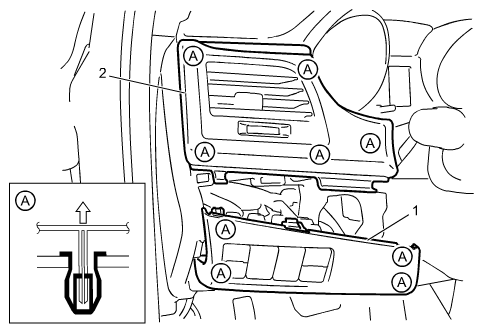
- Remove instrument panel switch bezel (1), and then remove driver side instrument panel outside garnish (2).
 Courtesy of SUZUKI OF AMERICA CORP.
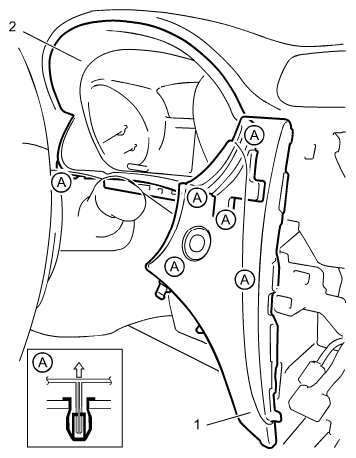
- Remove driver side instrument panel inside garnish (1), and then remove instrument panel cluster panel (2).
 Courtesy of SUZUKI OF AMERICA CORP.
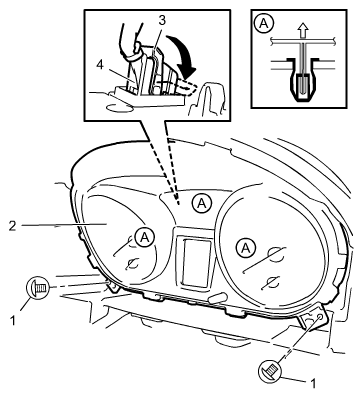
- Remove screws (1) and remove combination meter (2).
- Release lock (3) and disconnect combination meter connector (4).
 Courtesy of SUZUKI OF AMERICA CORP.