- Remove the caliper body from the torque member. Refer to
[FRONT BRAKE CALIPER AND DISC ROTOR: REMOVAL AND INSTALLATION ].
- Remove the upper sliding pin, lower sliding pin, and sliding pin boots from the torque member.
CAUTION:
Upper sliding pin must be replaced at each service.
- Place a wooden block as shown in illustration, and then blow air from the union bolt hole to remove the pistons and piston boots.
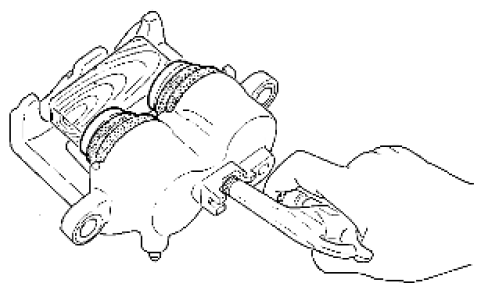 Courtesy of SUZUKI OF AMERICA CORP.
WARNING:
Do not get your fingers caught between the pistons and wooden block.
- Remove the piston boots from the pistons.
CAUTION:
Do not reuse piston boot.
- Remove piston seals from cylinder body, using a suitable tool.
 Courtesy of SUZUKI OF AMERICA CORP.
CAUTION:
- Be careful not to damage cylinder body inner wall.
- Do not reuse piston seal.
- Remove the bleed valve and cap.