Stabilizer Link: Service and Repair
Rear Stabilizer Bar/Rear Stabilizer Joint Removal and InstallationRemoval
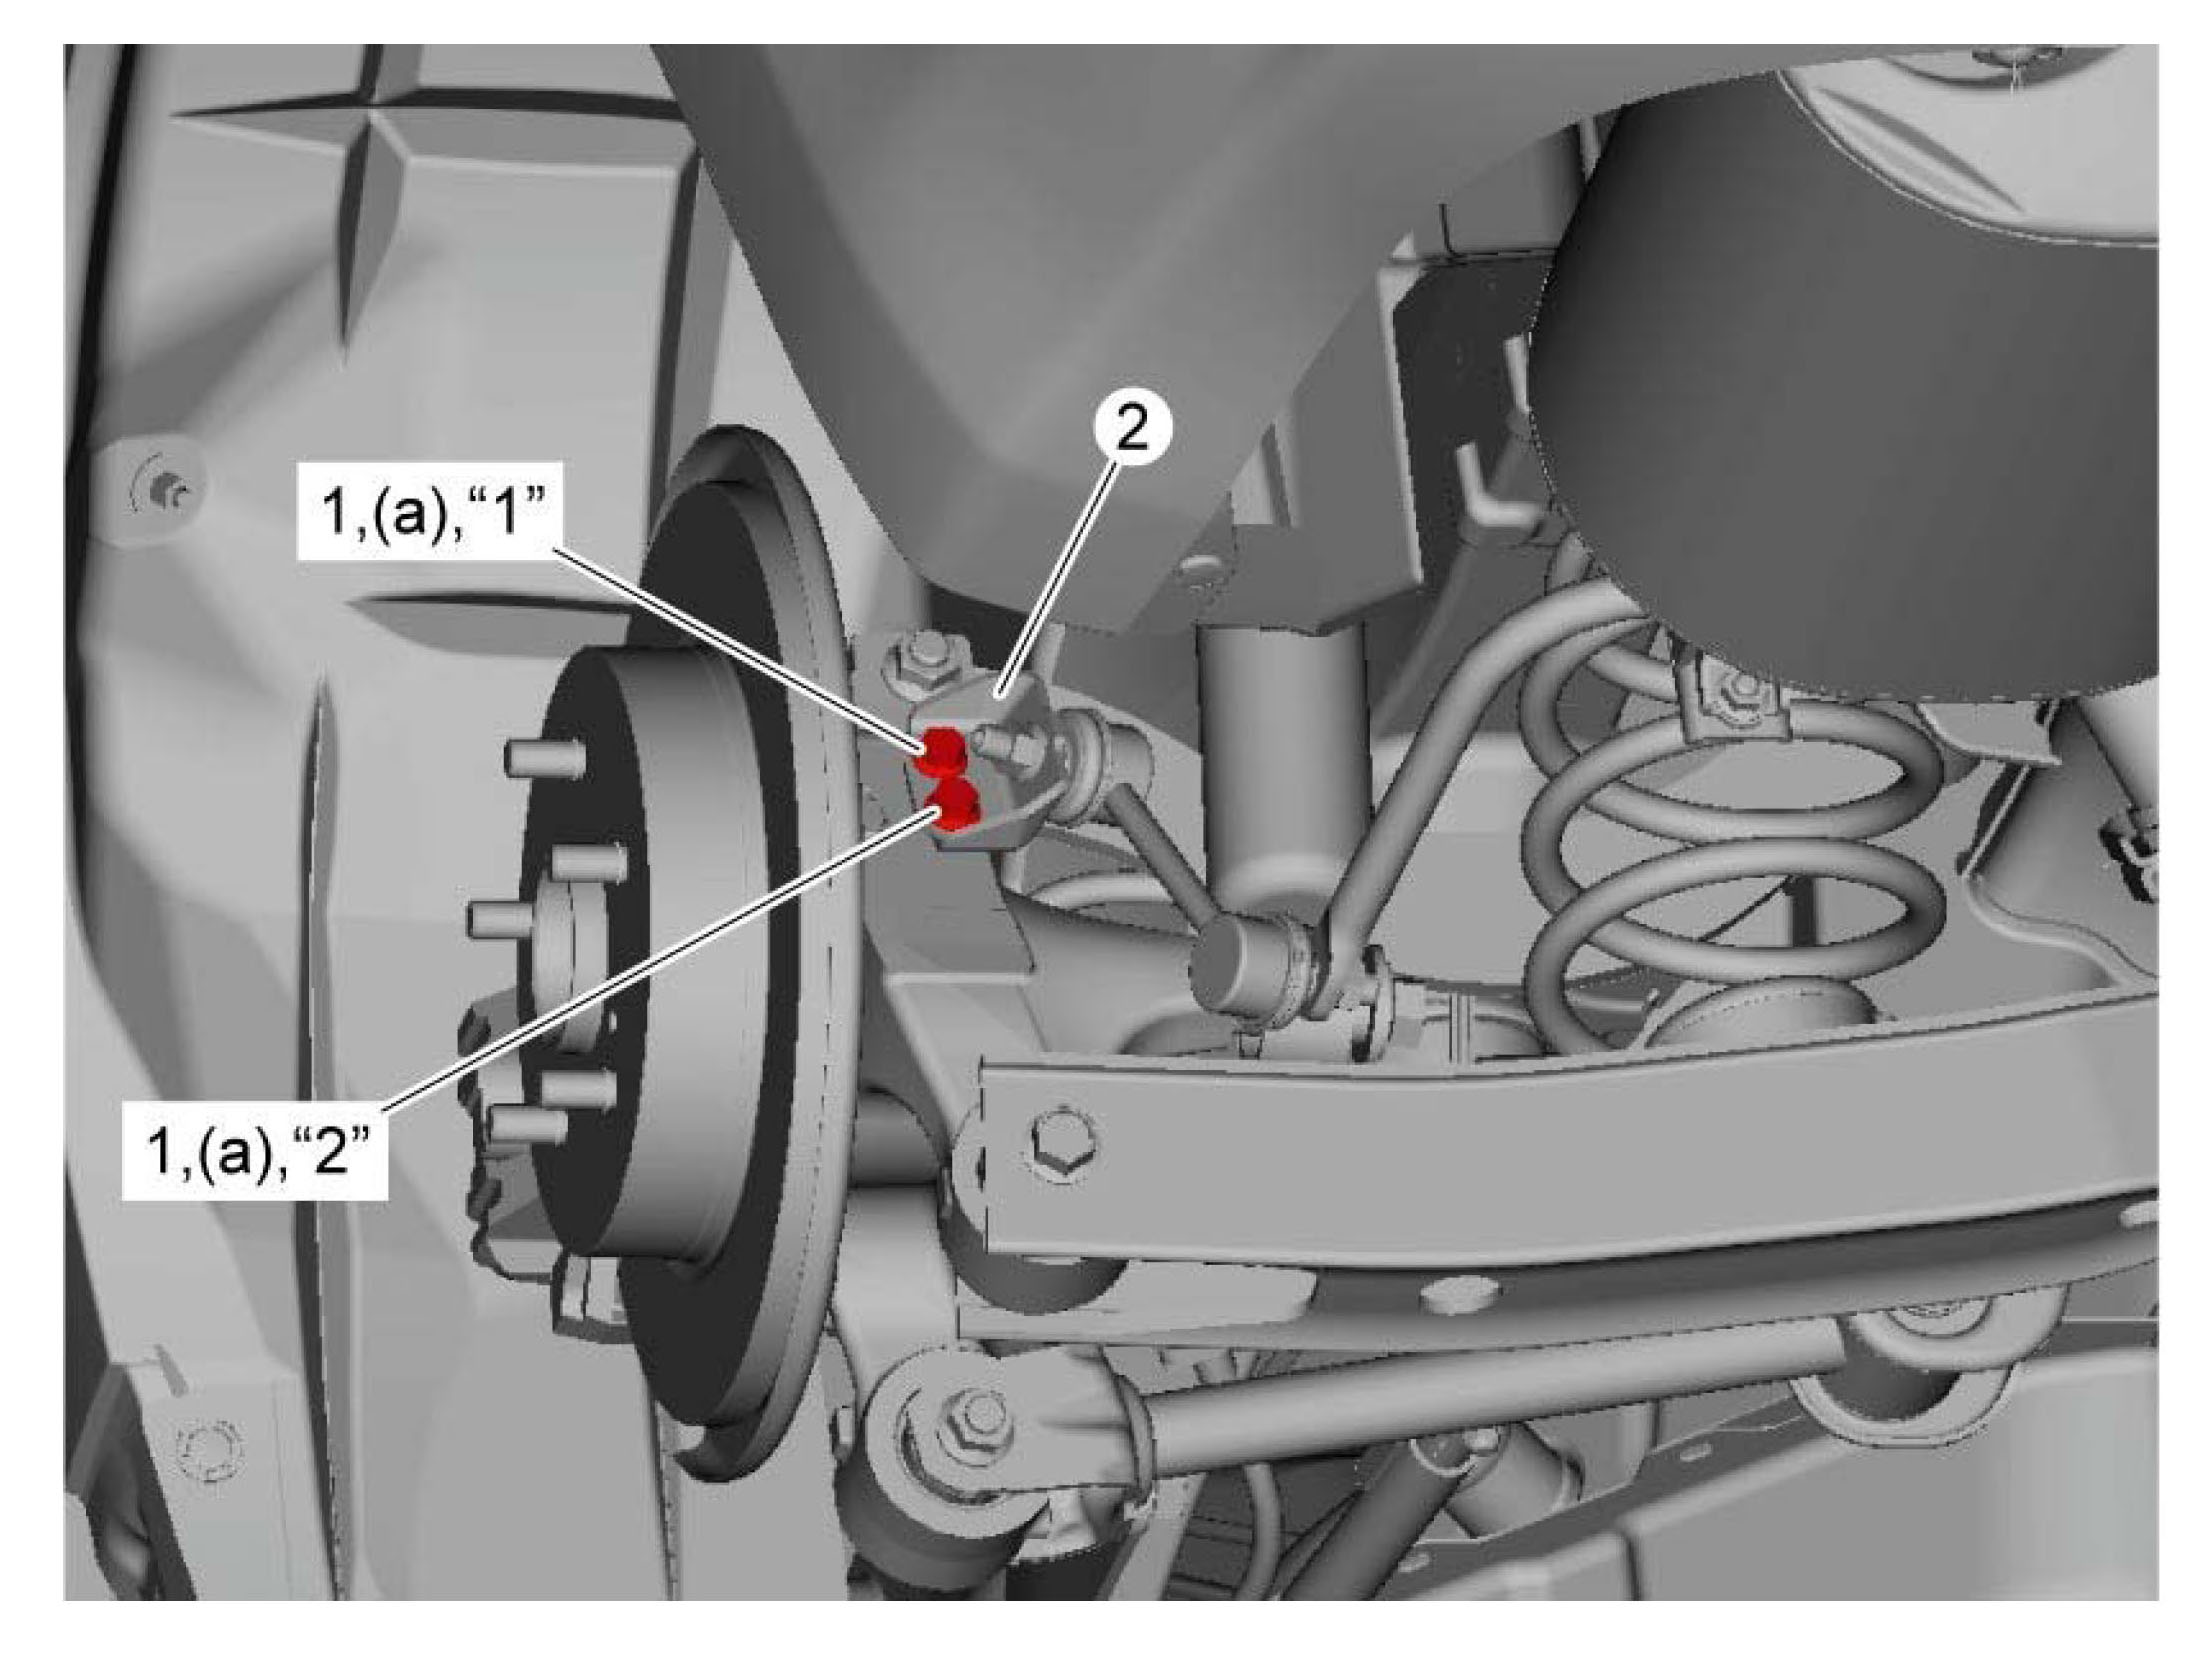
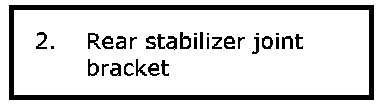
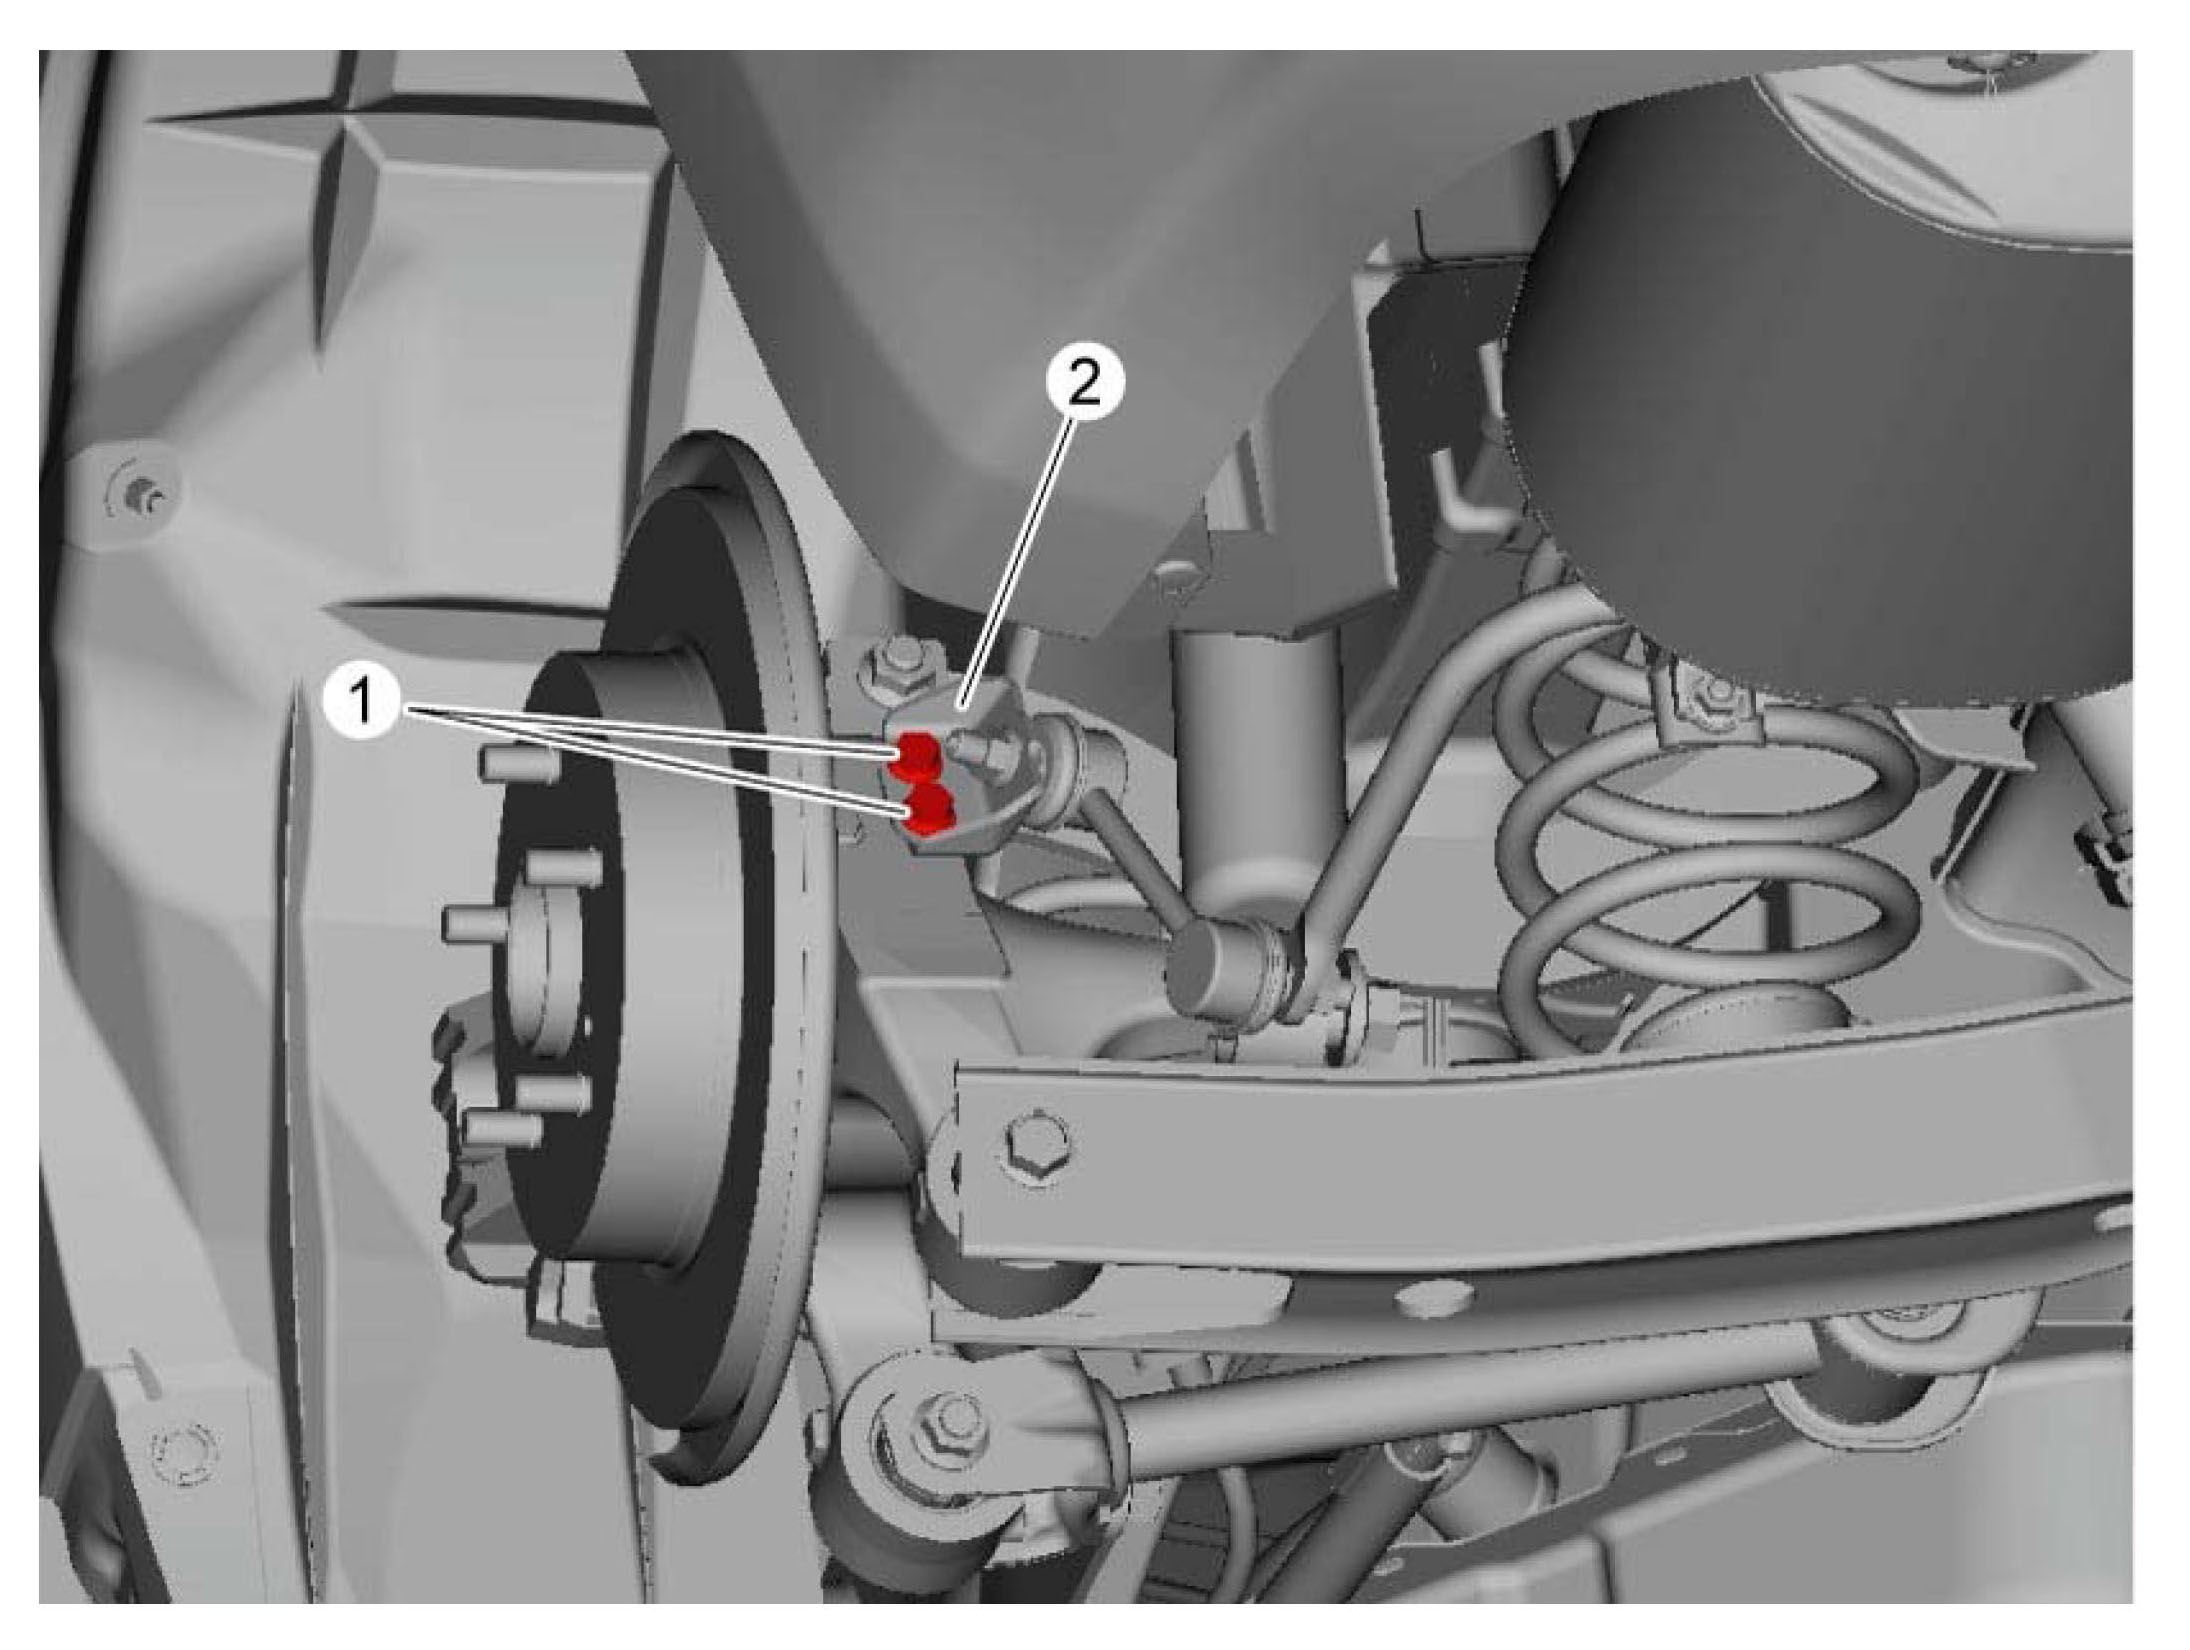
1) Remove rear stabilizer bracket mount bolts (1) to remove rear stabilizer joint bracket (2) from suspension knuckle on each side.
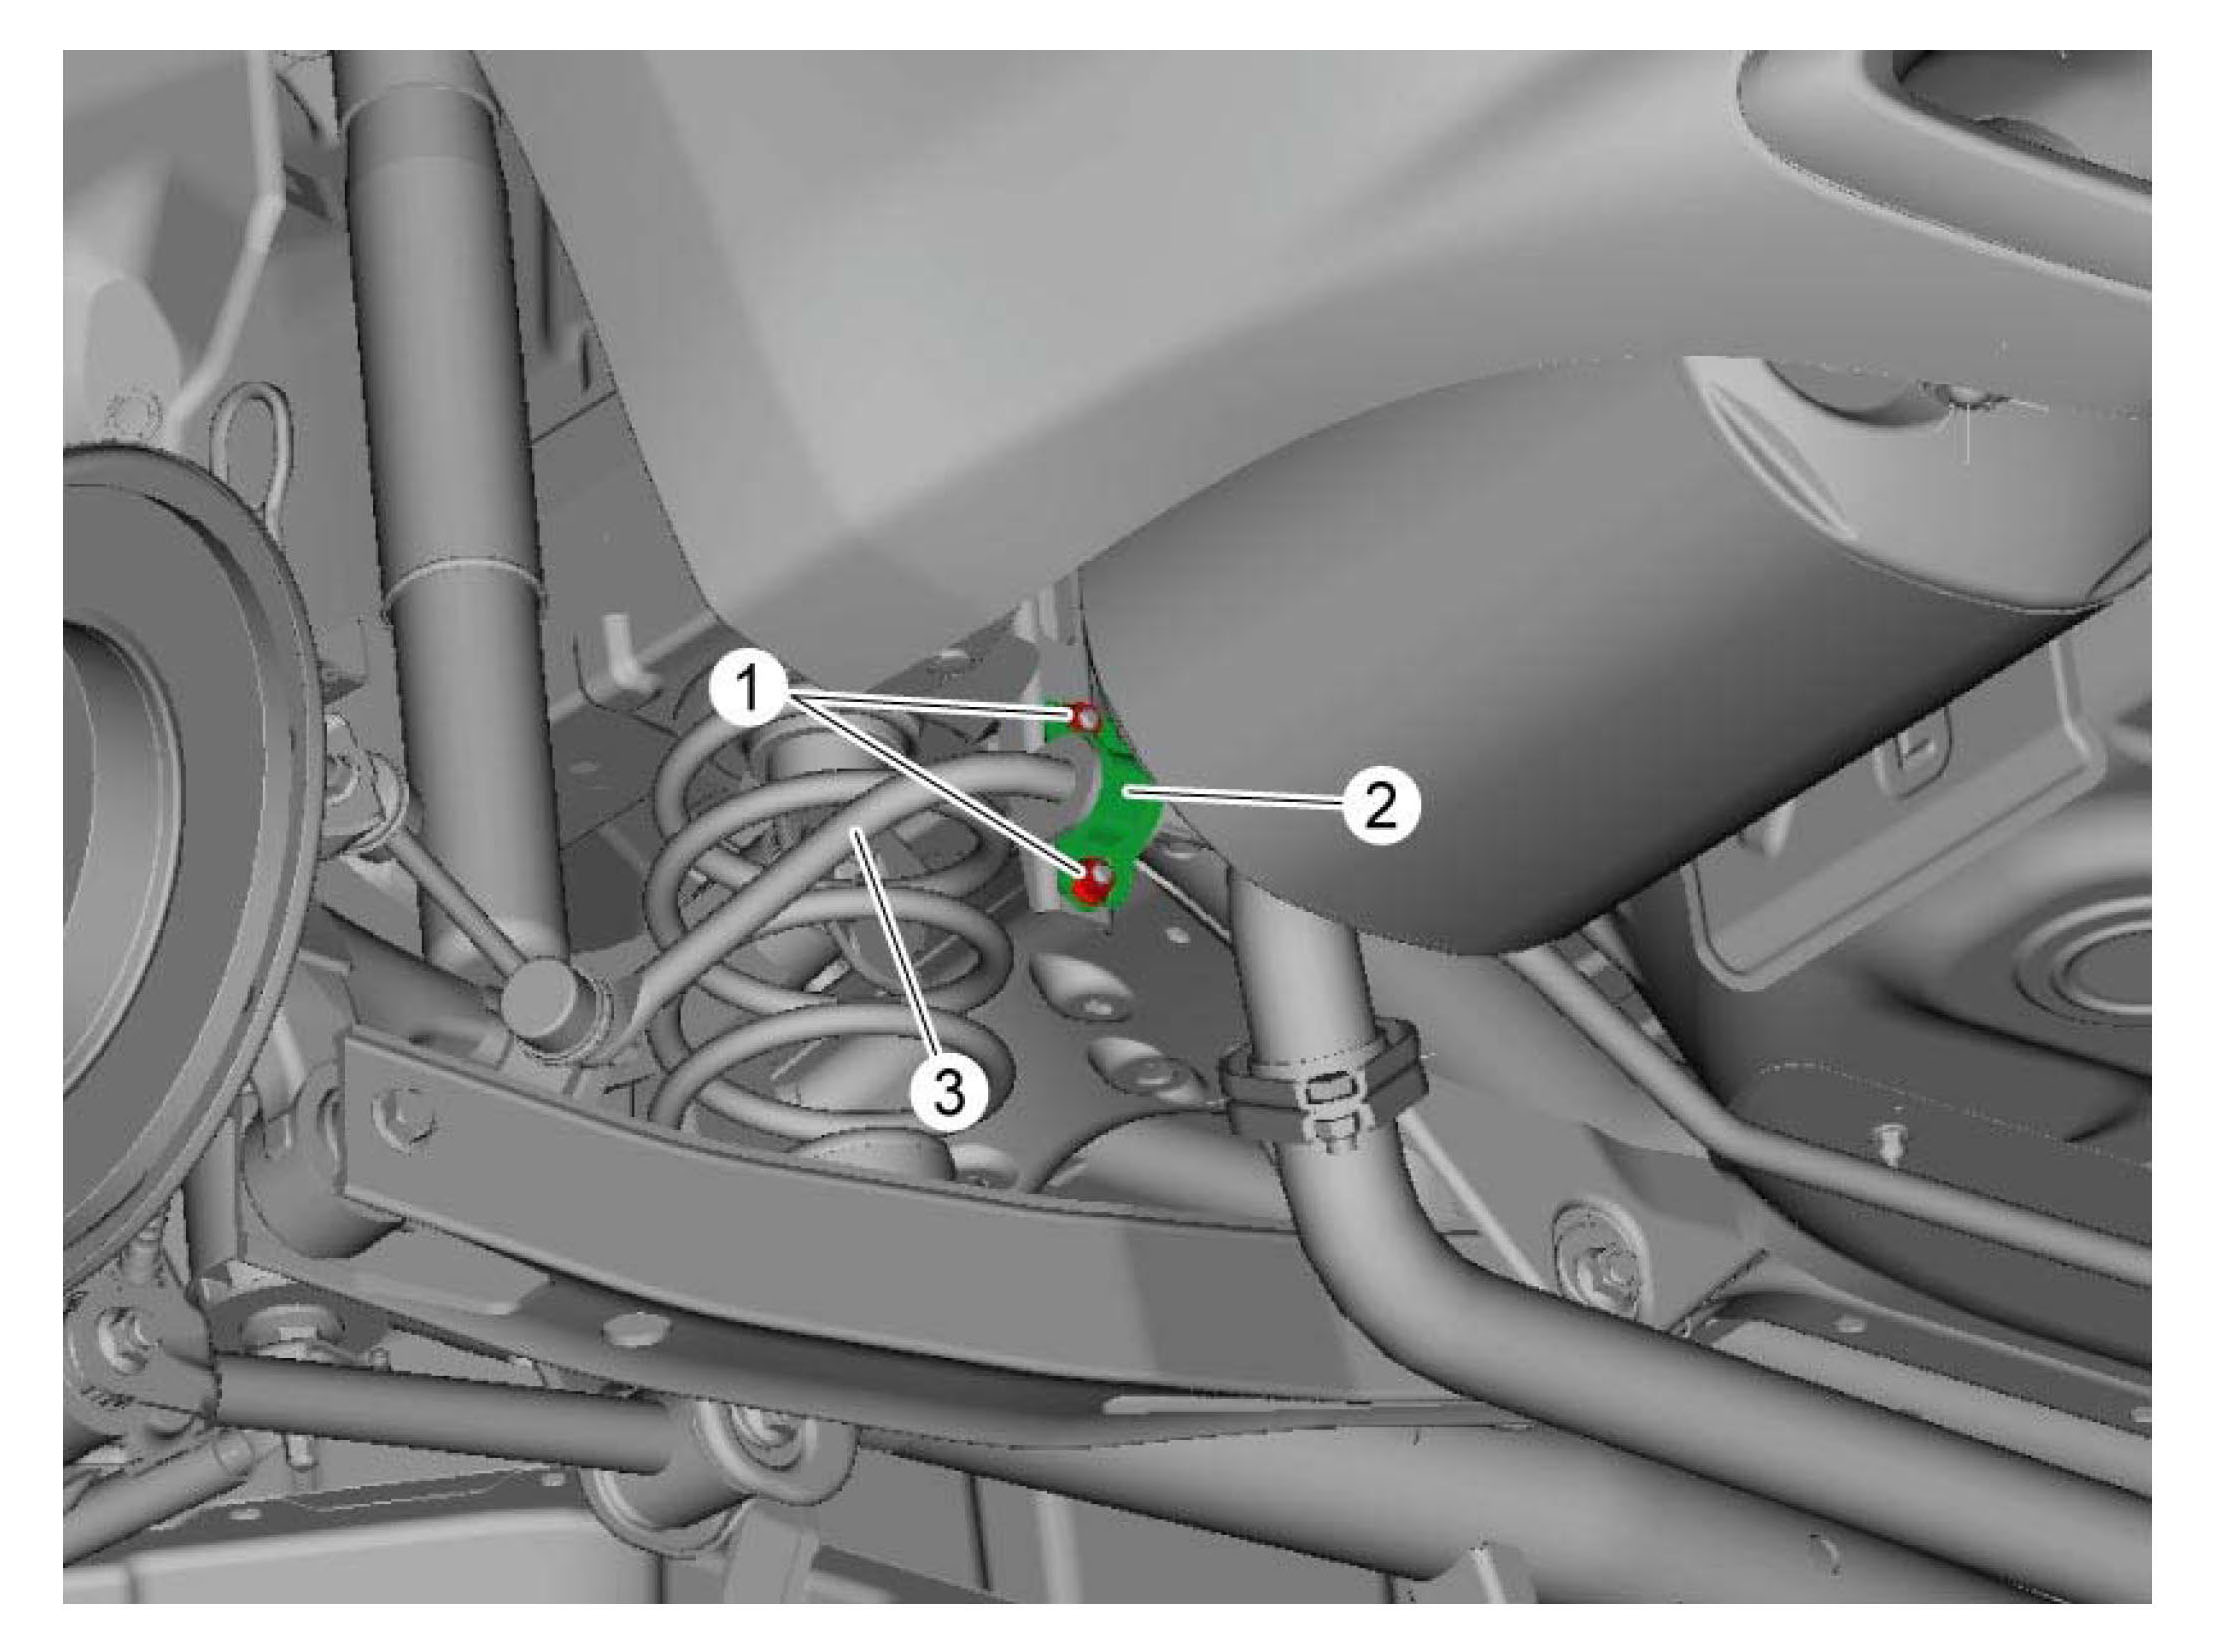
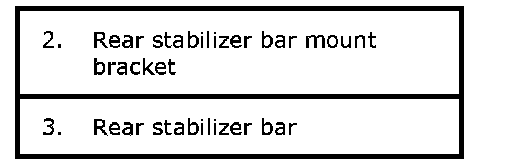
2) Remove rear stabilizer bar mount nuts (1) to remove rear stabilizer bar mount brackets and rear stabilizer bar (3).
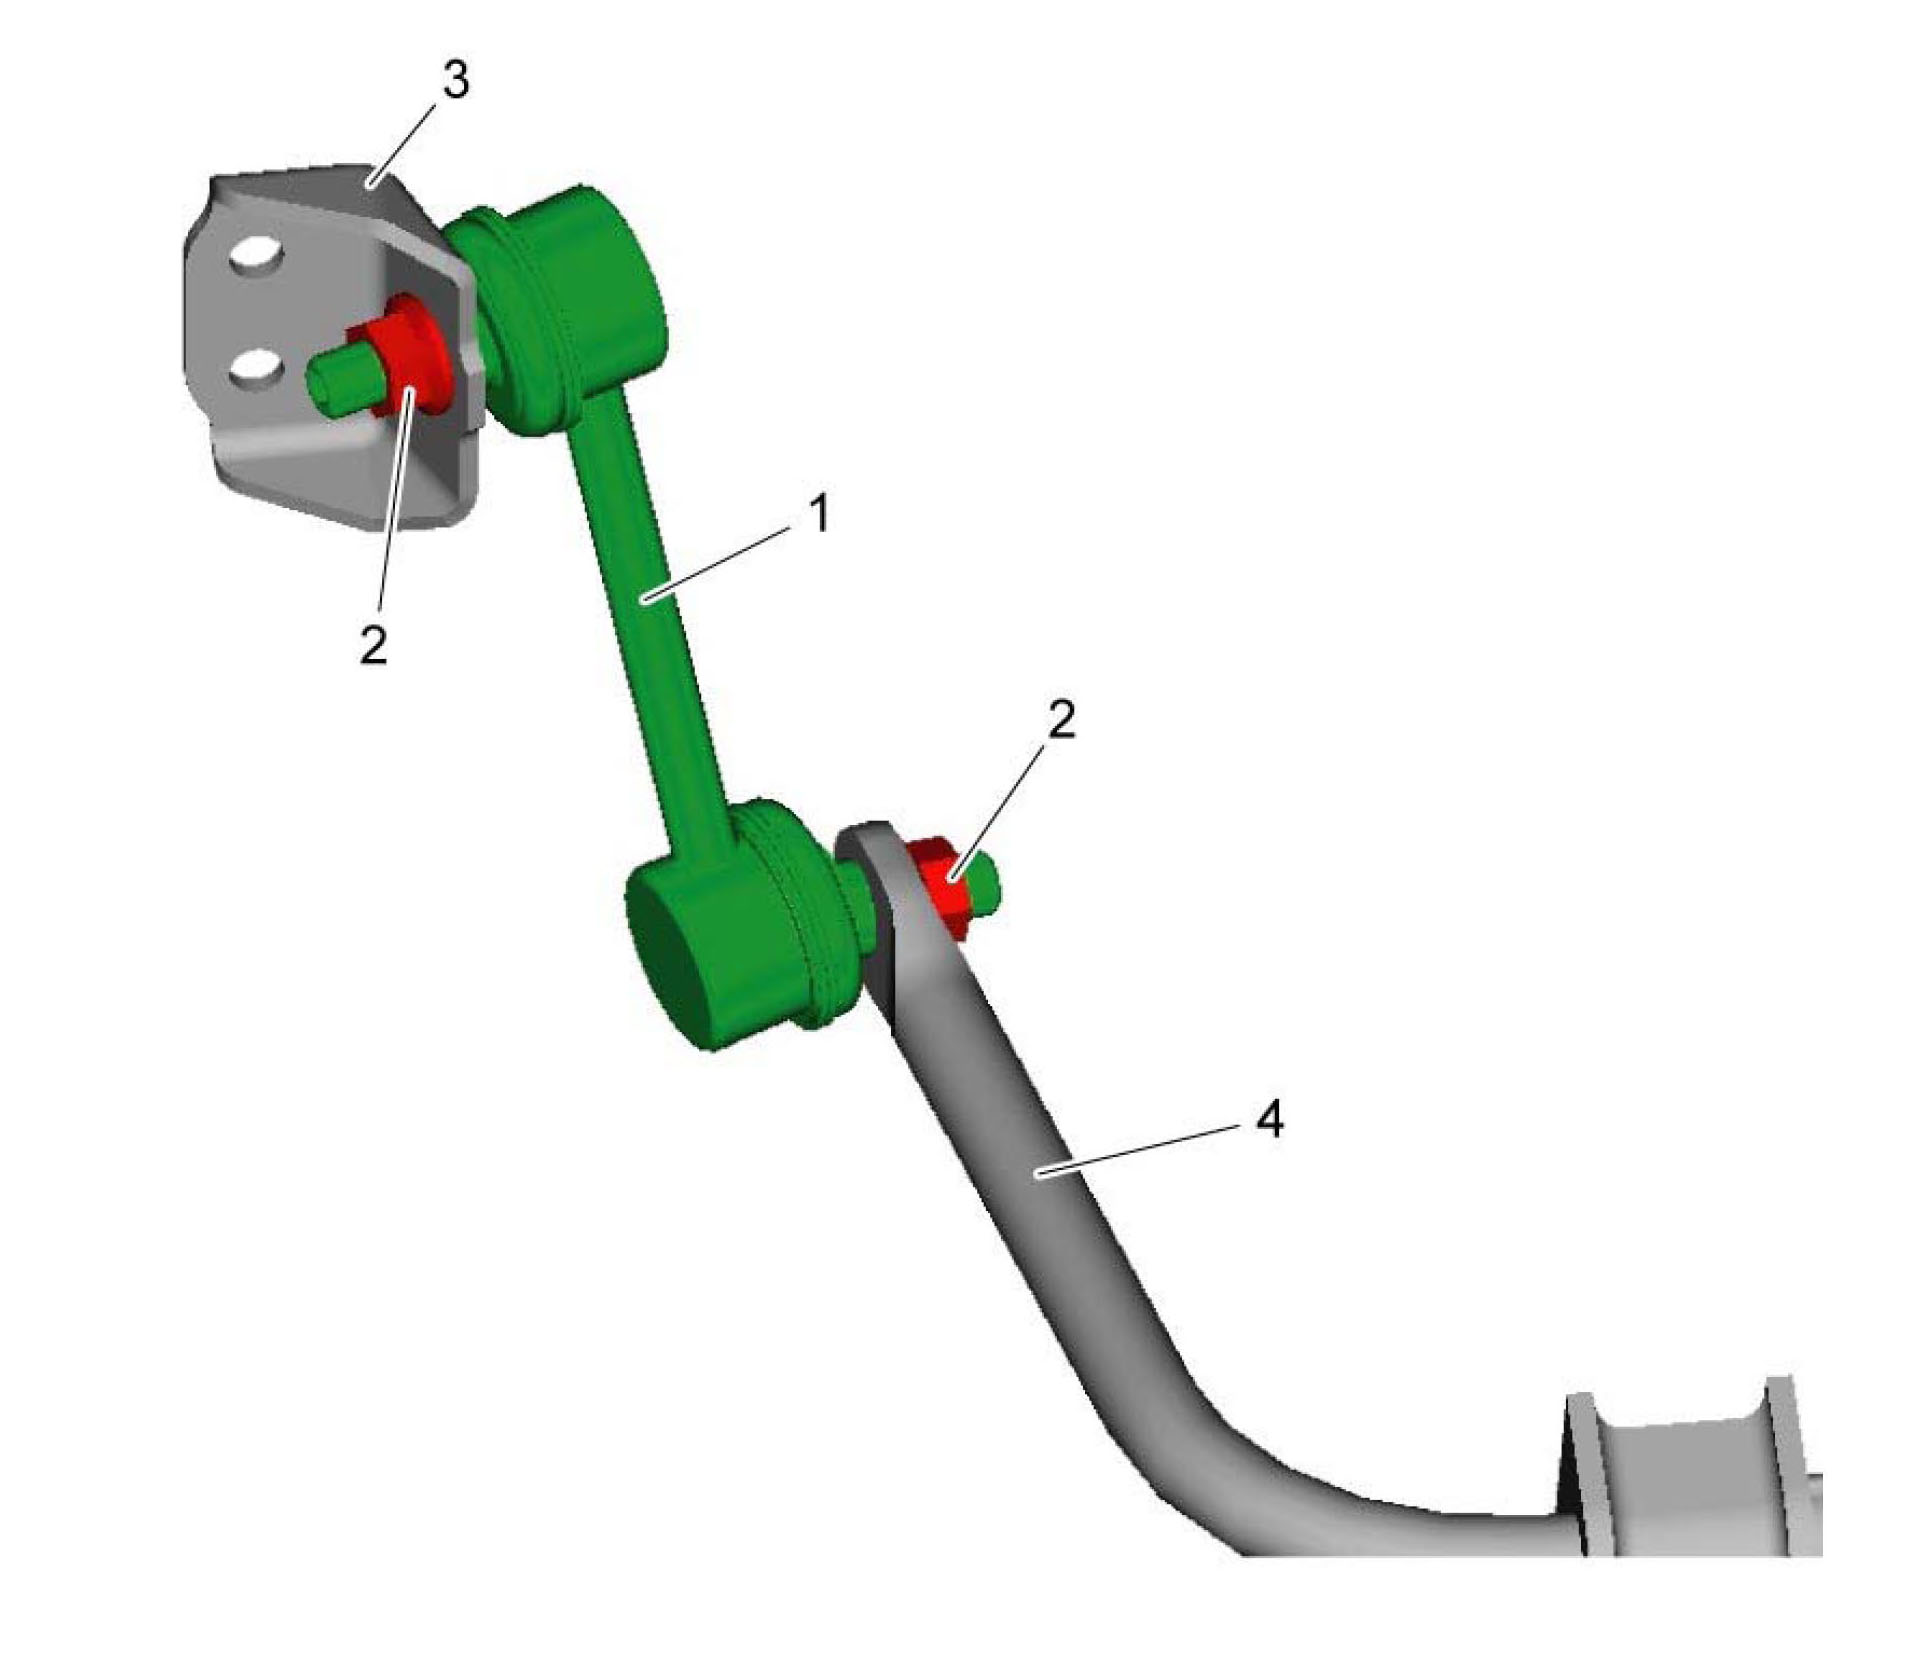
3) Remove rear stabilizer bar joint nut (2) at each end of stabilizer ball joint (1) while holding the corresponding ball stud with hexagon wrench.
CAUTION:
Do not damage ball stud boots of rear stabilizer ball joints.
4) Remove rear stabilizer joint brackets (3) and rear stabilizer bar (4) from rear stabilizer ball joints.
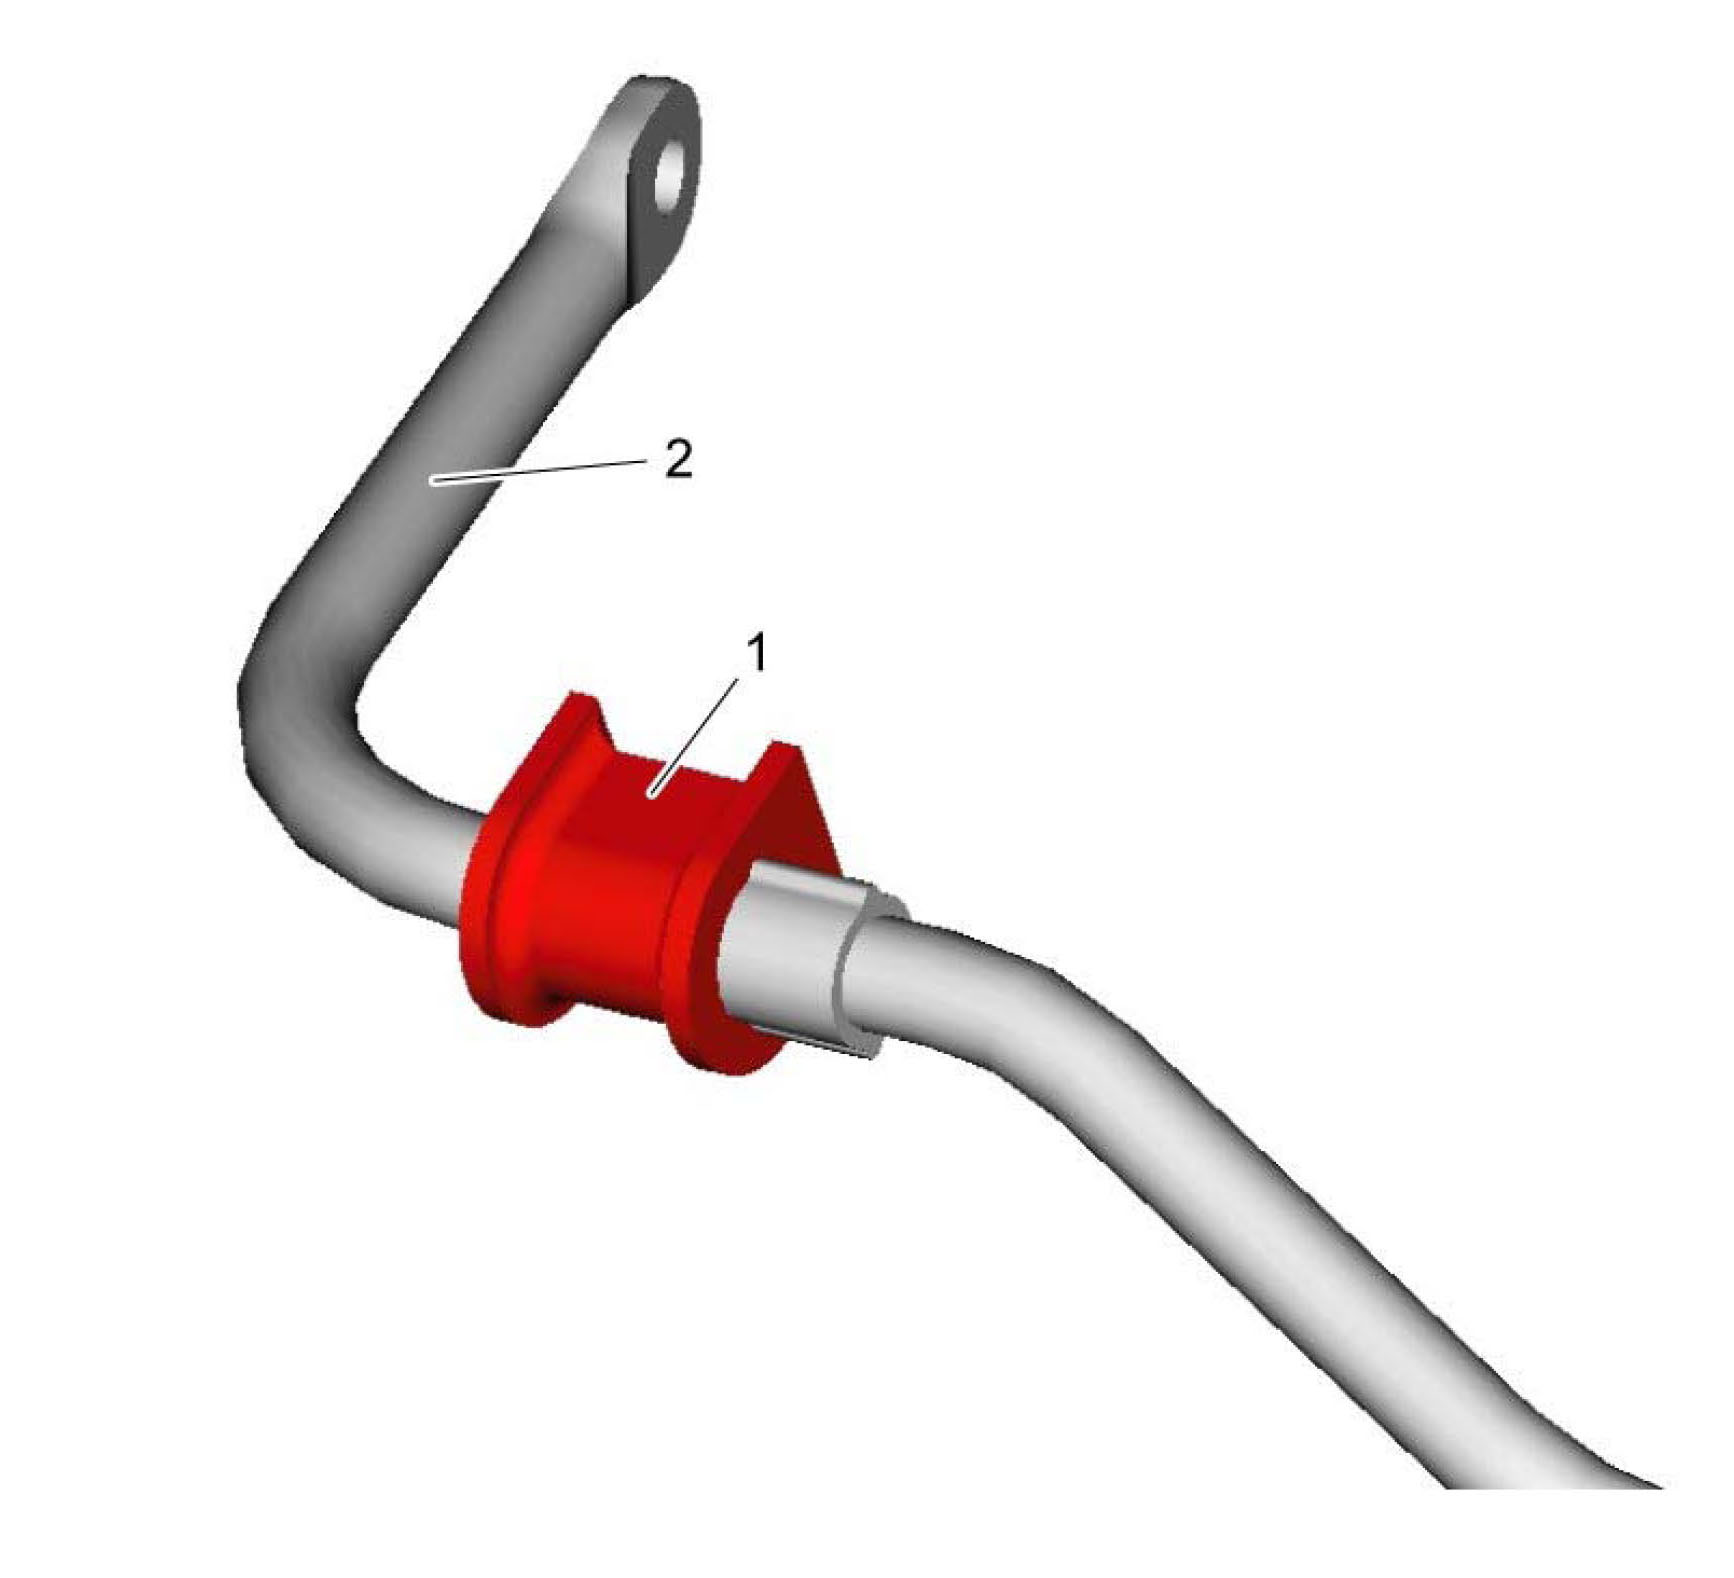
5) Remove rear stabilizer bar mount bushings (1) from rear stabilizer bar (2).
Installation
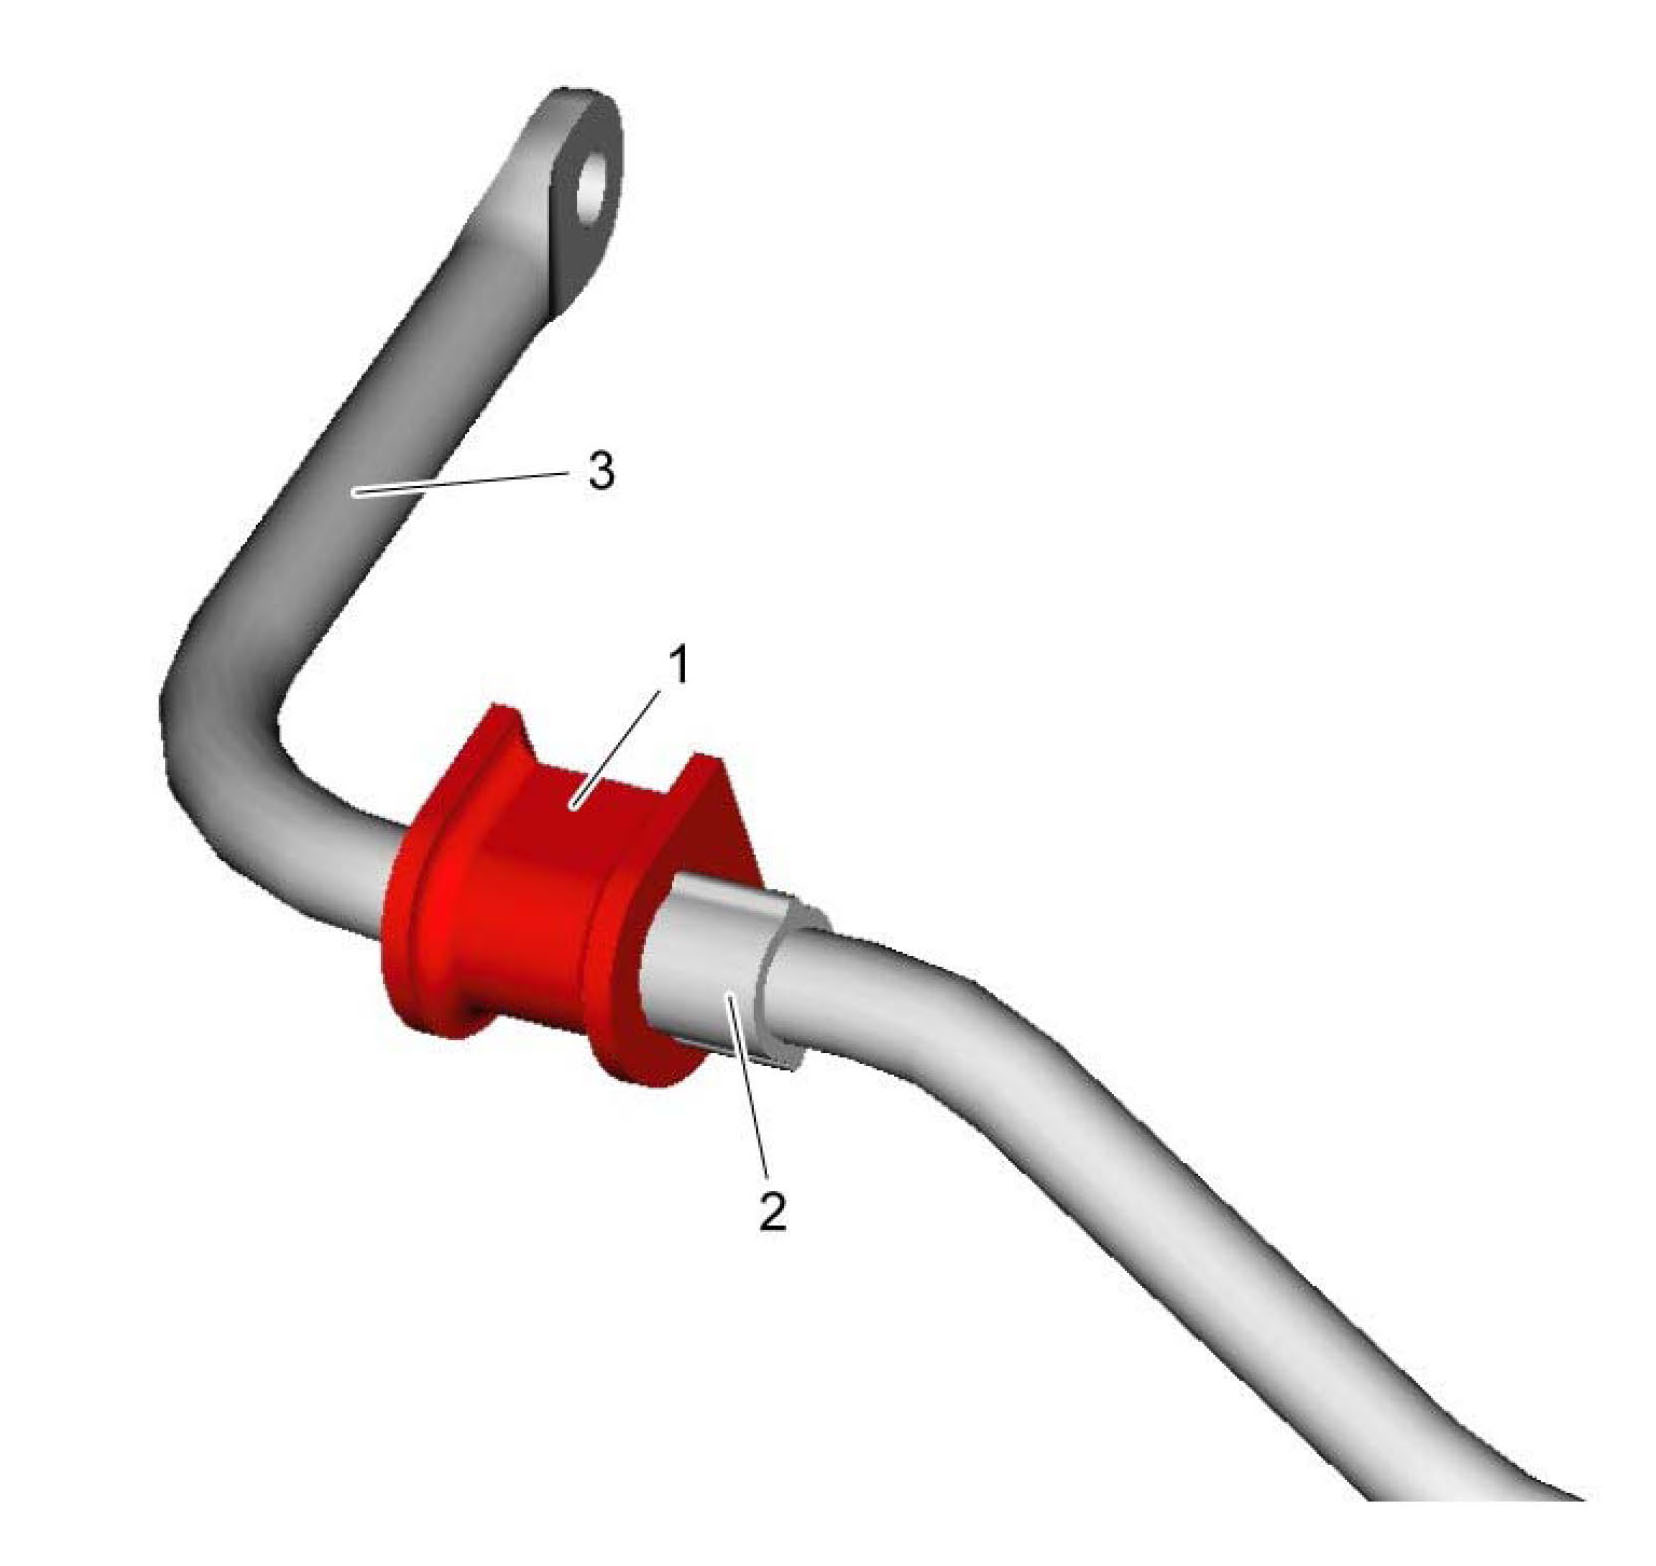
1) Install each rear stabilizer bar mount bushing (3) on rear stabilizer bar (1) with end of bushing closely fitted against ring (2).
2) Install and tighten rear stabilizer bar joint nut (2) at each end of stabilizer ball joint (1) while holding the corresponding ball stud with hexagon wrench.
Tightening torque
Rear stabilizer bar joint nut (a): 40 Nm (4.1 kg-m, 29.5 lbf-ft)
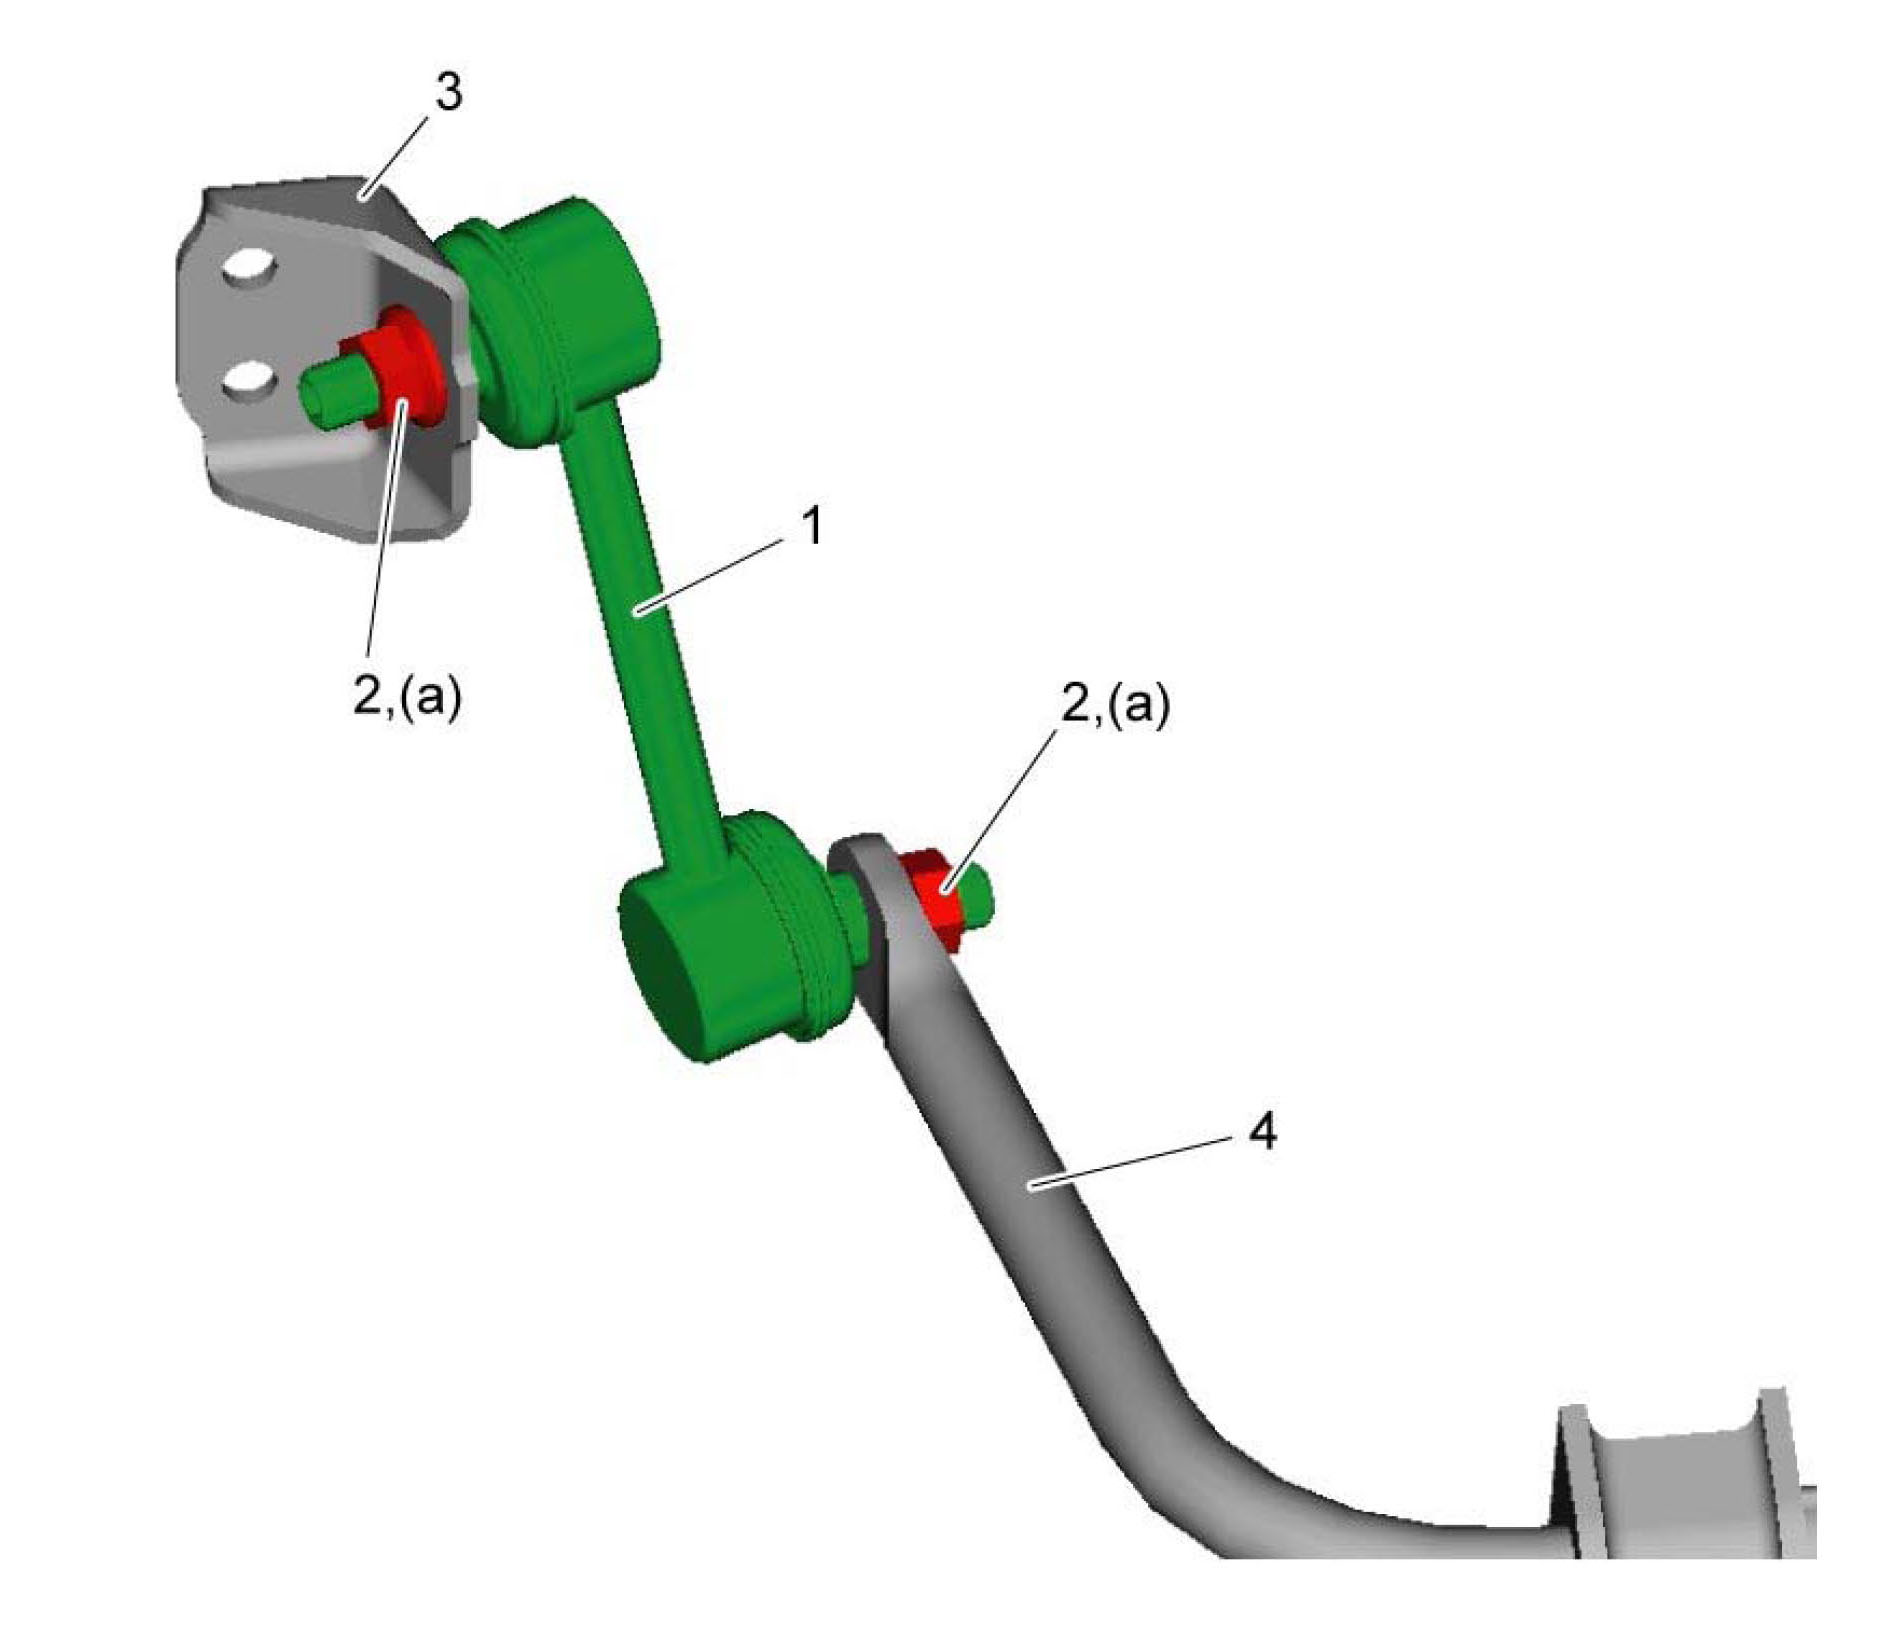
3) Tighten rear stabilizer bar mount nuts (1) to specified torque.
Tightening torque
Rear stabilizer bar mount nut (a): 40 Nm (4.1 kg-m, 29.5 lbf-ft)

^ Tighten rear stabilizer bracket mount bolts (1) in numbered order ("1" --> "2") to specified torque.
Tightening torque
Rear stabilizer bracket mount bolt (a): 50 Nm (5.1 kg-m, 37.0 lbf-ft)