Rear Combination Light Removal And Installation
Rear Combination Light Removal and InstallationRemoval
1. Remove trunk side trim.
2. Disconnect rear combination light connector.
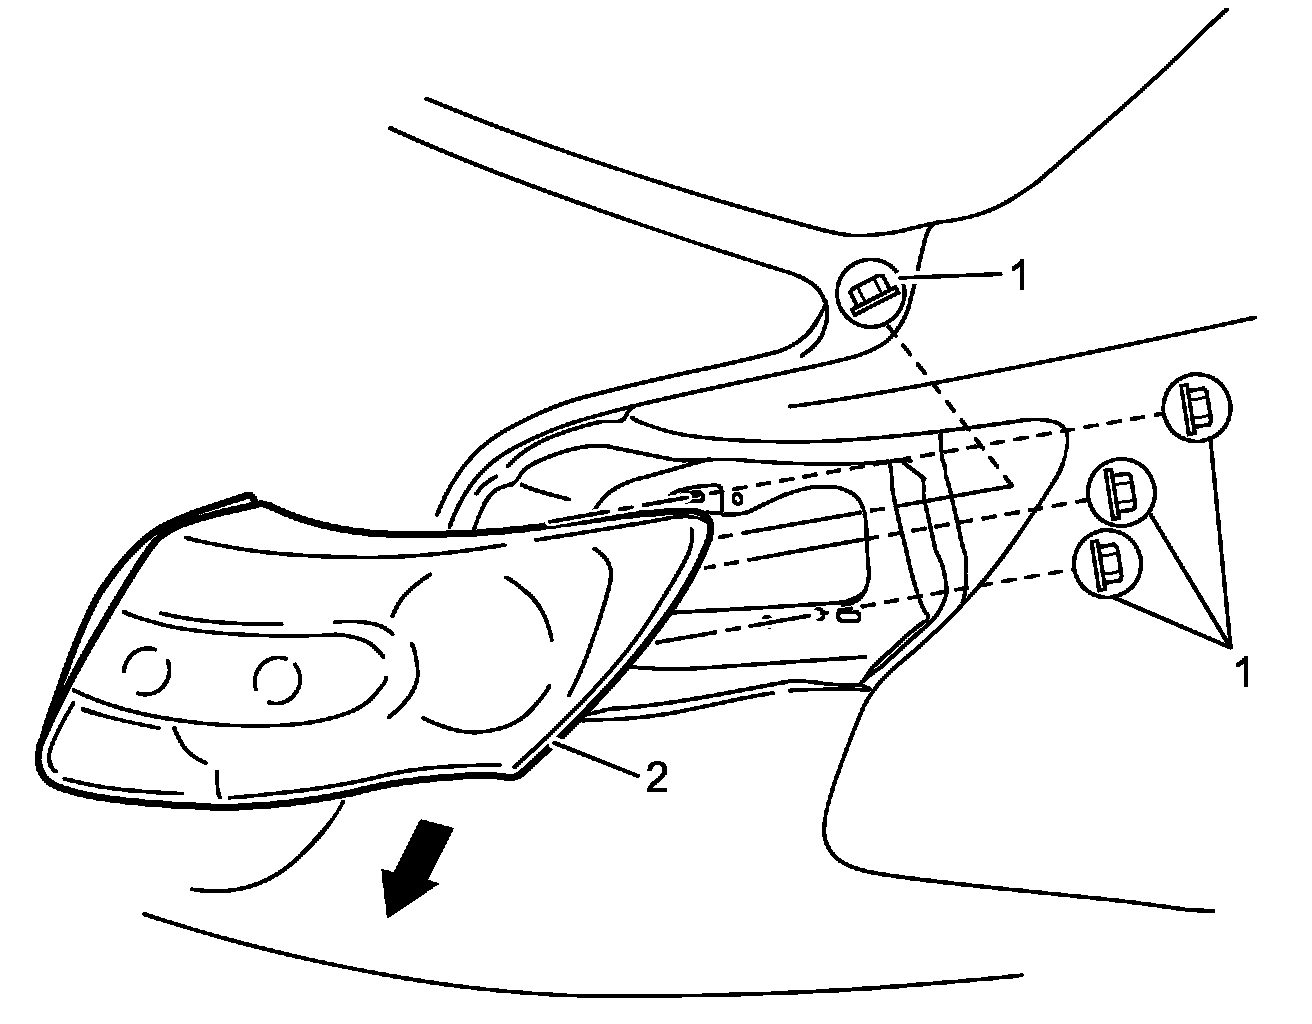
3. Remove rear combination light nut (1).
4. Remove rear combination light (2) by pushing it in the direction of arrow.
5. Remove bulb.
Installation
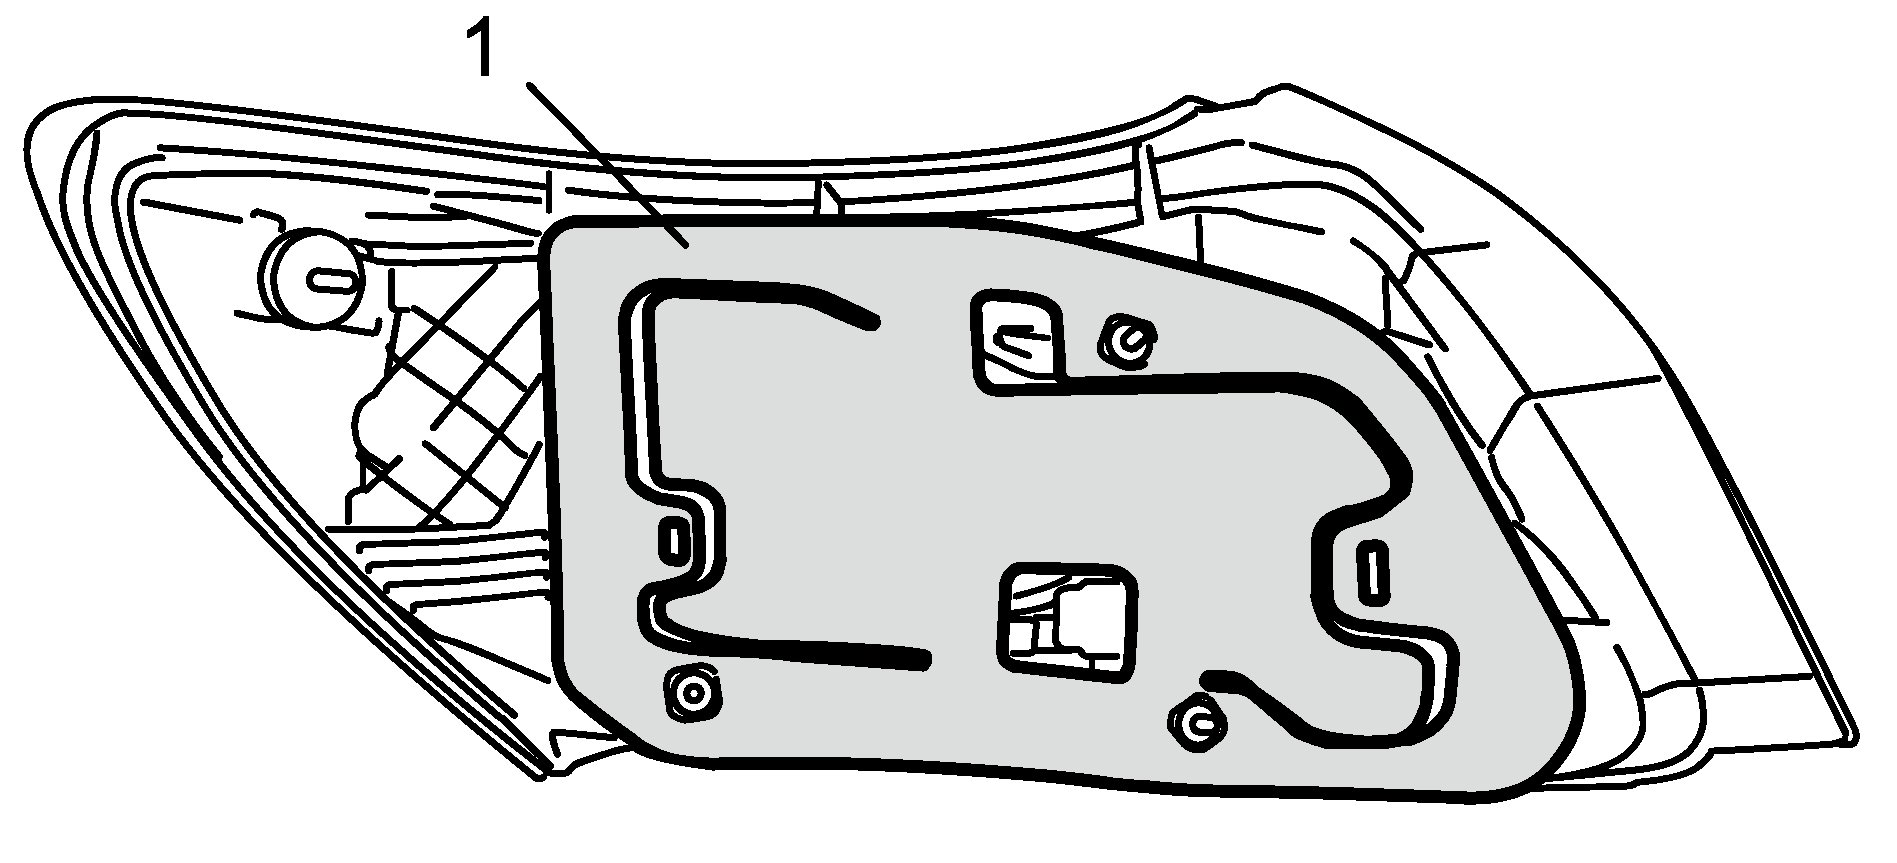
CAUTION: Replace with new gasket if gasket (1) is deformed or torn, or water leakage may be caused.
Reverse removal procedure noting the following points.
- Install rear combination light by pushing it in direction of arrow.
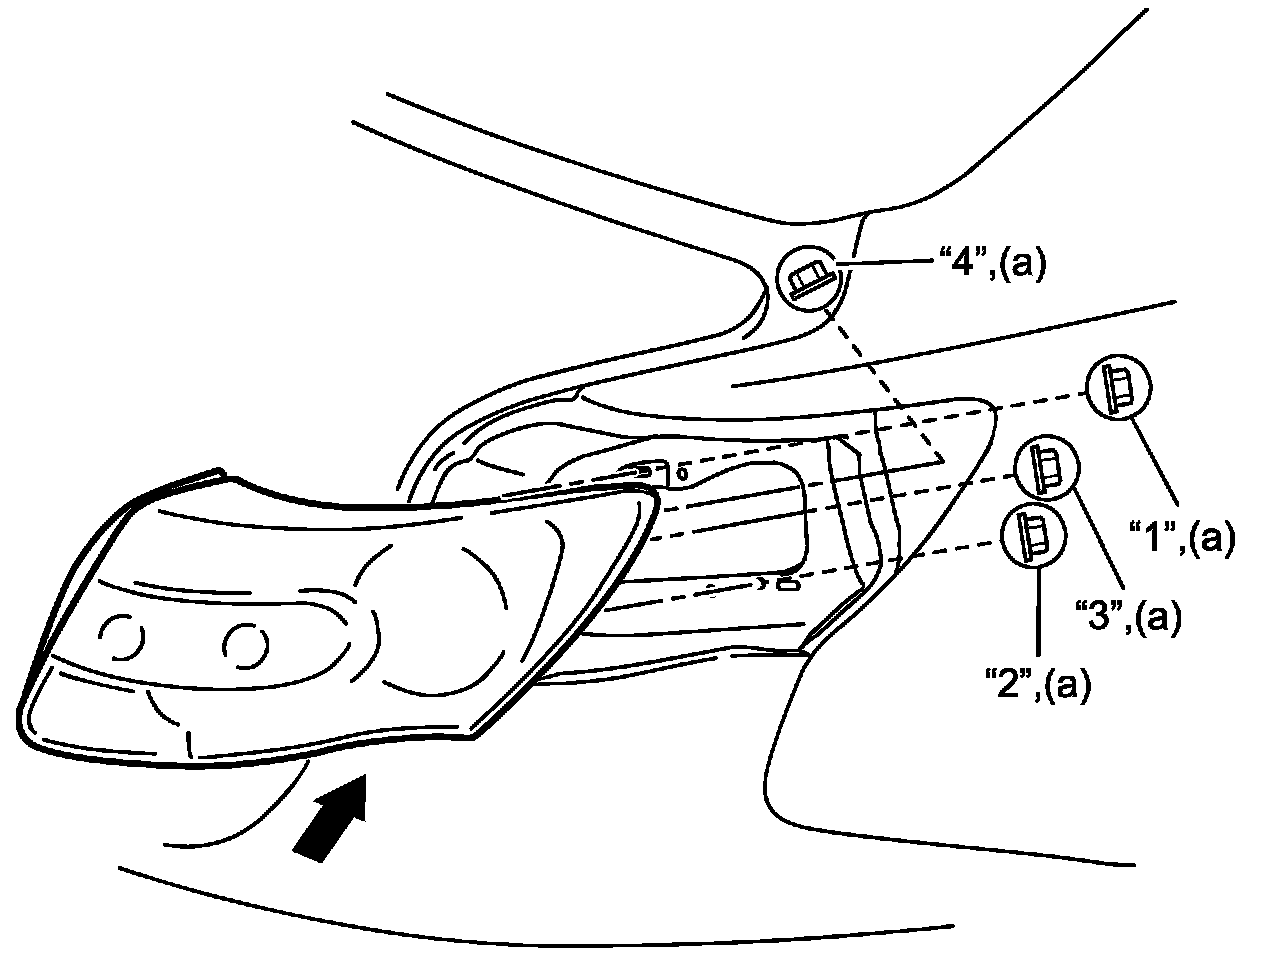
- Tighten rear combination light nuts in order of "1", "2", "3" and "4" to specified torque.
Tightening torque
Rear combination light nut (a): 4.5 N.m (0.46 kg-m, 3.5 lbf-ft)