Yaw Rate G Sensor Assembly Removal and Installation
Yaw Rate G Sensor Assembly Removal and InstallationCAUTION:
^ When yaw rate G sensor assembly is replaced, ESP@ control module needs zero calibration. Perform zero calibration by SUZUKI scan tool.
^ Regarding yaw rate G sensor assembly removal/installation, confirm specified torque and never use impact wrench to avoid damage.
^ When handling the yaw rate G sensor assembly, be careful not to drop it or apply an impact to it.
If an excessive impact was applied, never attempt disassembly or repair but replace it with a new one.
Removal
1) Disconnect negative cable at battery.
2) Remove console rear panel.
3) Remove yaw rate G sensor assembly from floor panel.
Installation
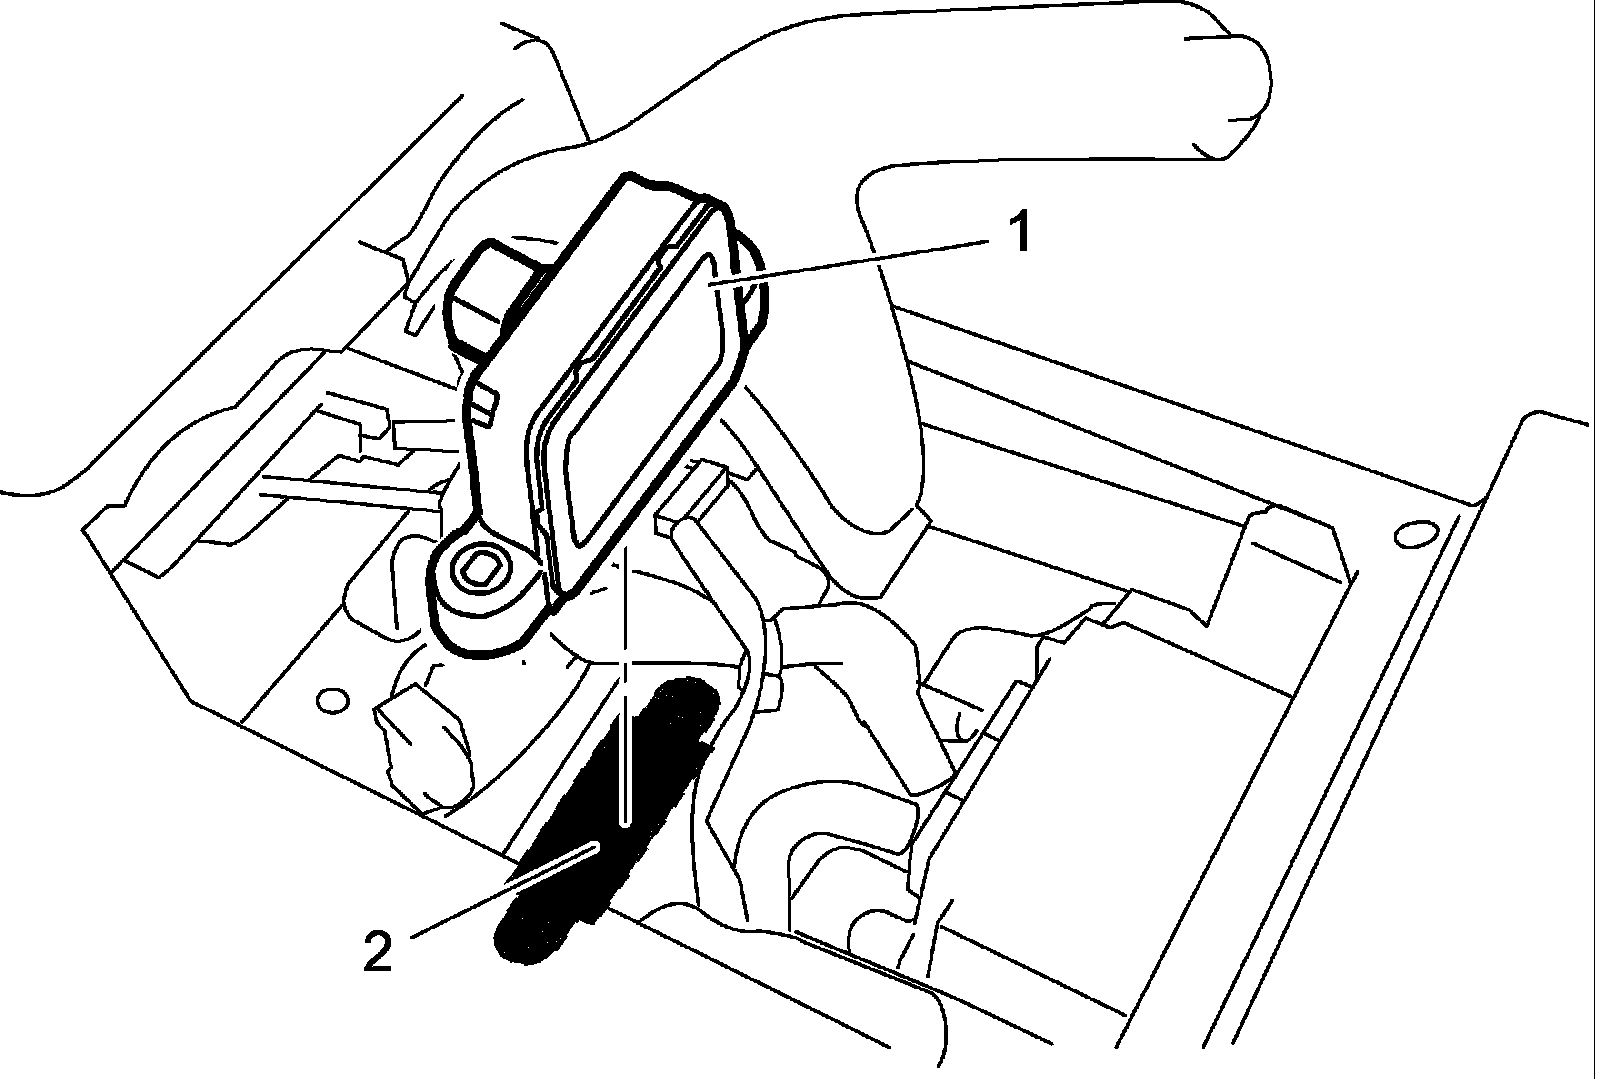
1) Before installing yaw rate G sensor assembly (1), check installing condition as follows.
^ Deformations around sensor installation area (2) (in floor panel).
^ Foreign matters on mating surface between sensor and floor panel.
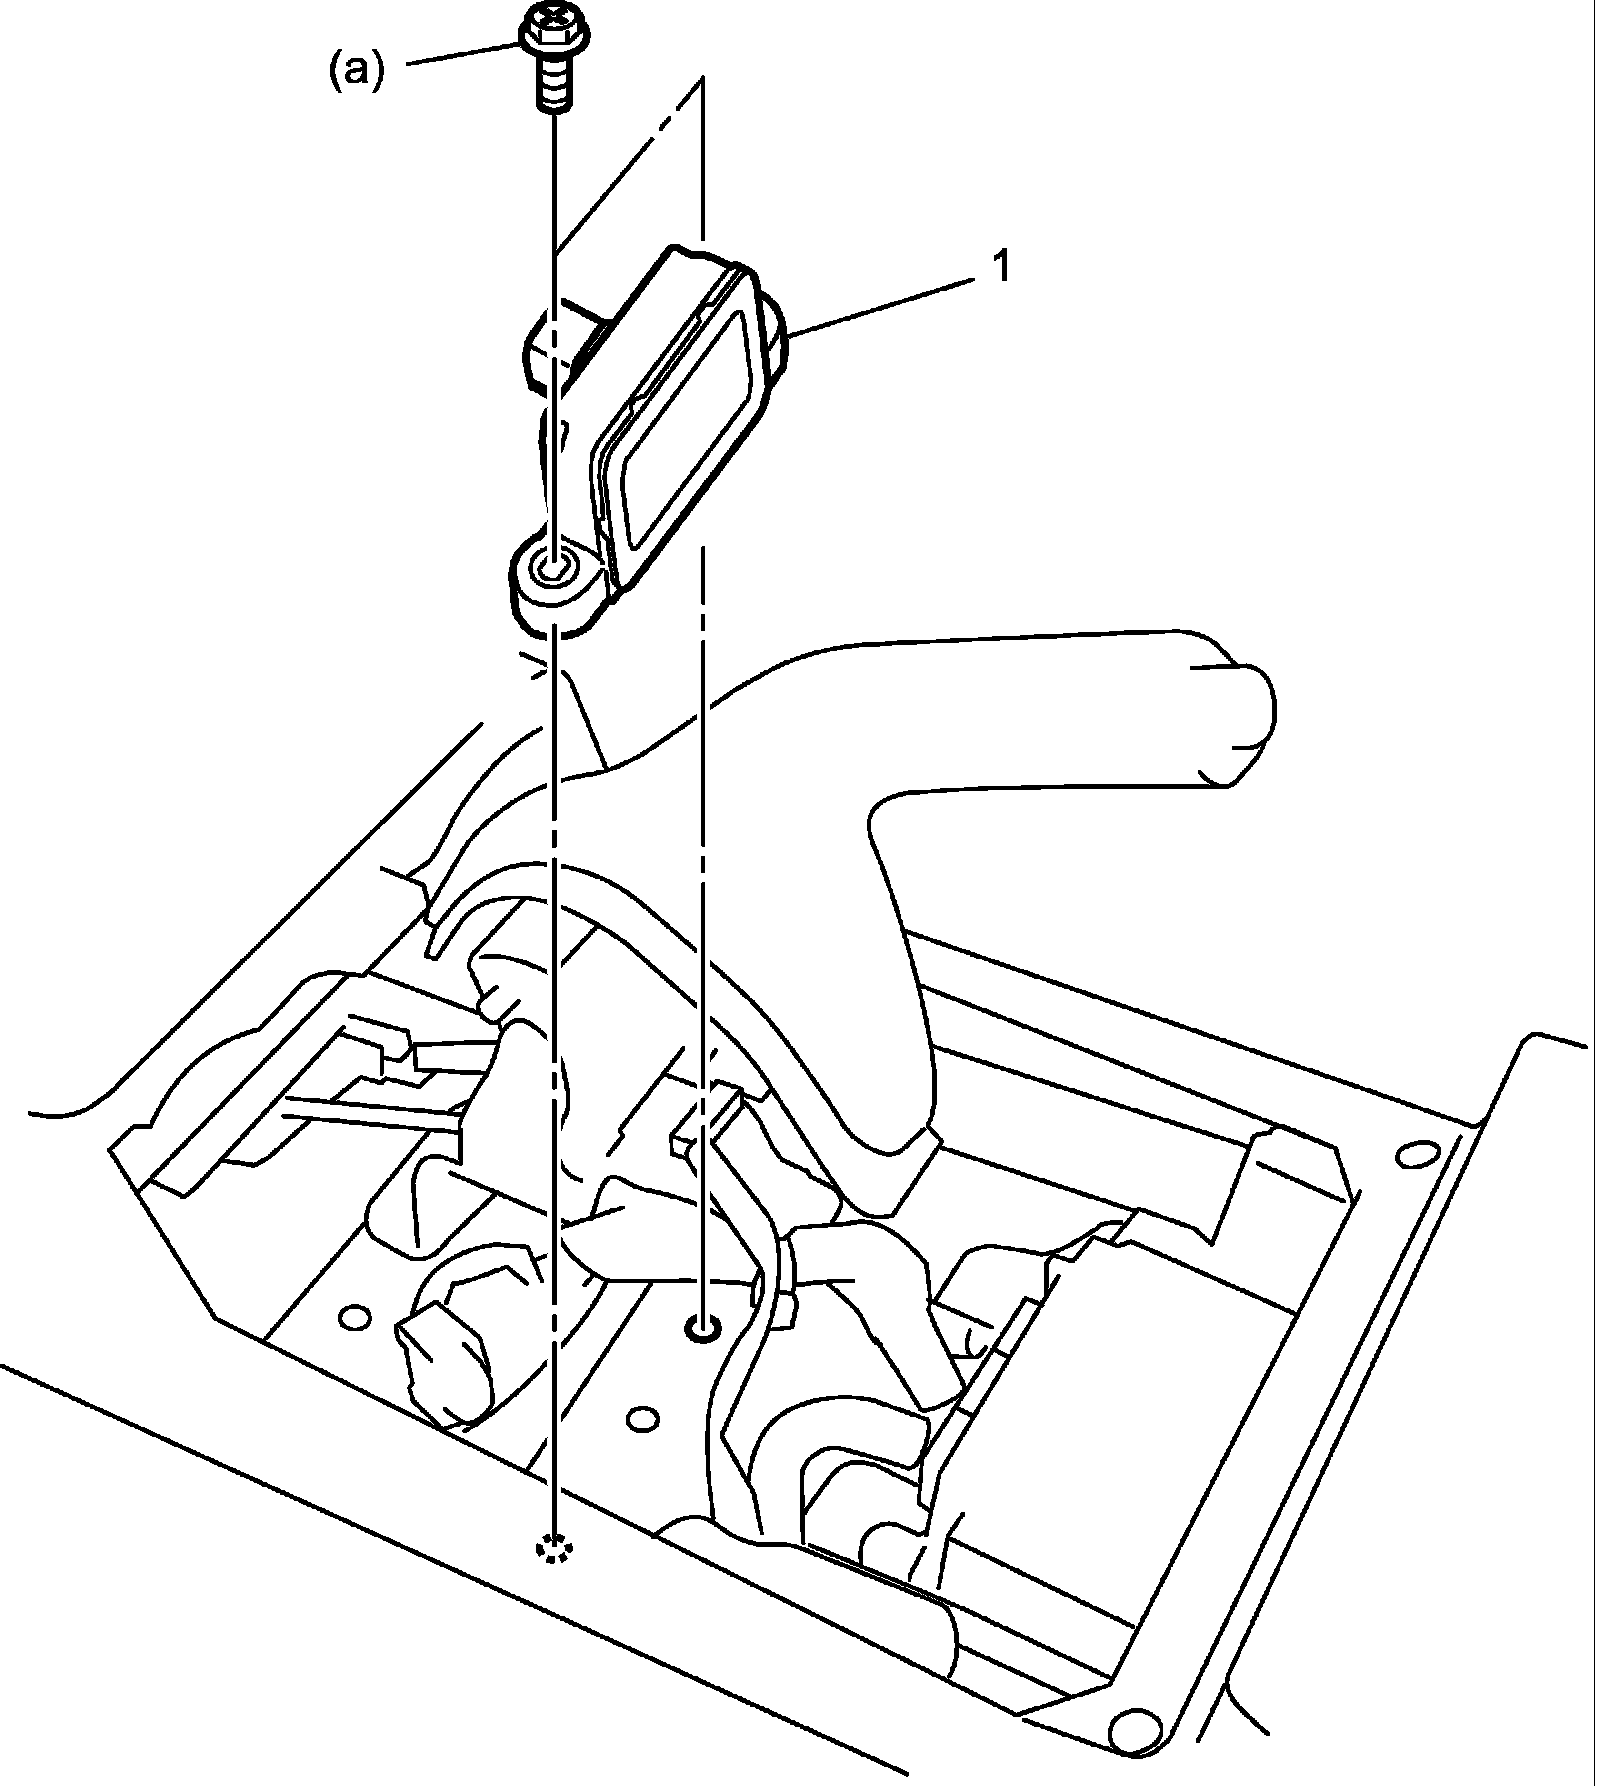
2) Install yaw rate G sensor assembly (1) to floor panel.
Tightening torque
Yaw rate G sensor assembly bolt (a): 8 Nm (0.8 kg-m, 6.0 ft. lbs.)
3) Install console rear panel.
4) Connect negative cable to battery.
5) After completing installation, calibrate yaw rate G sensor assembly.