Water Pump: Removal and Installation
Water Pump: Removal and InstallationREMOVAL
1) Drain engine coolant from radiator drain plug at the bottom of radiator and from water drain plug on cylinder block.
CAUTION:
^ Perform this step when the engine is cold.
^ Do not spill engine coolant on drive belt.
2) Remove air duct.
3) Remove drive belt.
4) Remove radiator hose (upper and lower).
5) Remove cooling fan and water pump pulley.
6) Remove water pump with power tool.
CAUTION:
^ Handle water pump vane so that it does not contact any other parts.
^ Water pump cannot be disassembled and should be replaced as a unit.
NOTE:
^ Engine coolant will leak from cylinder block, so have a receptacle ready below.
INSPECTION AFTER REMOVAL
^ Visually check if there is no significant dirt or rusting on water pump body and vane.
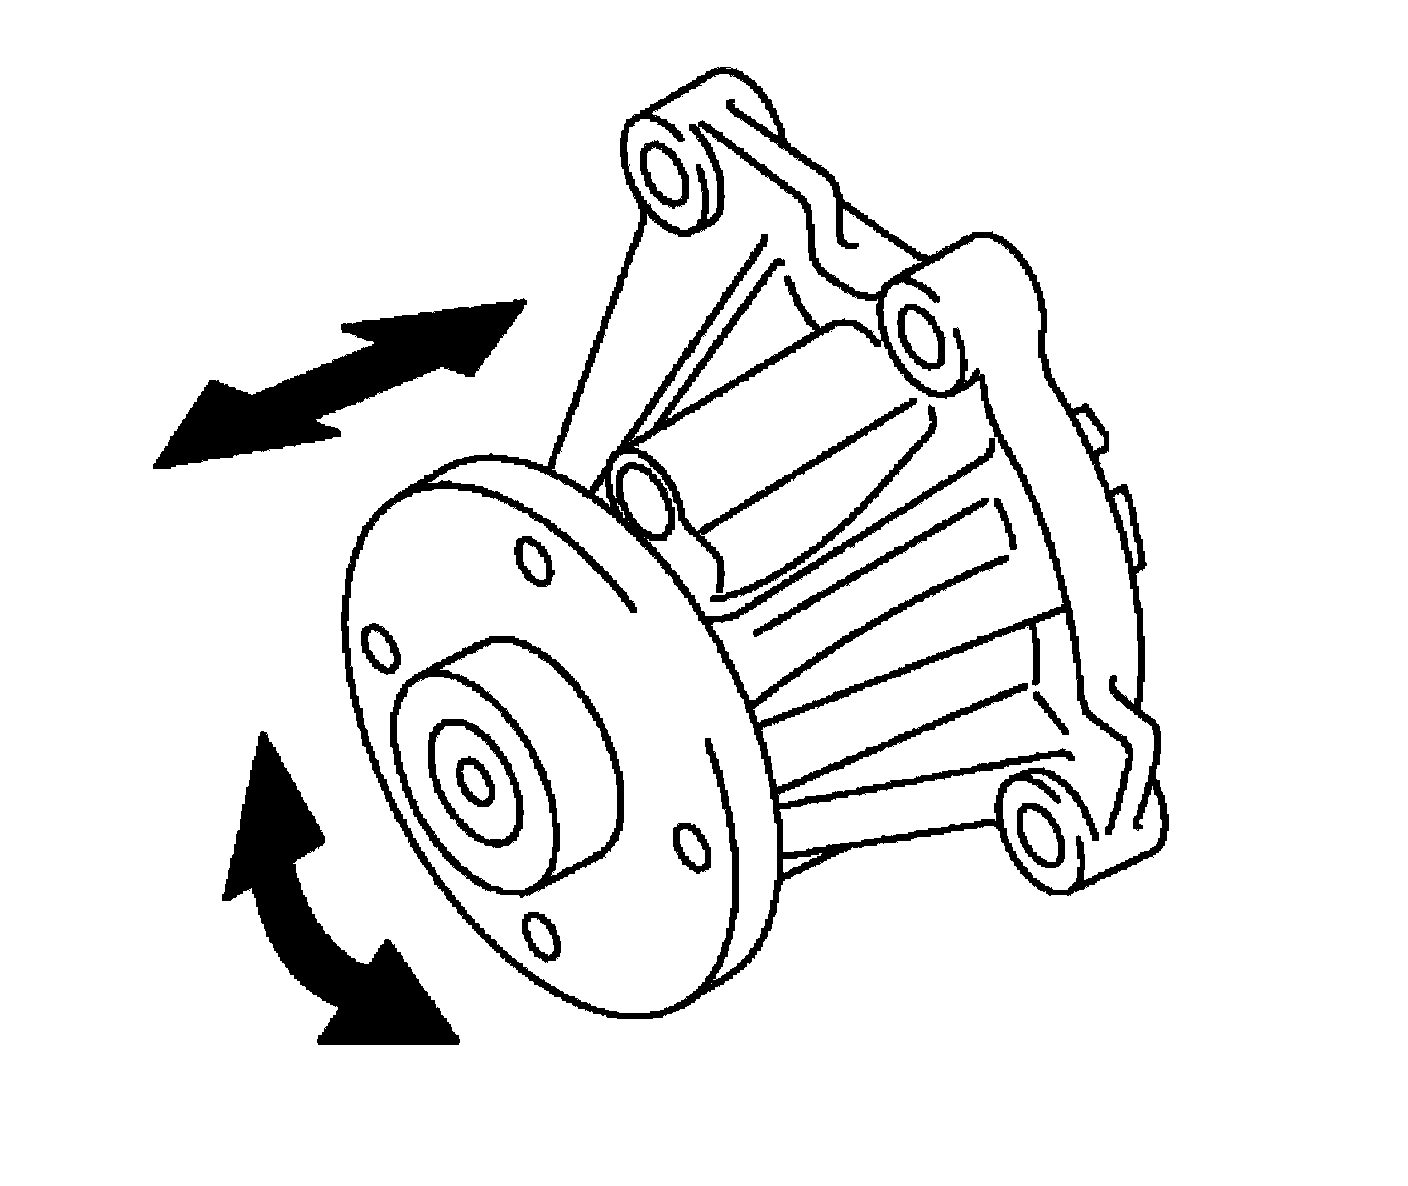
^ Make sure that there is no looseness in vane shaft, and that it turns smoothly when rotated by hand.
^ Replace water pump, if necessary.
INSTALLATION
Installation is in the reverse order of removal.
^ When inserting heater pipe end into water pump and thermostat housing, apply a neutral detergent to O-ring. Then insert it immediately.
INSPECTION AFTER INSTALLATION
^ Check for leaks of engine coolant.
^ Start and warm up the engine. Visually check if there is no leaks of engine coolant.