Removal Procedure
 Courtesy of SUZUKI OF AMERICA CORP.
- Recover the refrigerant. Refer to REFRIGERANT RECOVERY AND RECHARGING .
- Remove the surge tank. Refer to RADIATOR SURGE TANK REPLACEMENT
.
- Remove the washer container. Refer to WINDSHIELD WASHER SOLVENT CONTAINER REPLACEMENT
.
- Remove the battery. Refer to BATTERY REPLACEMENT
.
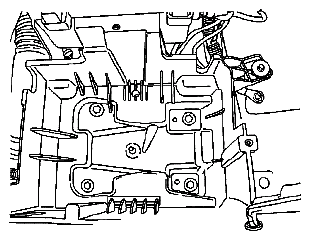
- Remove the battery box bolts from the battery box.
- Disconnect the negative battery cable nut from the wheelhouse.
 Courtesy of SUZUKI OF AMERICA CORP.
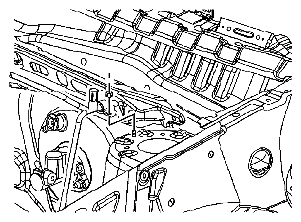
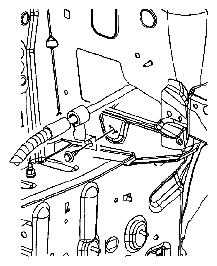
- Remove the nut retaining the liquid line to the strut tower.
- Disconnect the harness and vent hose retainers from the liquid line.
 Courtesy of SUZUKI OF AMERICA CORP.
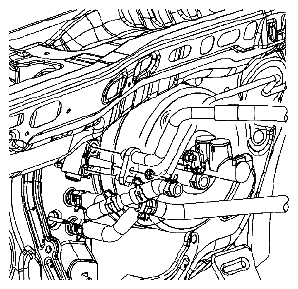
- Remove the evaporator outlet hose and liquid line retainer plate nut from the thermal expansion valve (TXV).
- Remove the evaporator outlet hose and liquid line from the TXV.
 Courtesy of SUZUKI OF AMERICA CORP.
- Remove the liquid line nut from the condenser.
- Remove the liquid line from the condenser.
 Courtesy of SUZUKI OF AMERICA CORP.
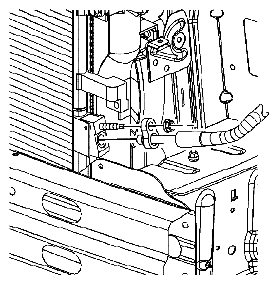
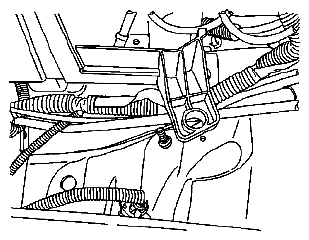
- Remove the bolt retaining the liquid line to the body.
 Courtesy of SUZUKI OF AMERICA CORP.
- Position the battery box inboard to allow for routing of the liquid line.
- Route the liquid line above the battery box and the ground lug.
- Lift the rear portion of the liquid line upward and remove the liquid line from the vehicle.
- Remove and discard the sealing washer from the liquid line. Refer to SEALING WASHER REPLACEMENT .
- Install protective caps to the condenser, the evaporator outlet hose, and the TXV to prevent contamination and desiccant saturation.