Installation Procedure
 Courtesy of SUZUKI OF AMERICA CORP.
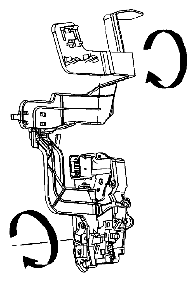
- Install the latch to the latch arm by twisting.
- Connect the inside handle rod and lock button rod by aligning the rods with clips and twisting the latch.
 Courtesy of SUZUKI OF AMERICA CORP.
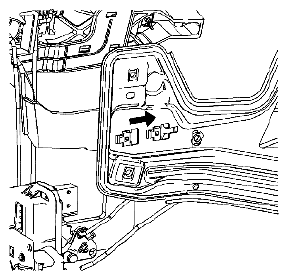
- Connect the latch arm to the window regulator module by depressing the table and sliding rearward.
- Connect the latch electrical connector.
- Connect the lock cylinder rod to the latch.
 Courtesy of SUZUKI OF AMERICA CORP.
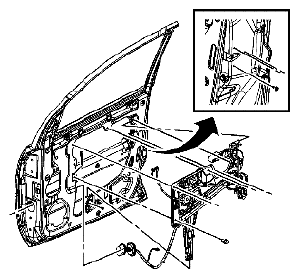
- Install the outside handle bracket.
- Connect the outside handle rod to the latch.
 Courtesy of SUZUKI OF AMERICA CORP.
- Install the front door window regulator module. Refer to FRONT SIDE DOOR WINDOW REGULATOR REPLACEMENT
.