Removal Procedure
- Raise and support the vehicle. Refer to LIFTING AND JACKING THE VEHICLE
.
- Remove the rear tire and wheel assembly. Refer to REMOVAL PROCEDURE
.
- Remove the stabilizer shaft link. Refer to REMOVAL PROCEDURE .
- Position a jackstand underneath the lower control arm.
- Raise the jackstand slightly to compress the coil spring.
 Courtesy of SUZUKI OF AMERICA CORP.
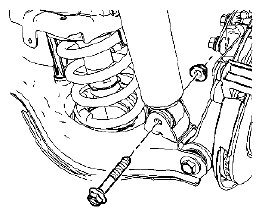
- Remove the lower shock bolt and nut.
 Courtesy of SUZUKI OF AMERICA CORP.
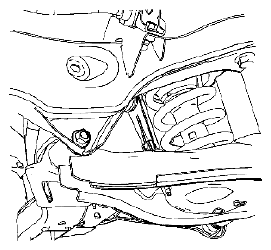
- Loosen the lower control arm to support frame nut and bolt.
 Courtesy of SUZUKI OF AMERICA CORP.
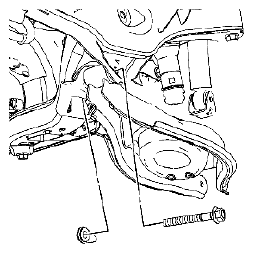
- Remove the lower control arm to knuckle nut and bolt.
- Slowly lower the control arm in order to unload the coil spring.
- Remove the coil spring.
- Remove the jackstand.
 Courtesy of SUZUKI OF AMERICA CORP.
- Remove the lower control arm to support frame nut and bolt.
- Remove the lower control arm.