Removal Procedure
- Remove the compressor from the vehicle. Refer to COMPRESSOR REPLACEMENT .
 Courtesy of SUZUKI OF AMERICA CORP.
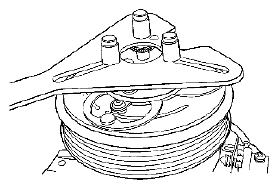
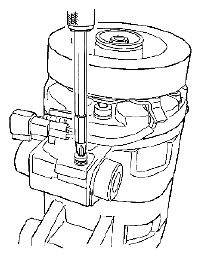
- Use J 37872 to hold the compressor clutch.
 Courtesy of SUZUKI OF AMERICA CORP.
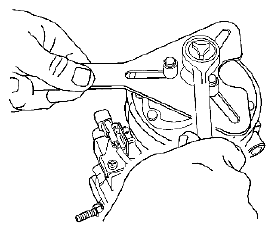
- Remove the bolt retaining the compressor clutch to the compressor.
 Courtesy of SUZUKI OF AMERICA CORP.
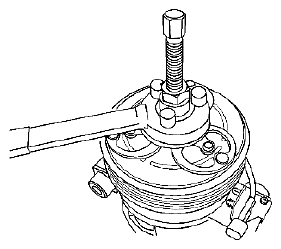
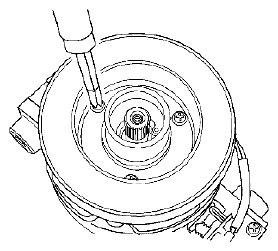
- Install GE-47849 to the compressor clutch.
- Using GE-47849, remove the compressor clutch from the compressor.
- Remove the compressor clutch shims from the compressor shaft.
 Courtesy of SUZUKI OF AMERICA CORP.
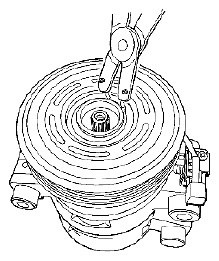
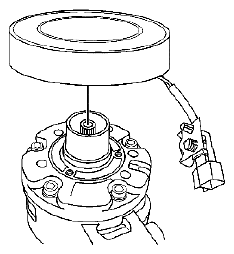
- Remove the snap ring from the compressor pulley.
- Using GE-47850 with J 25031-A, remove the compressor pulley from the compressor.
 Courtesy of SUZUKI OF AMERICA CORP.
- Remove the clutch field coil connector bracket screw from the compressor.
 Courtesy of SUZUKI OF AMERICA CORP.
- Remove the clutch field coil screws from the compressor.
 Courtesy of SUZUKI OF AMERICA CORP.
- Remove the clutch field coil from the compressor.