Control Valve Body Assembly Removal and Installation: Removal
- Disconnect the negative battery cable.
- Disconnect the transaxle wiring harness and the park/neutral position switch electrical connector.
 Courtesy of SUZUKI OF AMERICA CORP.
- Raise and suitably support the vehicle.
- Remove the engine under cover. Refer to ENGINE UNDER COVERS REMOVAL AND INSTALLATION
.
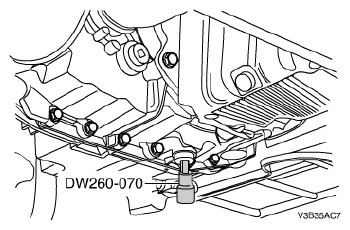
- Remove the transaxle fluid drain plug using the plug remover/installer DW260-070 and drain the transaxle fluid.
 Courtesy of SUZUKI OF AMERICA CORP.
- Remove the oil pan, oil pan gasket. Refer to Oil Pan, Oil Pan Gasket Removal and Installation .
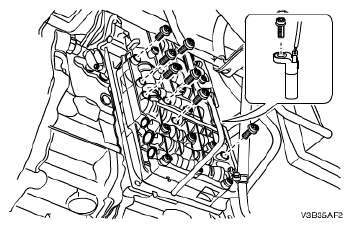
- Remove the valve body mounting bolts.
- Remove the automatic transaxle input speed sensor mounting bolt.
 Courtesy of SUZUKI OF AMERICA CORP.
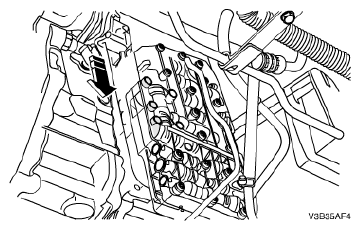
- Tilt the valve body.
- Remove the automatic transaxle output speed sensor mounting bolt under the valve body assembly.
 Courtesy of SUZUKI OF AMERICA CORP.
- Remove the control valve body.
 Courtesy of SUZUKI OF AMERICA CORP.