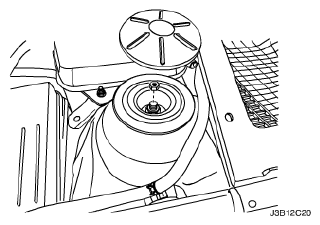
Strut Assembly Removal and Installation: Removal
- Remove the strut upper cap and nut.
 Courtesy of SUZUKI OF AMERICA CORP.
- Raise and suitably support the vehicle.
- Remove the wheel. Refer to WHEEL REMOVAL AND INSTALLATION
.
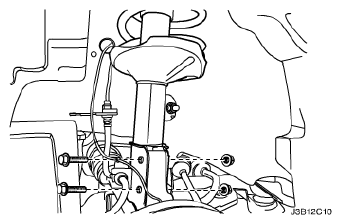
- On vehicles equipped with an Antilock Braking System (ABS), disconnect the ABS sensor line from the strut assembly.
- Remove the brake line from the securing bracket on the strut assembly.
 Courtesy of SUZUKI OF AMERICA CORP.
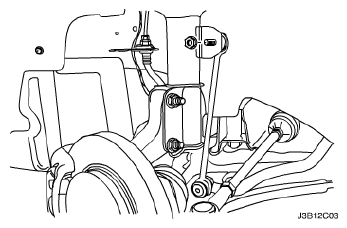
- Disconnect the stabilizer shaft link by removing the stabilizer link-to-strut assembly nut.
 Courtesy of SUZUKI OF AMERICA CORP.
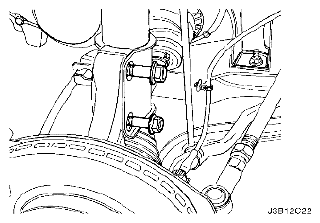
- Disconnect the steering knuckle by removing the steering knuckle-to-strut assembly nuts and the bolts.
 Courtesy of SUZUKI OF AMERICA CORP.
- Remove the strut assembly.
 Courtesy of SUZUKI OF AMERICA CORP.