Knuckle and Hub Removal
- Remove the wheel.
- Remove the caulking nut and washer.
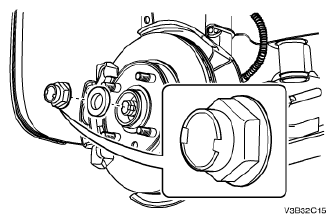 Courtesy of SUZUKI OF AMERICA CORP.
- Remove the outer tie rod. Refer to OUTER TIE ROD REMOVAL
.
- Disconnect the control arm ball joint. Refer to BALL JOINT DISASSEMBLY .
- Remove the brake caliper. Refer to CALIPER REMOVAL
.
- Remove the detent screw from the brake disc. Remove the disc.
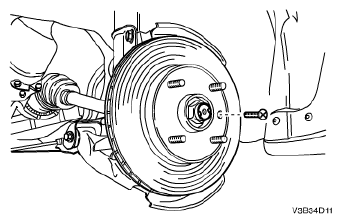 Courtesy of SUZUKI OF AMERICA CORP.
- Remove the splash shield. Refer to SPLASH SHIELD REMOVAL
.
 Courtesy of SUZUKI OF AMERICA CORP.
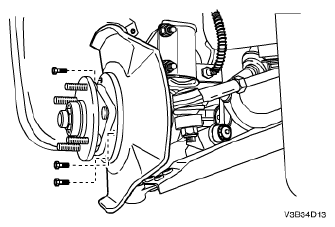
- Remove the front strut bolts.
- Remove the knuckle, hub assembly.
 Courtesy of SUZUKI OF AMERICA CORP.
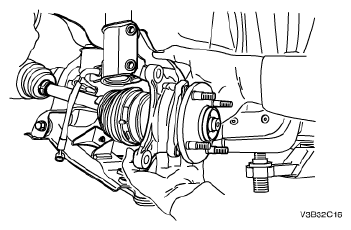
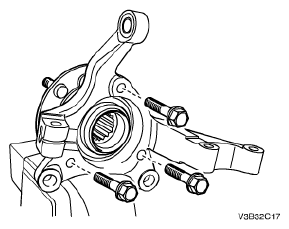
- Remove the hub bolts from the knuckle and separate the hub from the knuckle.
 Courtesy of SUZUKI OF AMERICA CORP.