Rear Window Glass Installation
- Install the new weatherstrip to the rear window.
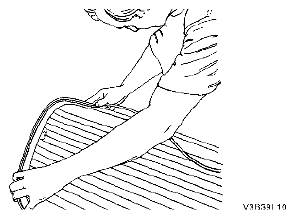 Courtesy of SUZUKI OF AMERICA CORP.
- Apply tape to the new weatherstrip and the rear window to hold the weatherstrip in place.
- Apply adhesive primer to the rear window frame and the perimeter of the rear window.
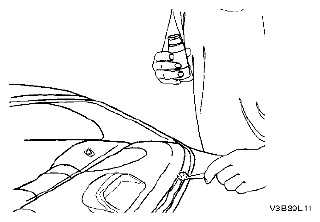 Courtesy of SUZUKI OF AMERICA CORP.
- Apply glass adhesive to the rear window frame.
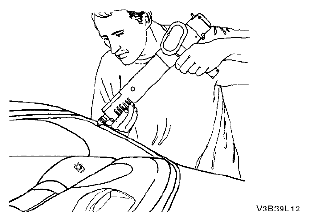 Courtesy of SUZUKI OF AMERICA CORP.
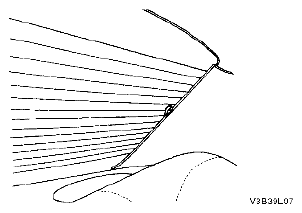
- Install the rear window into the rear window frame.
- Reposition the tape over the weatherstrip, the rear window, and the rear window frame to hold the rear window in place.
- Let the adhesive dry for 24 hours.
- Remove the tape.
- Check for waterleaks by pouring water on the rear window. If a leak is found, dry the window and fill the area that leaks with adhesive. If the leak persists, remove the rear window and repeat the entire procedure.
- Connect the rear window defogger electrical connector.
- Connect the negative battery cable.
 Courtesy of SUZUKI OF AMERICA CORP.