Intermediate Shaft and Dash Seal Removal and Installation: Removal
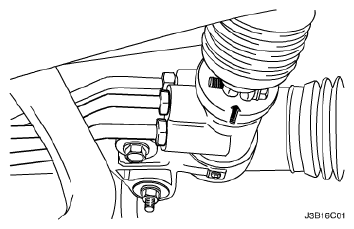
- Turn the steering wheel until it is horizontal, with the spokes pointing down. This is the straight-ahead position. Make a mark on the stub shaft housing that lines up with a mark on the intermediate shaft lower universal joint. This mark will be used for proper alignment during installation.
 Courtesy of SUZUKI OF AMERICA CORP.
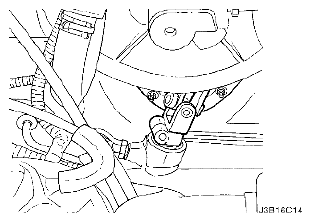
- Remove the lower pinch bolt from the universal joint on the intermediate shaft.
 Courtesy of SUZUKI OF AMERICA CORP.
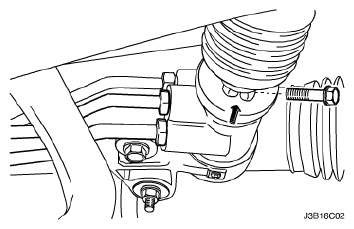
- Turn the steering wheel so that the upper pinch bolt is accessible. Remove the upper pinch bolt from the universal joint on the intermediate shaft.
 Courtesy of SUZUKI OF AMERICA CORP.
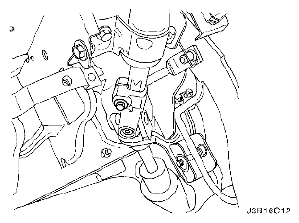
- Remove the nuts from the dash seal retaining ring and remove the dash seal retaining ring.
 Courtesy of SUZUKI OF AMERICA CORP.
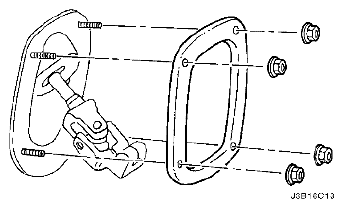
- Remove the coupling from the power steering gear and pull the intermediate shaft out of the engine compartment.
 Courtesy of SUZUKI OF AMERICA CORP.