Control Assembly Removal and Installation: Removal
- Disconnect the negative battery cable.
- Remove the center molding. Refer to CENTER MOLDING REMOVAL AND INSTALLATION
.
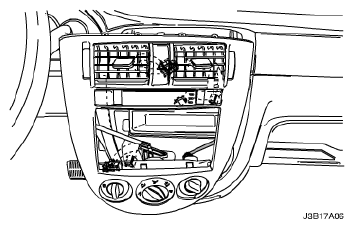
- Disconnect the mode control cable from the mode door.
- Disconnect the electrical connectors.
 Courtesy of SUZUKI OF AMERICA CORP.
- Disconnect the temperature control cable by gently prying the cable eyelet from the post on the controller. Unsnap the cable housing from the mechanical slide. Note the location of the cable and the housing for ease of installation.
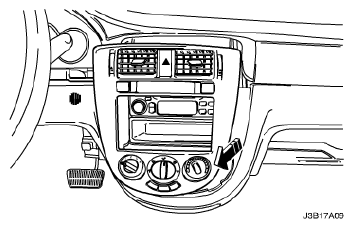
- Pull out the center molding.
 Courtesy of SUZUKI OF AMERICA CORP.
- Remove the 4 controller retaining screws.
- Remove the control assembly from the center molding.
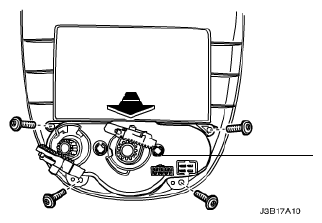 Courtesy of SUZUKI OF AMERICA CORP.