Condenser Removal and Installation: Removal
- Disconnect the negative battery cable.
- Discharge and recover the refrigerant. Refer to Discharging, Adding Oil, Evacuating, and Charging Procedures for A/C System .
- Remove the front bumper. Refer to FRONT BUMPER FASCIA REMOVAL AND INSTALLATION
.
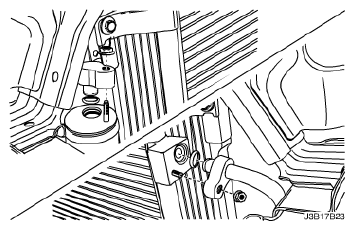
- Remove the discharge hose block-to-condenser retaining nut.
- Remove the discharge hose from the condenser.
- Remove the liquid pipe block-to-receiver-dryer retaining nut.
- Remove the liquid pipe from the receiver-dryer.
 Courtesy of SUZUKI OF AMERICA CORP.
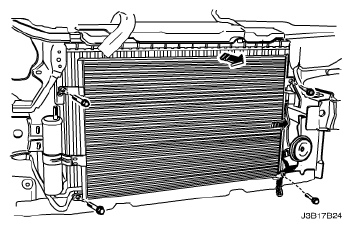
- Remove the condenser mount bolts.
- Remove the condenser.
- Cap all the open lines and the fittings to prevent contamination.
 Courtesy of SUZUKI OF AMERICA CORP.