Exhaust Front Pipe Removal and Installation: Removal
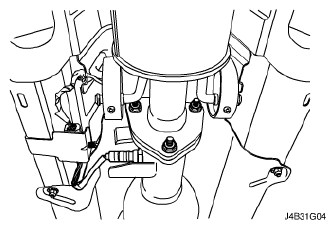
- Remove the crossmember lower bracket with the bolts.
 Courtesy of SUZUKI OF AMERICA CORP.
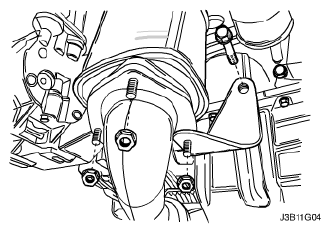
- Remove the exhaust front pipe mounting bracket bolt.
- Remove the nuts from the exhaust front pipe-to-catalytic converter flange.
 Courtesy of SUZUKI OF AMERICA CORP.
- Disconnect the heated oxygen sensor connector.
- Remove the nuts from the exhaust front pipe-to-exhaust front muffler.
- Remove the exhaust front pipe and the gasket.
- Clean the sealing surfaces on the exhaust front muffler pipe flange and the exhaust front pipe.
- Check the exhaust front pipe for holes, damage, open seams or other deterioration which could permit exhaust fumes to seep into the passenger compartment.
 Courtesy of SUZUKI OF AMERICA CORP.