Headlamp Assembly Removal and Installation (For HATCHBACK Model): Removal
- Disconnect the negative battery cable.
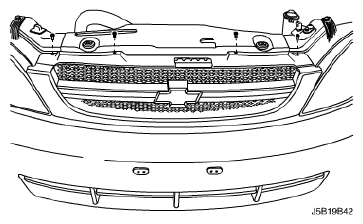
- Remove the radiator grille screws.
 Courtesy of SUZUKI OF AMERICA CORP.
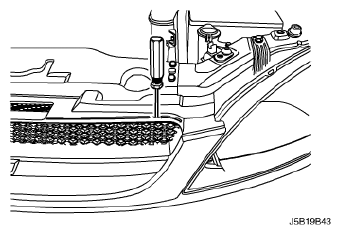
- Insert the negative screwdriver to the radiator service hole and then push the radiator grille clips.
- Remove the radiator grille.
 Courtesy of SUZUKI OF AMERICA CORP.
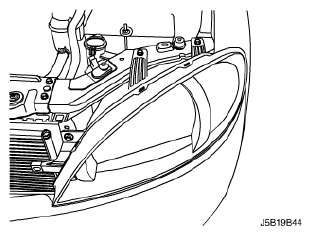
- Remove the headlamp mounting bolts.
 Courtesy of SUZUKI OF AMERICA CORP.
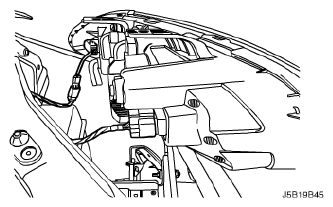
- Disconnect the turn signal lamp electrical connector.
- Disconnect the headlamp electrical connector.
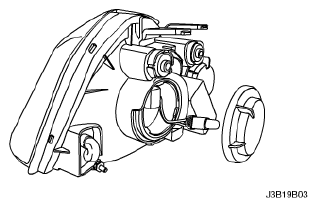
- Remove the headlamp assembly.
 Courtesy of SUZUKI OF AMERICA CORP.
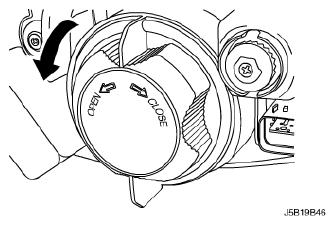
- Remove the headlamp cap.
 Courtesy of SUZUKI OF AMERICA CORP.
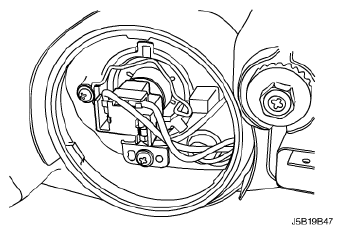
- Pry off the headlamp bulb clip.
- Disconnect the headlamp bulb connector.
- Remove the headlamp bulb.
 Courtesy of SUZUKI OF AMERICA CORP.
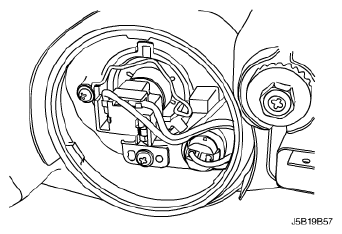
- Remove the park lamp.
 Courtesy of SUZUKI OF AMERICA CORP.
- Remove the turn signal lamp.
 Courtesy of SUZUKI OF AMERICA CORP.