Oil Pan Removal and Installation: Removal
- Disconnect the negative battery cable.
- Drain the engine oil from the engine crankcase.
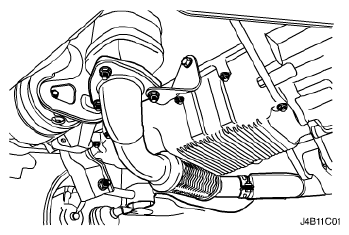
- Remove the exhaust front pipe. Refer to MUFFLER - FRONT REMOVAL AND INSTALLATION
.
 Courtesy of SUZUKI OF AMERICA CORP.
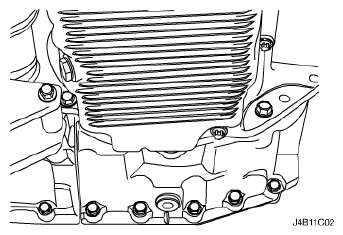
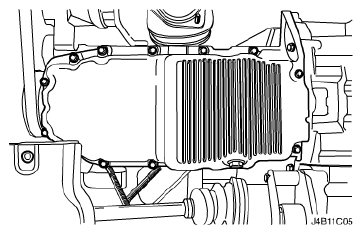
- Remove the oil pan flange-to-transaxle retaining bolts.
 Courtesy of SUZUKI OF AMERICA CORP.
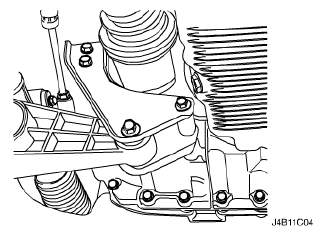
- Remove the transaxle-to-oil pan flange retaining bolt.
 Courtesy of SUZUKI OF AMERICA CORP.
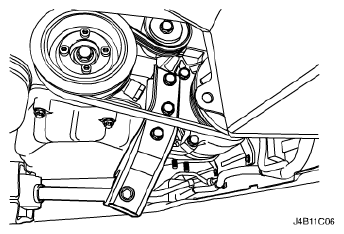
- Remove the transaxle rear mount bracket.
 Courtesy of SUZUKI OF AMERICA CORP.
- Remove the lower reaction rod.
 Courtesy of SUZUKI OF AMERICA CORP.
- Remove the oil pan retaining bolts.
- Remove the oil pan from the engine block with pushing the engine assy forward.
 Courtesy of SUZUKI OF AMERICA CORP.