Lower Valve Body Disassembly and Assembly: Disassembly
- Remove bypass valve (1), bypass valve spring, check ball valve damping spring, valve body ball (2) and ball valve spring.
 Courtesy of SUZUKI OF AMERICA CORP.
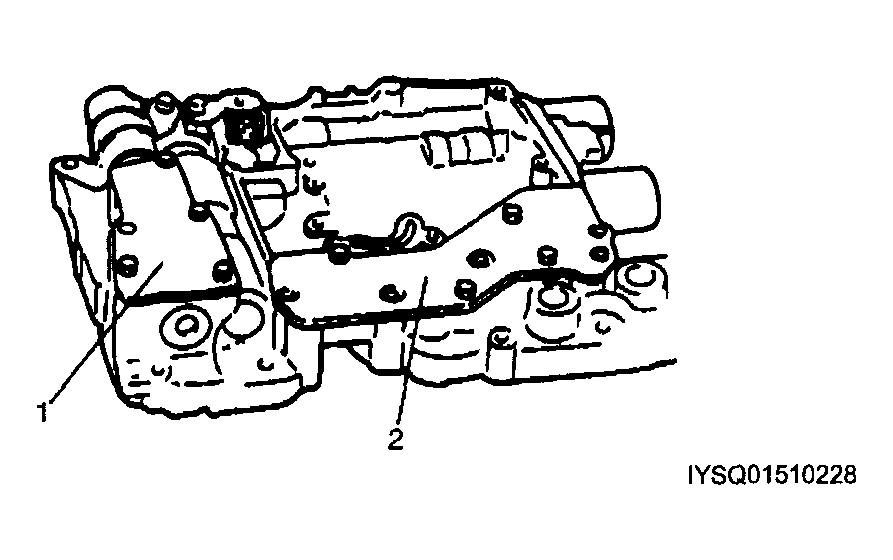
- Remove lower valve body plate (1) and lower valve body plate gasket.
- Remove TCC (lock-up) control valve plate (2) and TCC (lock-up) control valve gasket.
 Courtesy of SUZUKI OF AMERICA CORP.
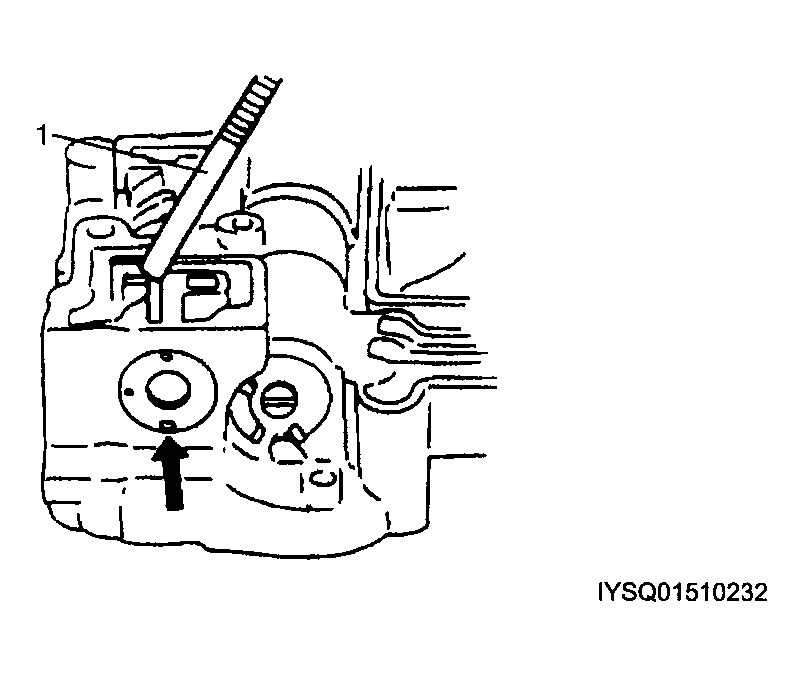
- With pressure relief valve retainer (1) pressed with finger, remove pressure relief valve bolt and then remove pressure relief valve retainer (1), pressure relief valve spring and pressure relief valve ball.
 Courtesy of SUZUKI OF AMERICA CORP.
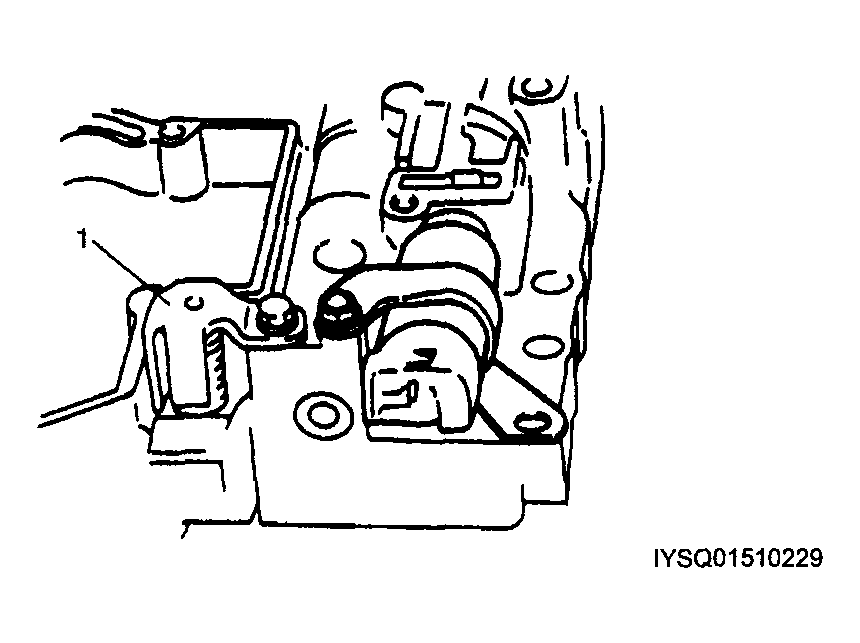
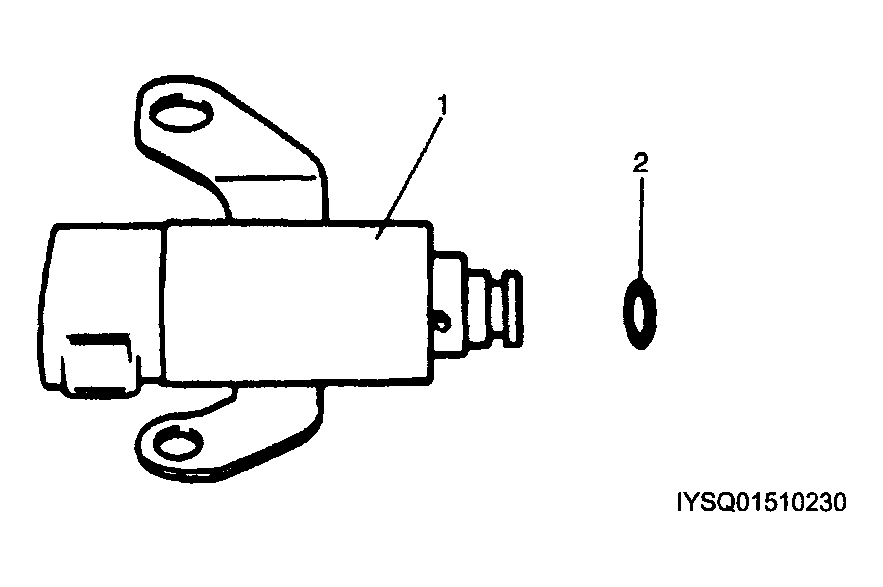
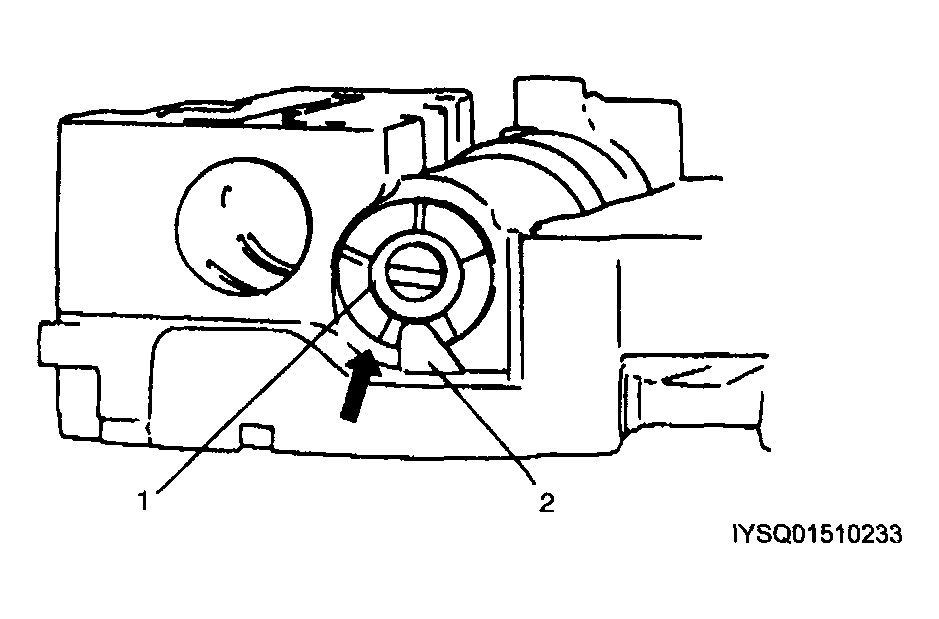
- Remove TCC (lock-up) solenoid valve (1) and then remove O-ring (2) from TCC solenoid valve (1).
 Courtesy of SUZUKI OF AMERICA CORP.
- After removing shift solenoid valve (A and B) (1), remove solenoid valve gasket, low coast modulator valve spring (2), inter coast modulator valve spring (3) and 2 intermediate coast modulator valves (4).
 Courtesy of SUZUKI OF AMERICA CORP.
- Pressing TCC (lock-up) control sleeve with finger and using magnet (1), remove locating pin and then remove TCC (lock-up) control sleeve, TCC (lock-up) control valve and TCC (lock-up) control valve spring.
 Courtesy of SUZUKI OF AMERICA CORP.
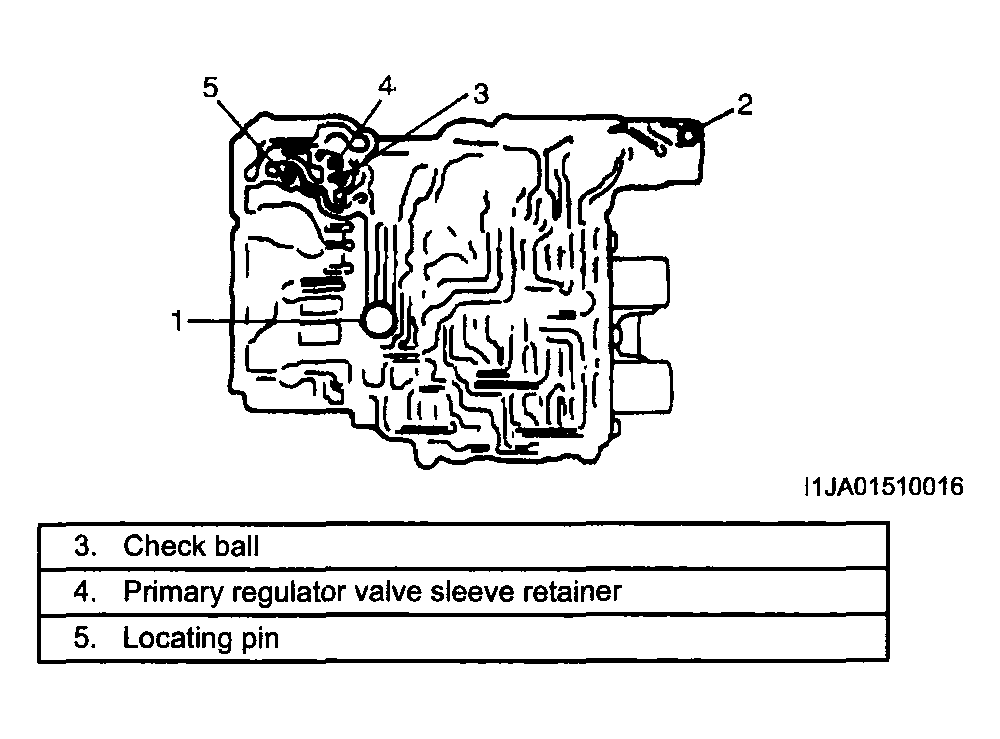
- Check which step of primary regulator valve sleeve (1) (how many steps down from its tip) contacts primary regulator valve sleeve retainer (2).
 Courtesy of SUZUKI OF AMERICA CORP.
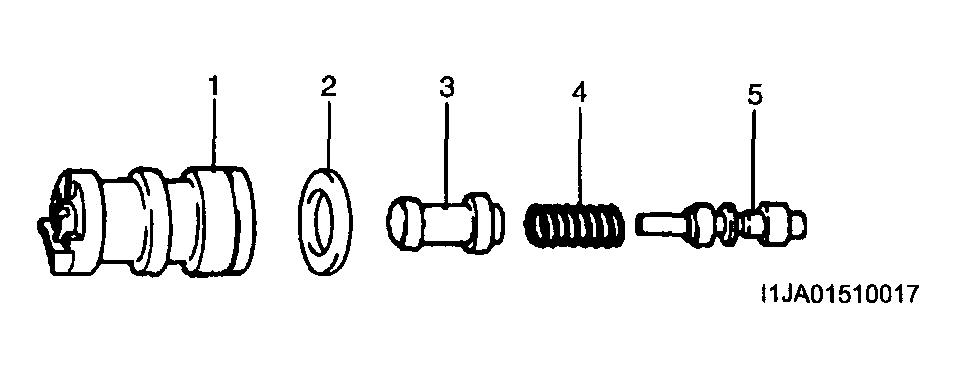
- Pressing primary regulator valve sleeve (1) with finger and using magnet, remove primary regulator valve sleeve retainer and then remove primary regulator valve sleeve (1), spacer (2), primary regulator valve plunger (3), primary regulator valve spring (4) and primary regulator valve (5).
 Courtesy of SUZUKI OF AMERICA CORP.