Fuel Tank Removal and Installation: Removal
- Relieve the fuel pressure.
- Disconnect the negative battery cable.
- Drain the fuel tank.
- Remove the exhaust front muffler.
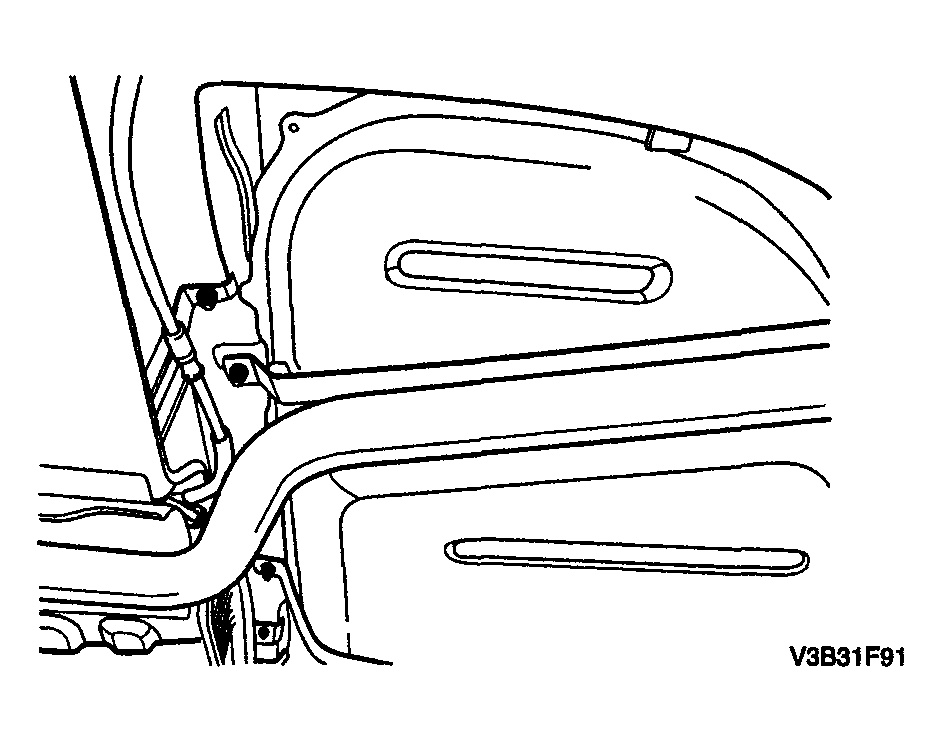
- Remove the fuel tank shield.
 Courtesy of SUZUKI OF AMERICA CORP.
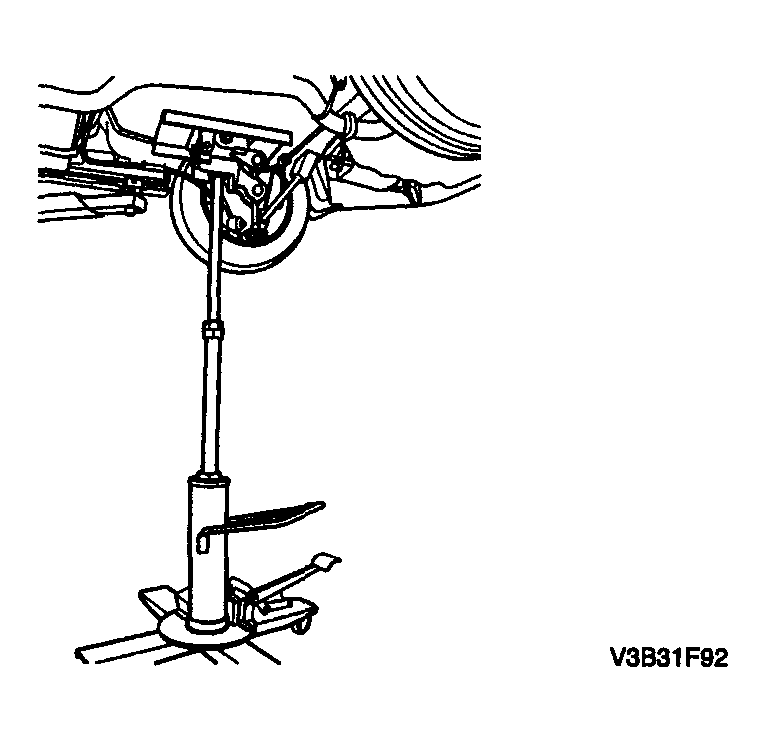
- Support the fuel tank using a transmission jack.
 Courtesy of SUZUKI OF AMERICA CORP.
- Remove two bands that hold the fuel tank.
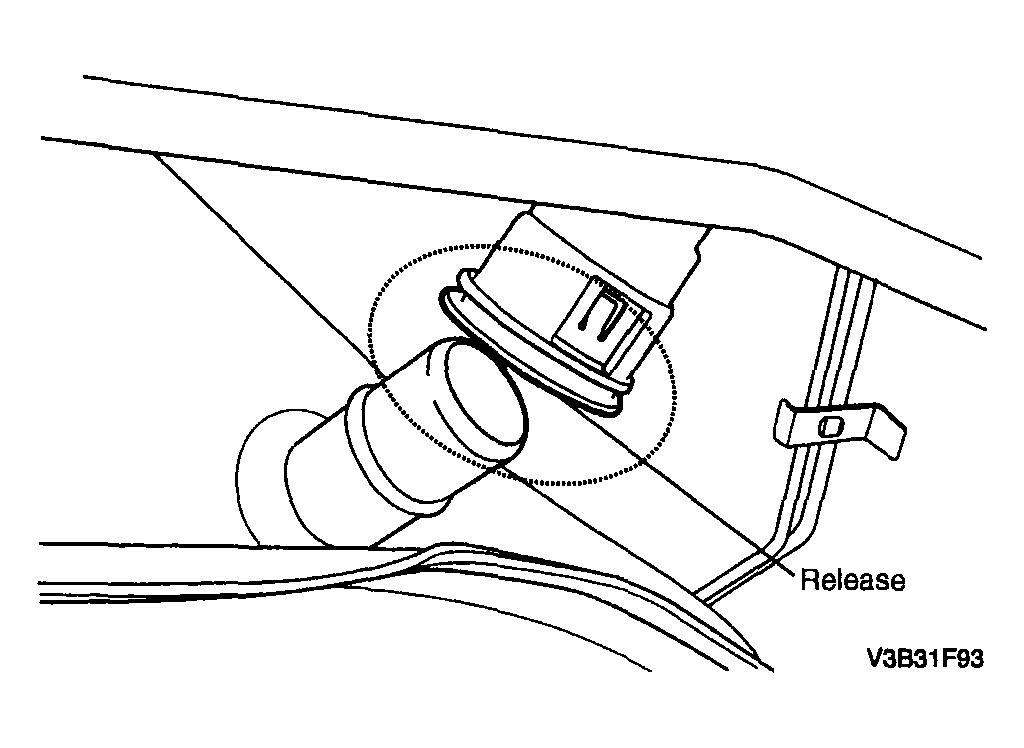
- Slightly and carefully lower the fuel tank until enough space for the fuel tank filler tube removal is achieved.
- Pull the fuel tank filler tube release fully backward and disconnect the fuel tank filler tube.
 Courtesy of SUZUKI OF AMERICA CORP.
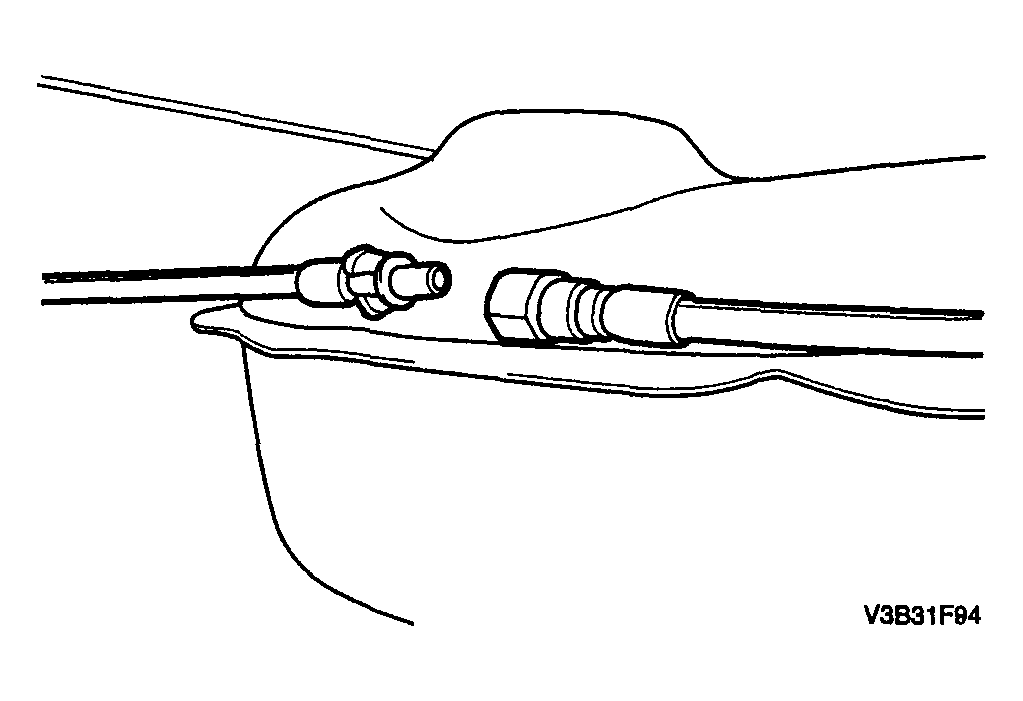
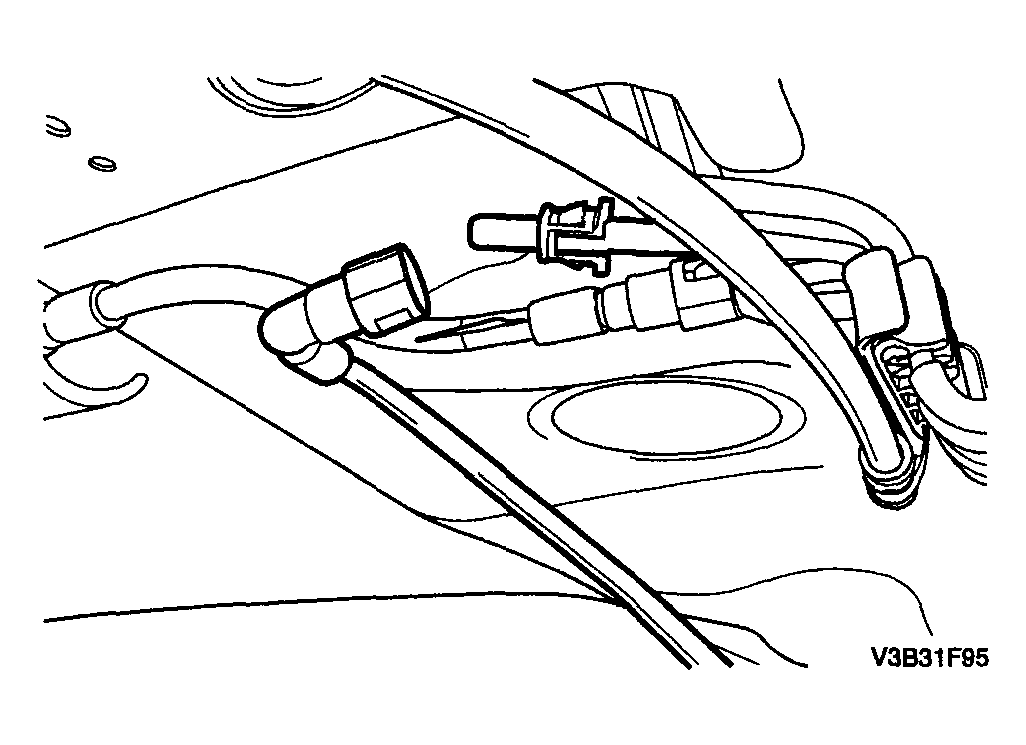
- Disconnect the fuel inlet line.
 Courtesy of SUZUKI OF AMERICA CORP.
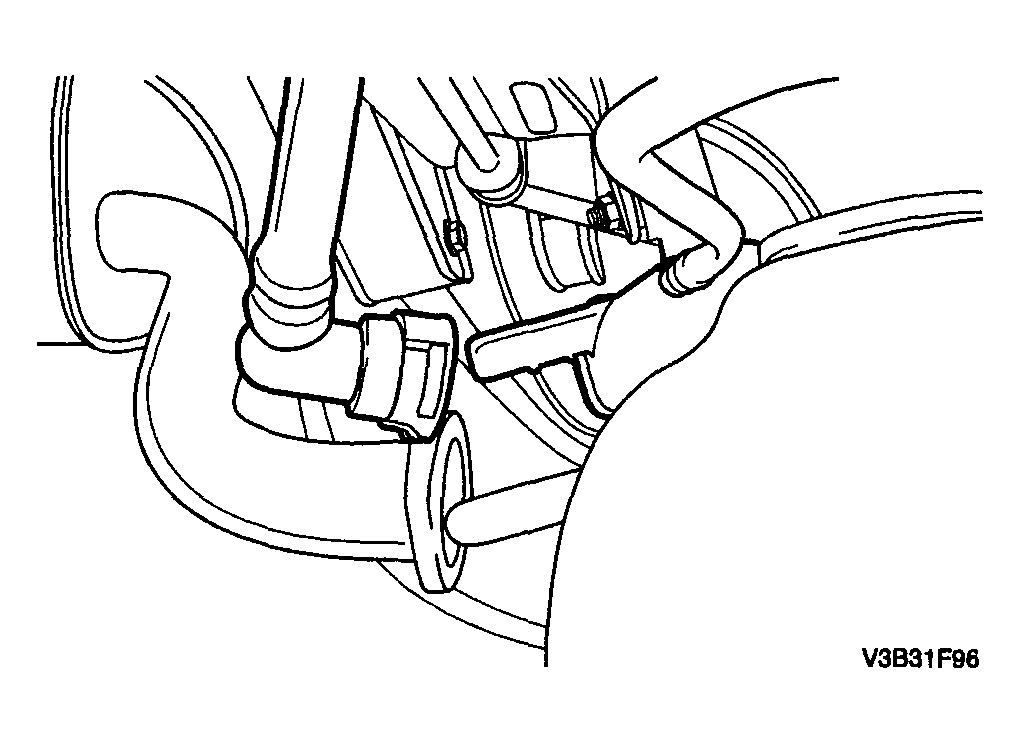
- Disconnect the fuel return line.
 Courtesy of SUZUKI OF AMERICA CORP.
- Disconnect the EVAP vent hose.
 Courtesy of SUZUKI OF AMERICA CORP.
- Disconnect the fuel pump harness connectors.
- Remove the fuel tank.