Removal Procedure
 Courtesy of GENERAL MOTORS CORP.
- Remove the battery and battery tray. Refer to Battery and Battery Tray Replacement
in Engine Electrical.
- Drain the transaxle fluid. Refer to Draining Transmission Fluid .
- Remove the left and right drive axle assemblies. Refer to Inner Shaft and/or Housing Replacement - Front Drive Axle
in Front Drive Axle.
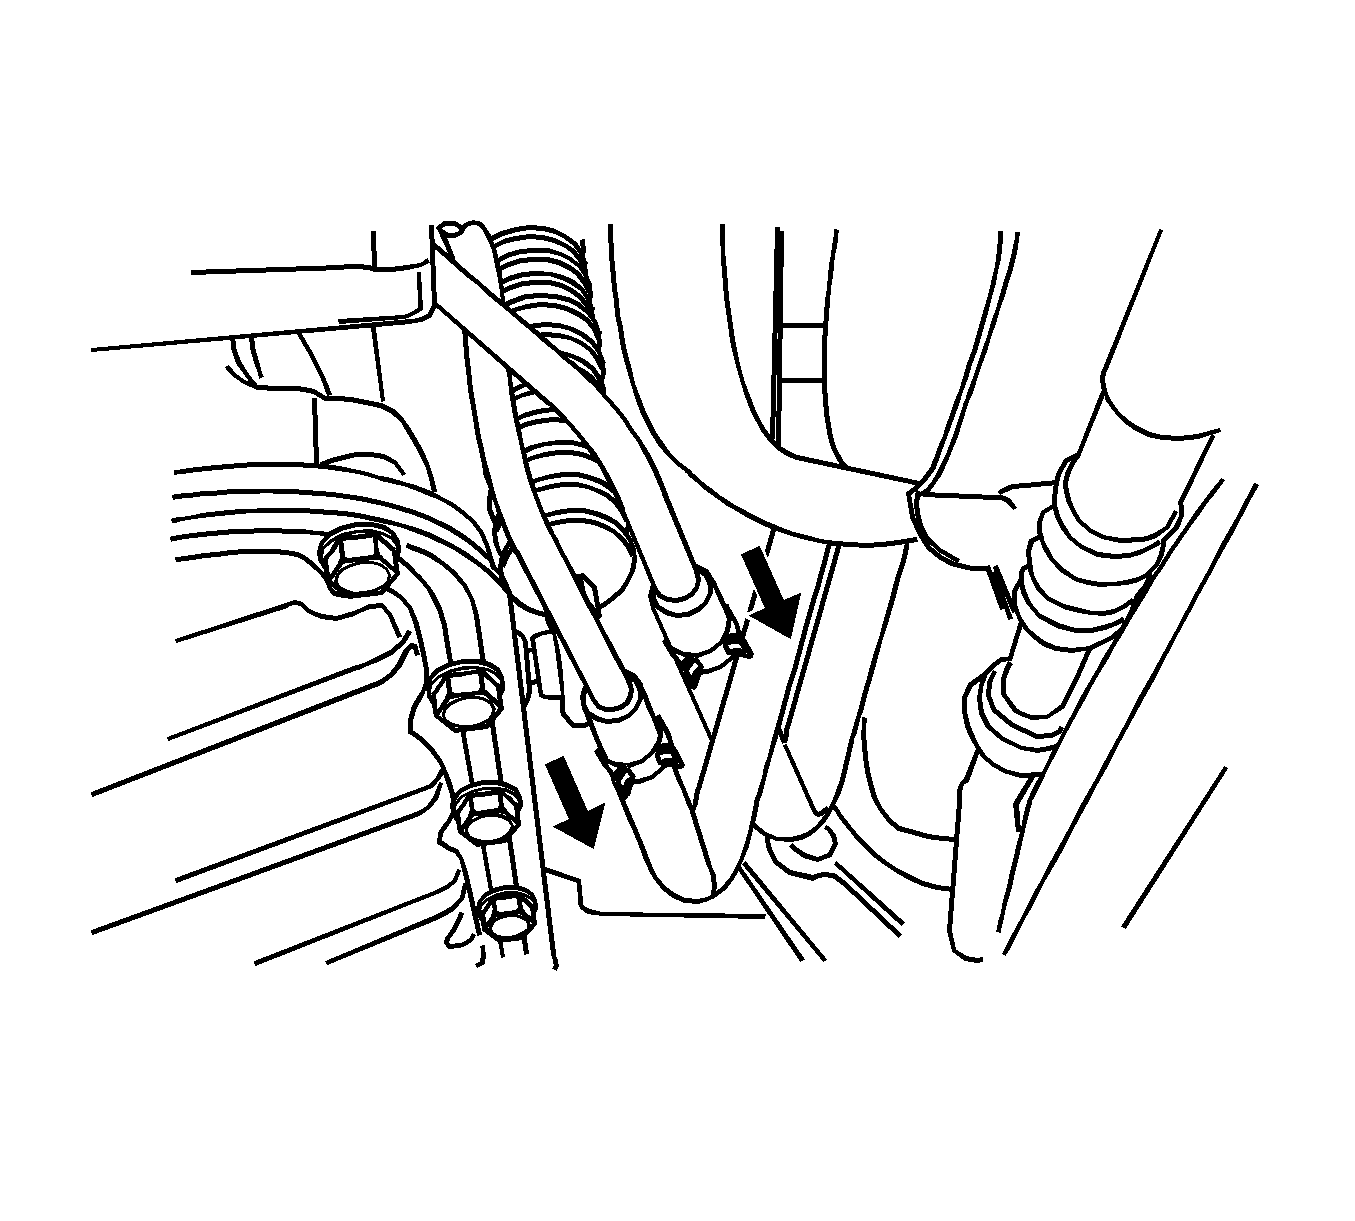
- Disconnect the fluid cooler inlet and outlet hoses from the transaxle.
 Courtesy of GENERAL MOTORS CORP.
- Disconnect the shift control cable from the transaxle. Refer to Shift Control Cable Replacement - Floor Shift .
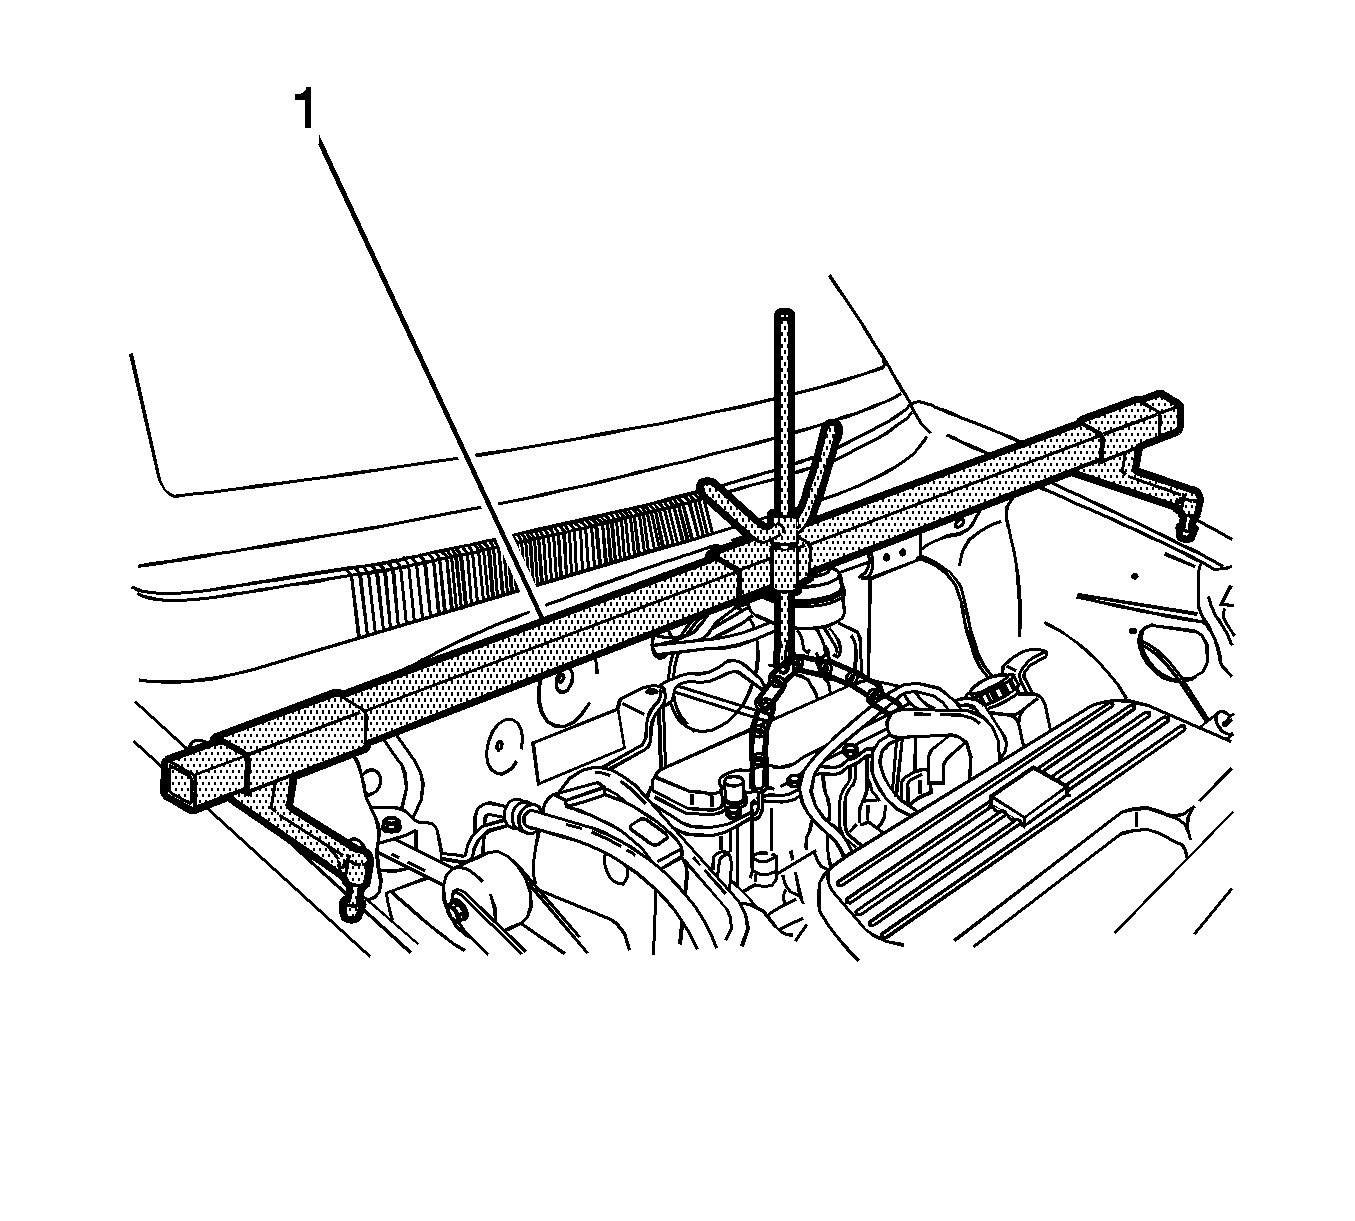
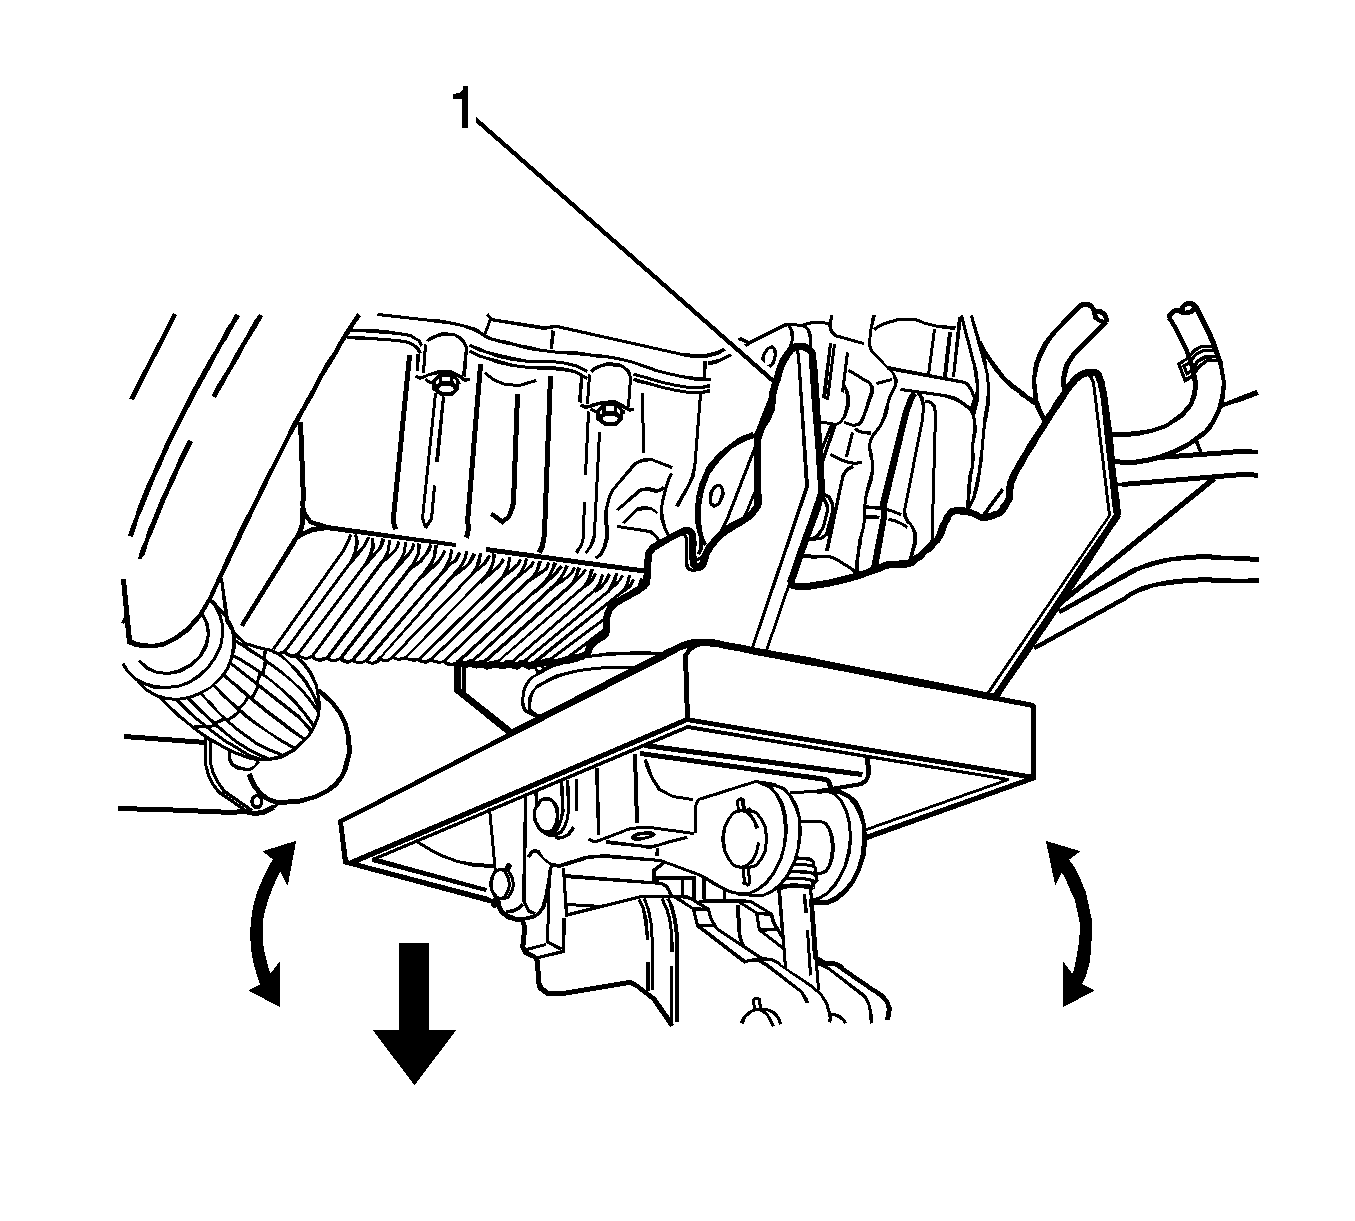
- Install the J 28467-B
(1) to support the engine.
 Courtesy of GENERAL MOTORS CORP.
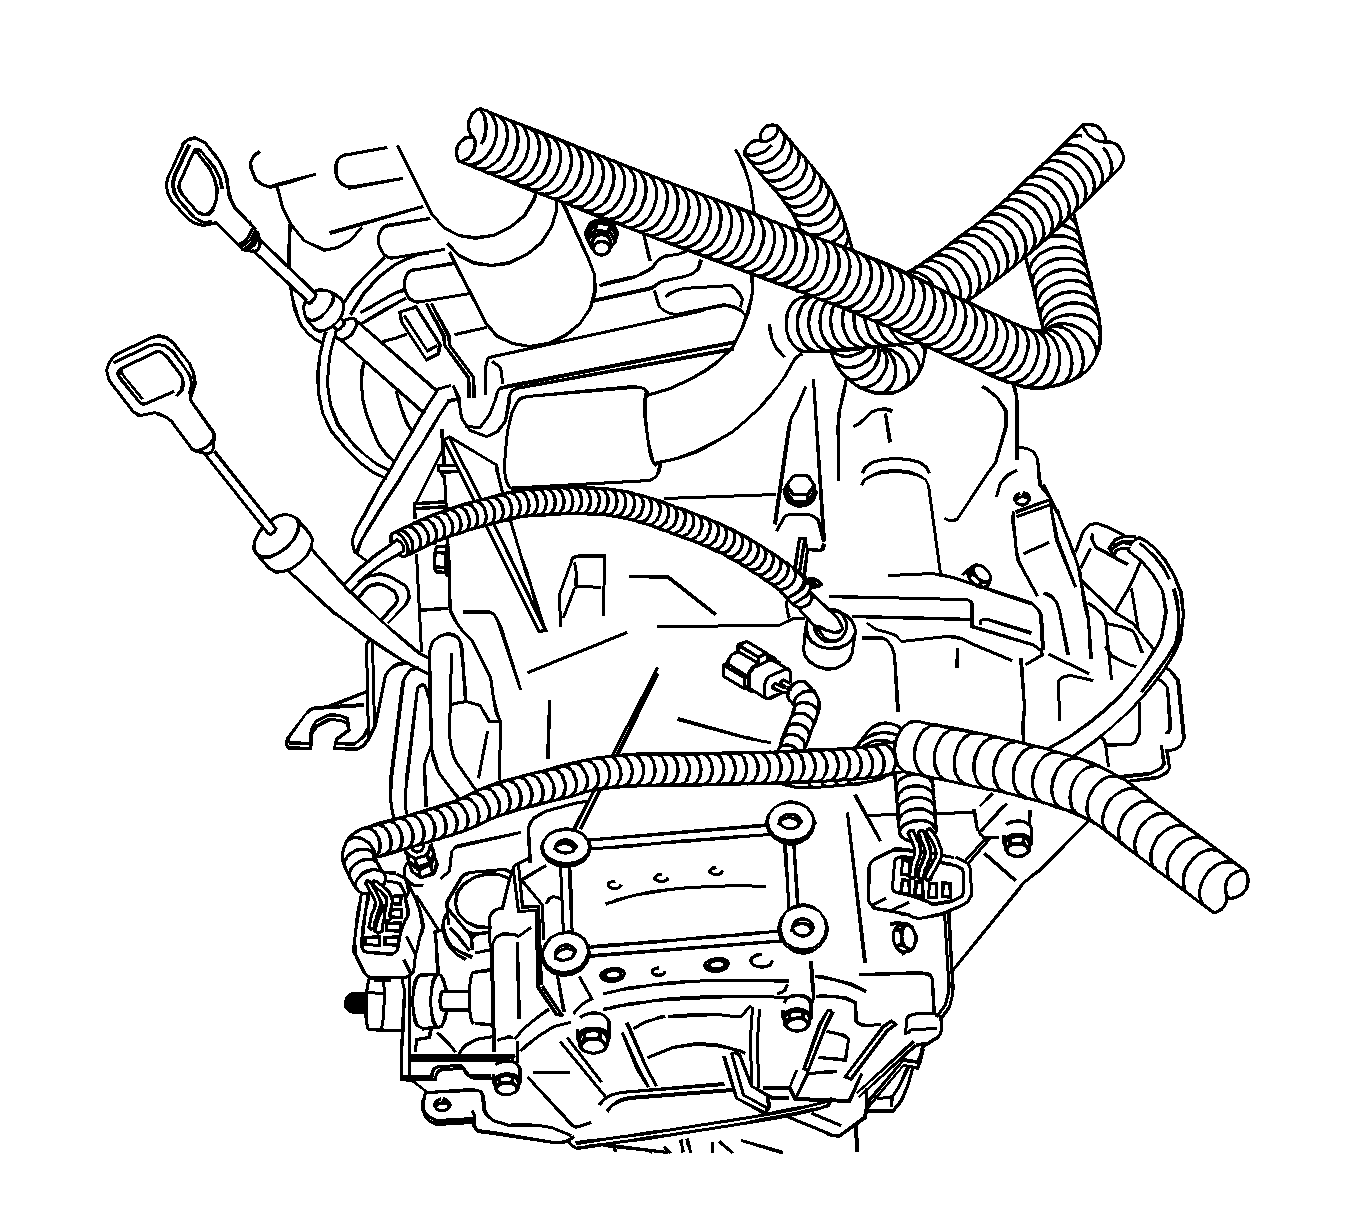
- Disconnect the input shaft speed (ISS) sensor electrical connector.
- Disconnect the output shaft speed (OSS) sensor electrical connector.
- Disconnect the park/neutral position (PNP) sensor electrical connector.
- Disconnect the transaxle electrical connector.
 Courtesy of GENERAL MOTORS CORP.
- Remove the service hall cover.
- Remove the torque converter bolts.
 Courtesy of GENERAL MOTORS CORP.
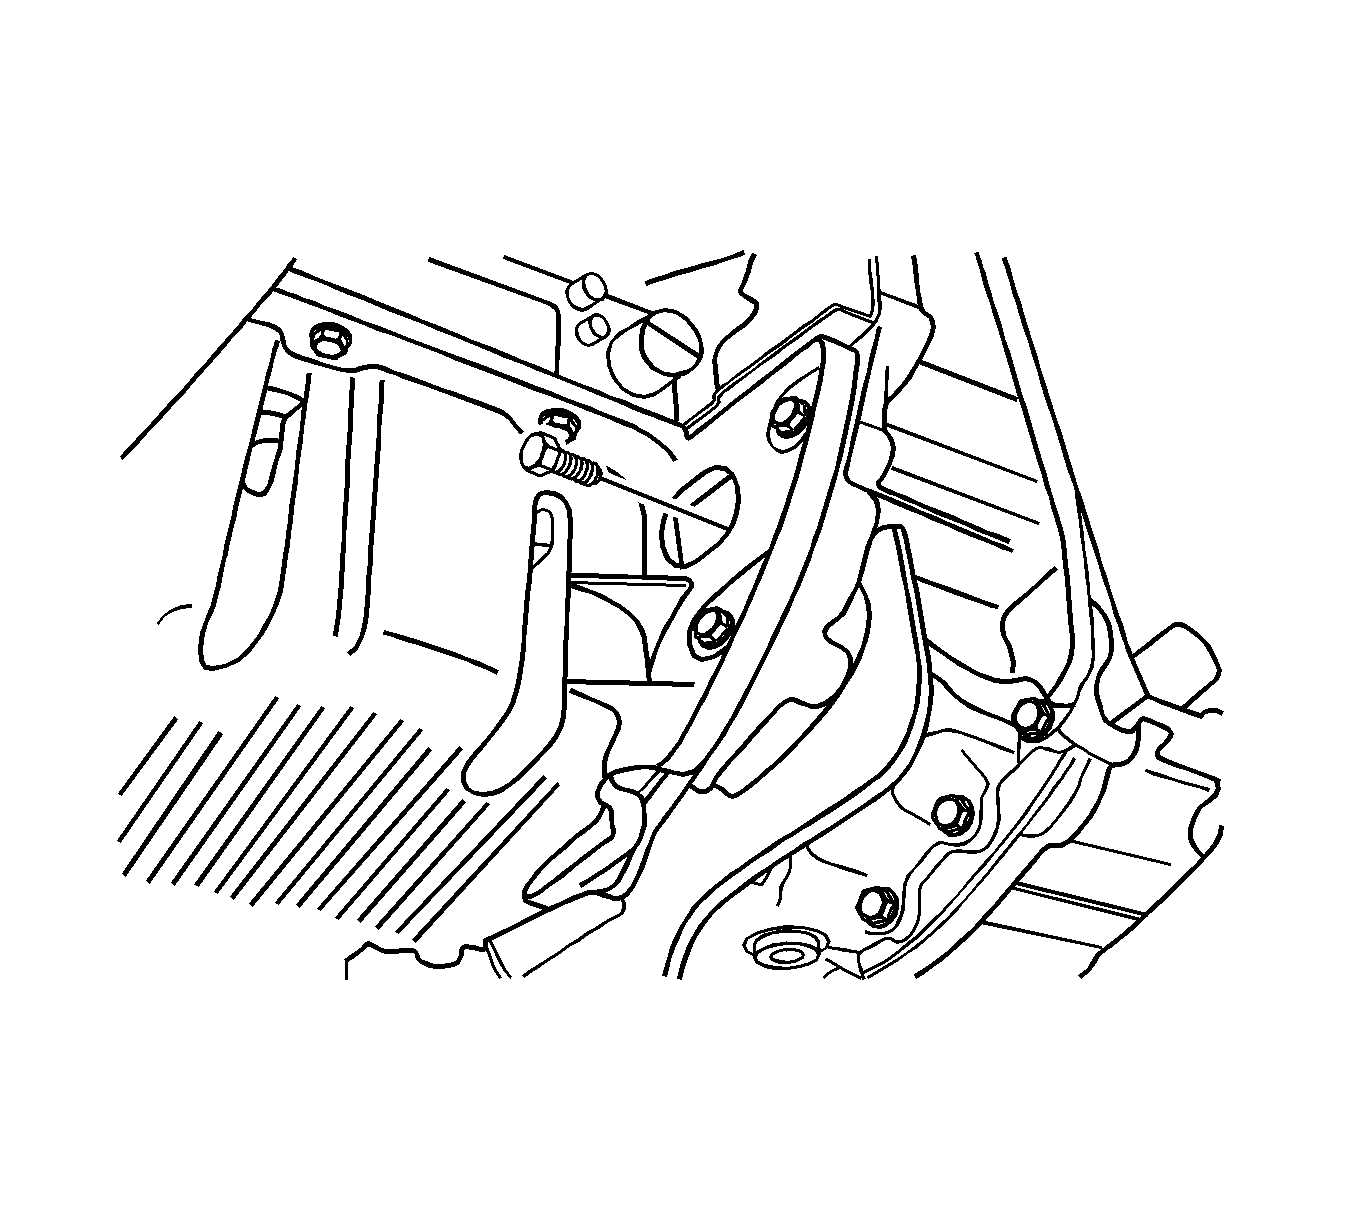
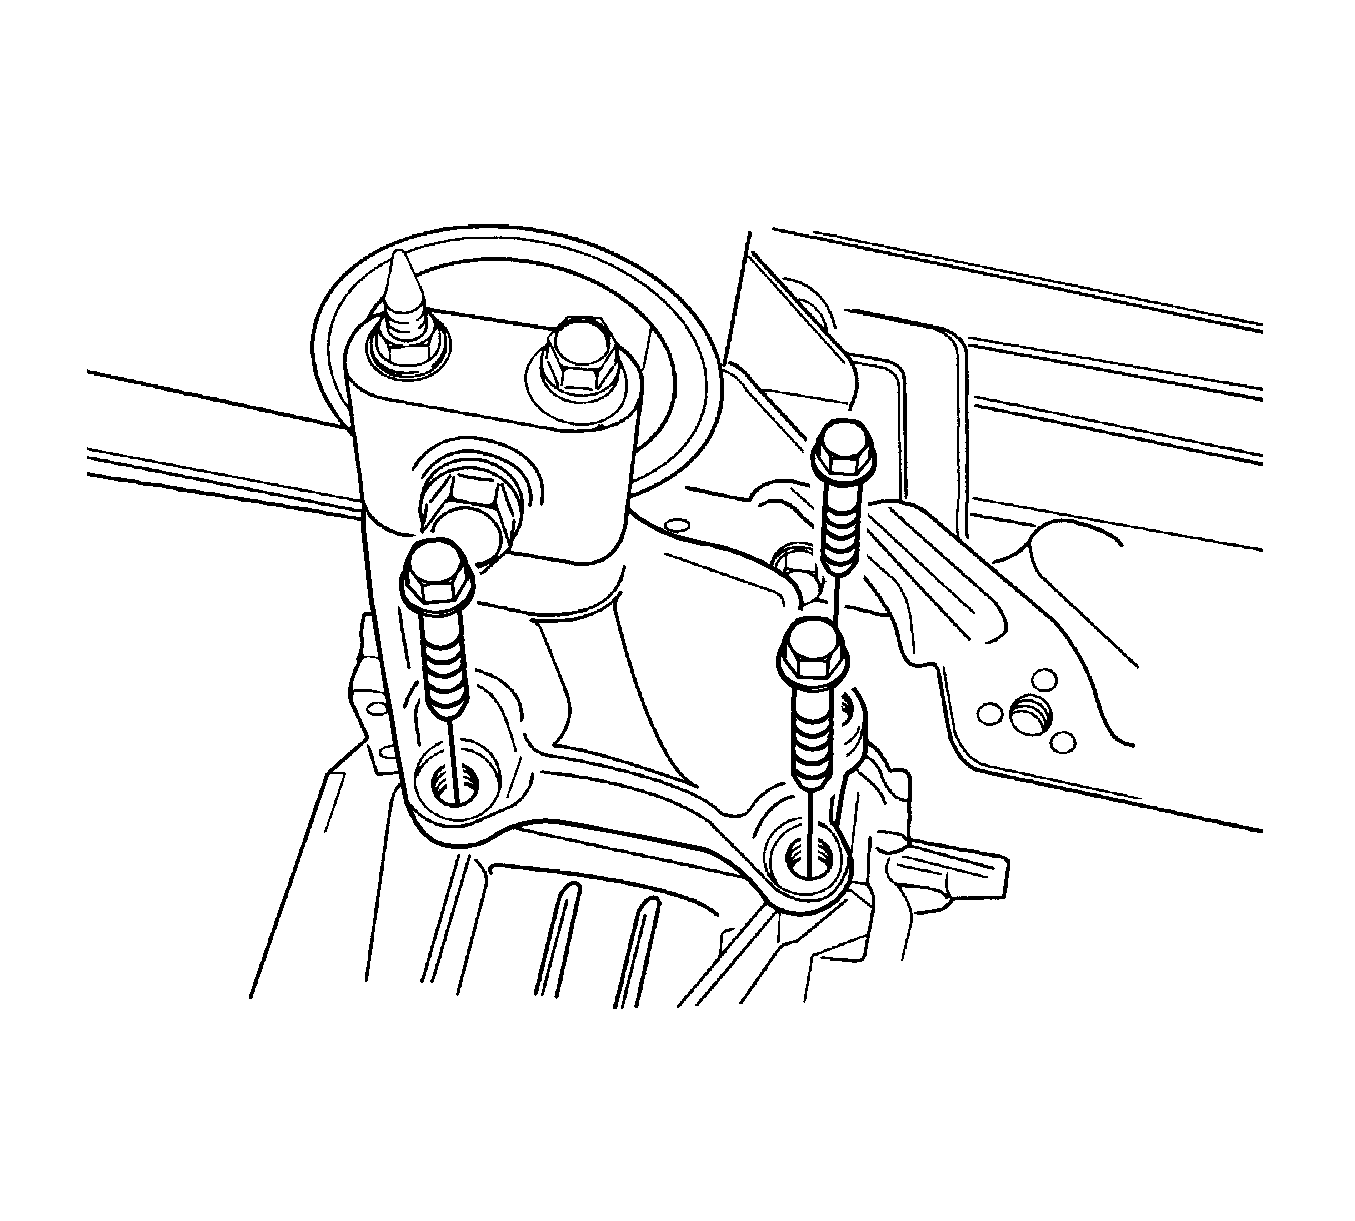
- Remove the damping block connection nut and bolt.
- Remove the rear mounting bracket bolts and rear mounting bracket.
 Courtesy of GENERAL MOTORS CORP.
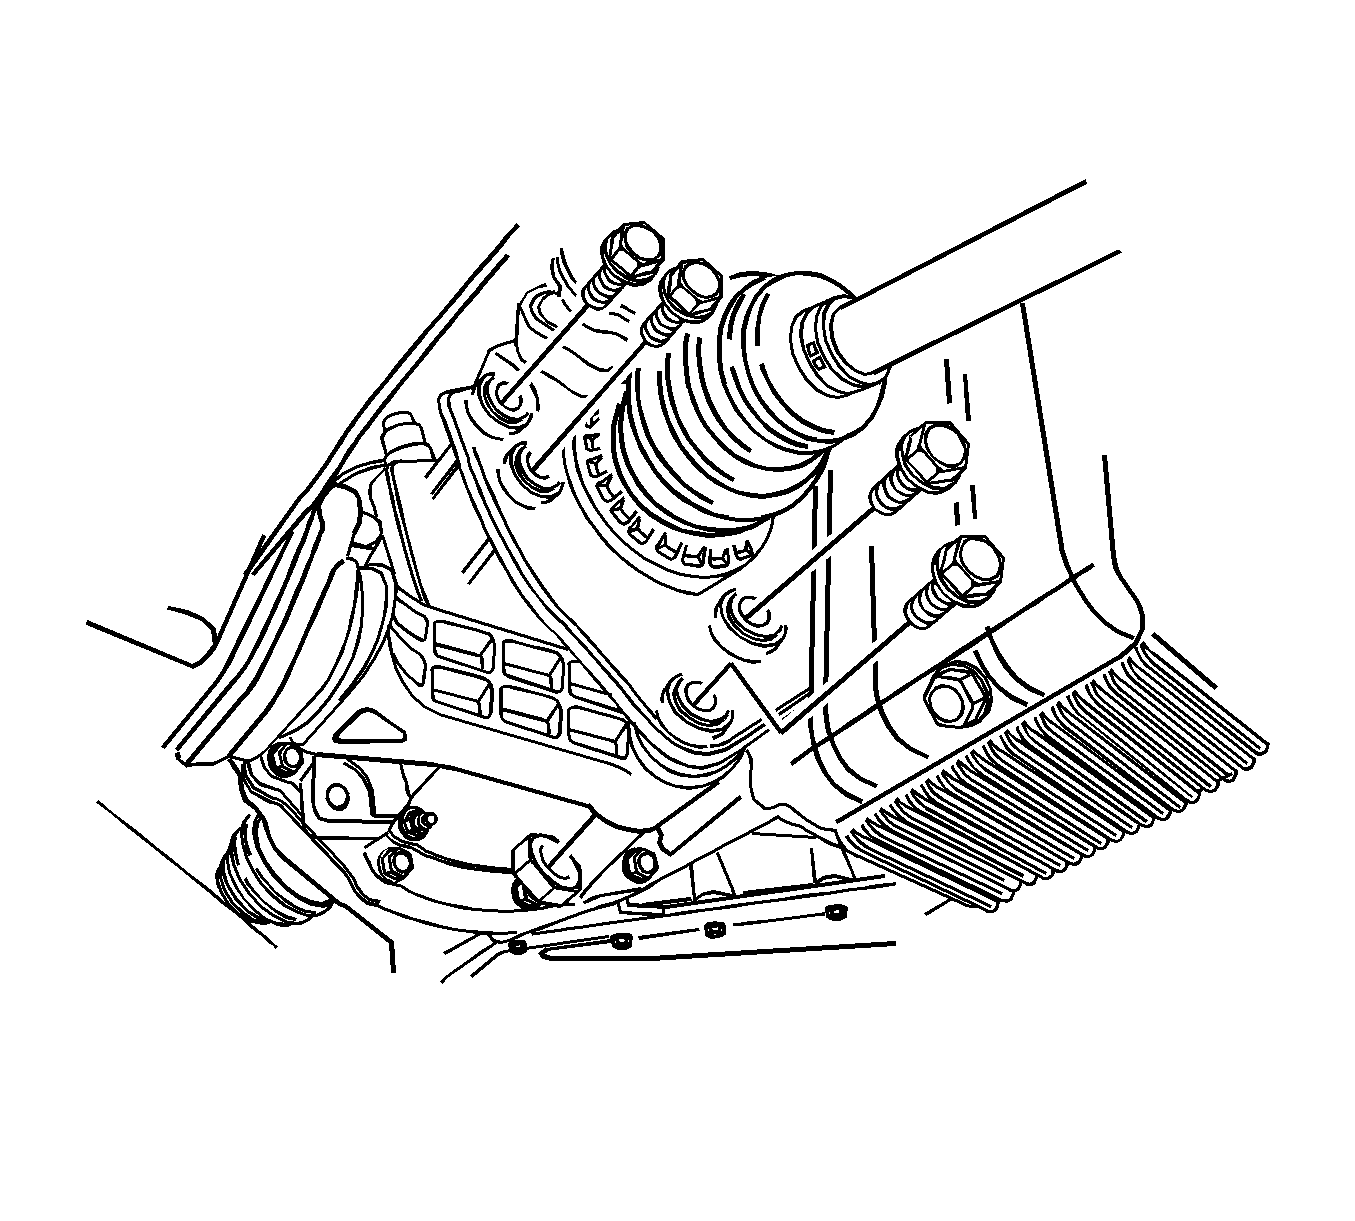
- Remove the 3 upper transaxle mounting bracket bolts.
 Courtesy of GENERAL MOTORS CORP.
- Remove the 3 upper transaxle-to-engine mounting bolts.
 Courtesy of GENERAL MOTORS CORP.
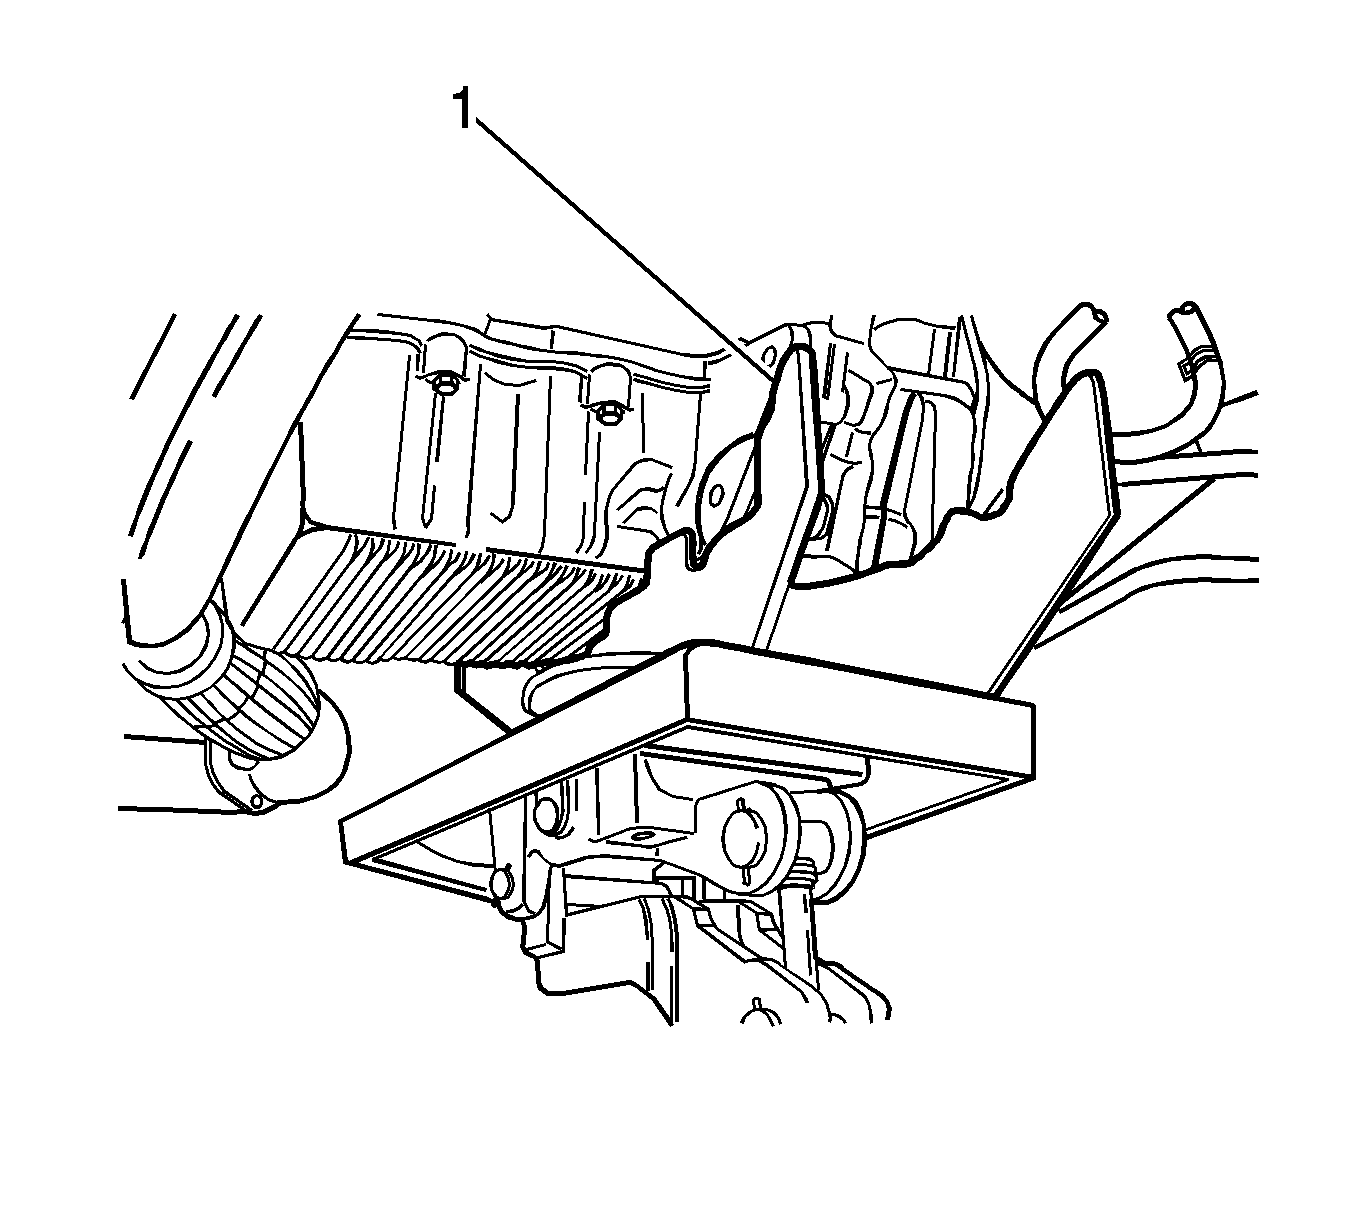
- Secure the transaxle to a transaxle jack and DW 260-120
(1). See Special Tools .
 Courtesy of GENERAL MOTORS CORP.
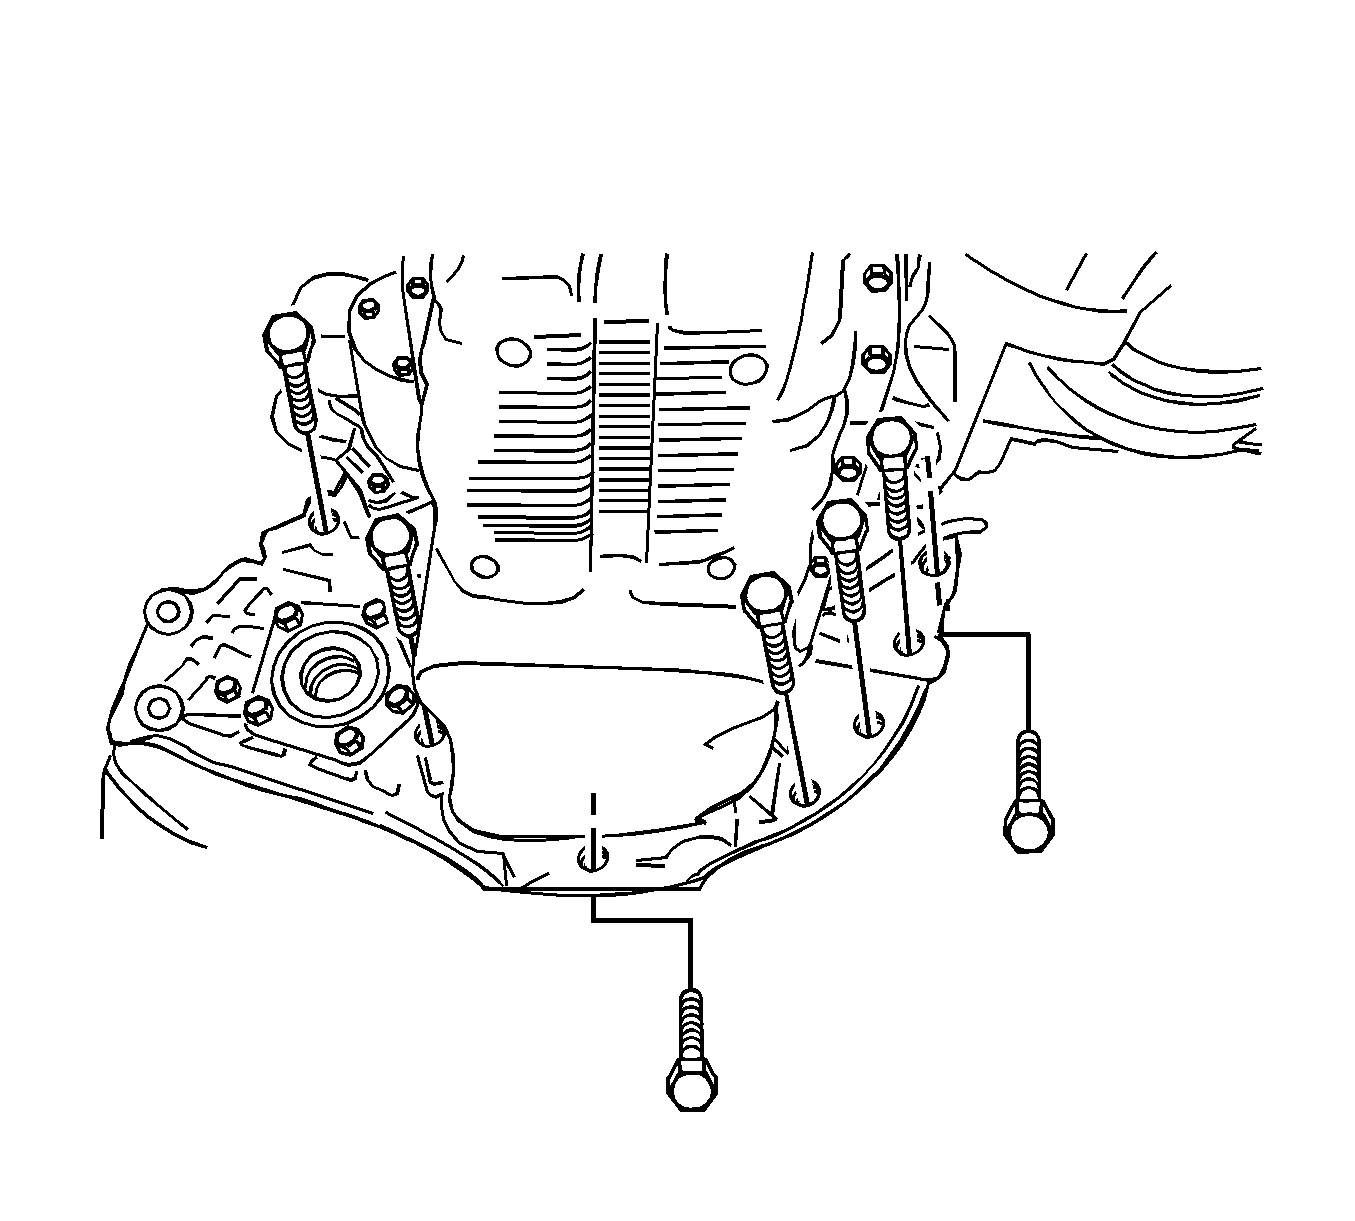
- Remove the 7 lower transaxle-to-engine retaining bolts.
 Courtesy of GENERAL MOTORS CORP.
- Carefully remove the transaxle from the vehicle with the transaxle secured in the DW 260-120
(1). See Special Tools .