Compressor Removal and Installation: Removal
- Disconnect the negative battery cable.
- Discharge and recover the refrigerant. Refer to "DISCHARGING, ADDING OIL, EVACUATING, AND CHARGING PROCEDURES FOR A/C SYSTEM :".
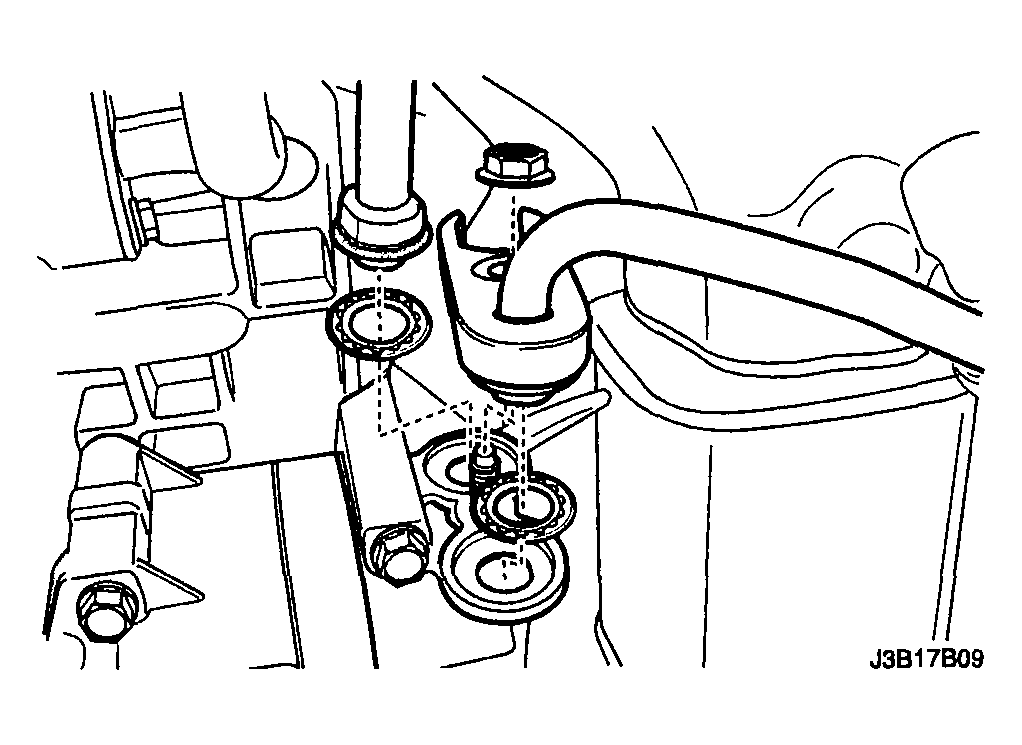
- Remove the discharge hose mounting nut.
- Lift the discharge hose mounting block and the suction hose from the compressor.
 Courtesy of SUZUKI OF AMERICA CORP.
- Raise and suitably support the vehicle.
- Remove the engine under cover. Refer to "ENGINE UNDER COVERS REMOVAL AND INSTALLATION
:".
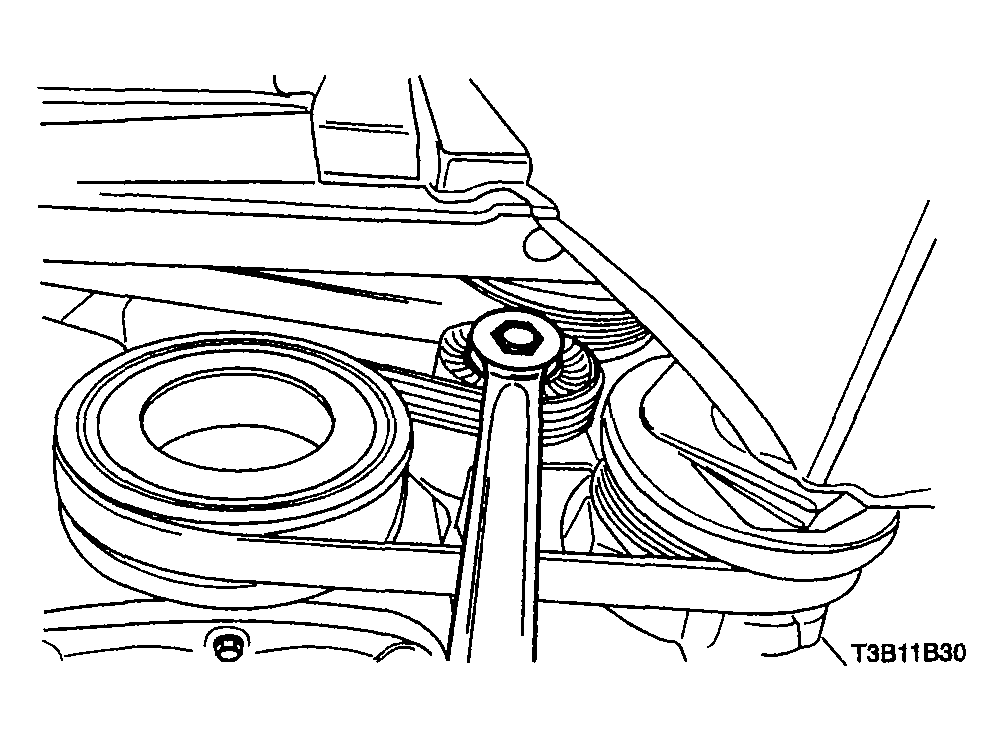
- Remove the accessory drive belt.
 Courtesy of SUZUKI OF AMERICA CORP.
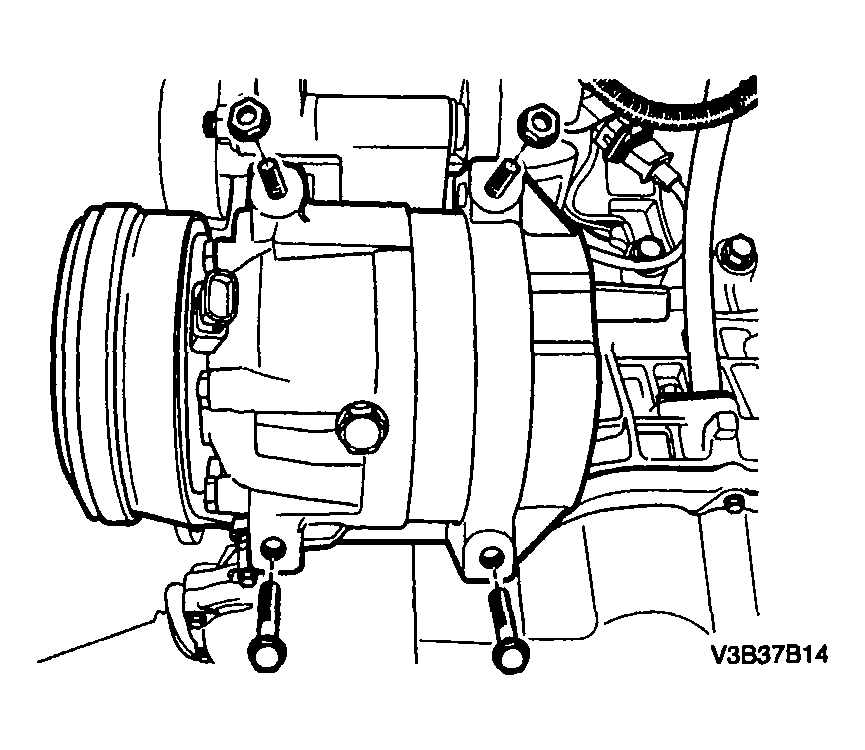
- Disconnect the electrical connector at the compressor.
- Remove the compressor bolts and nuts.
- Remove the compressor.
- Drain the oil from the compressor into a container. Measure the amount of the oil that is drained. Then discard the used oil.
 Courtesy of SUZUKI OF AMERICA CORP.