Control Valve Body Assembly Installation
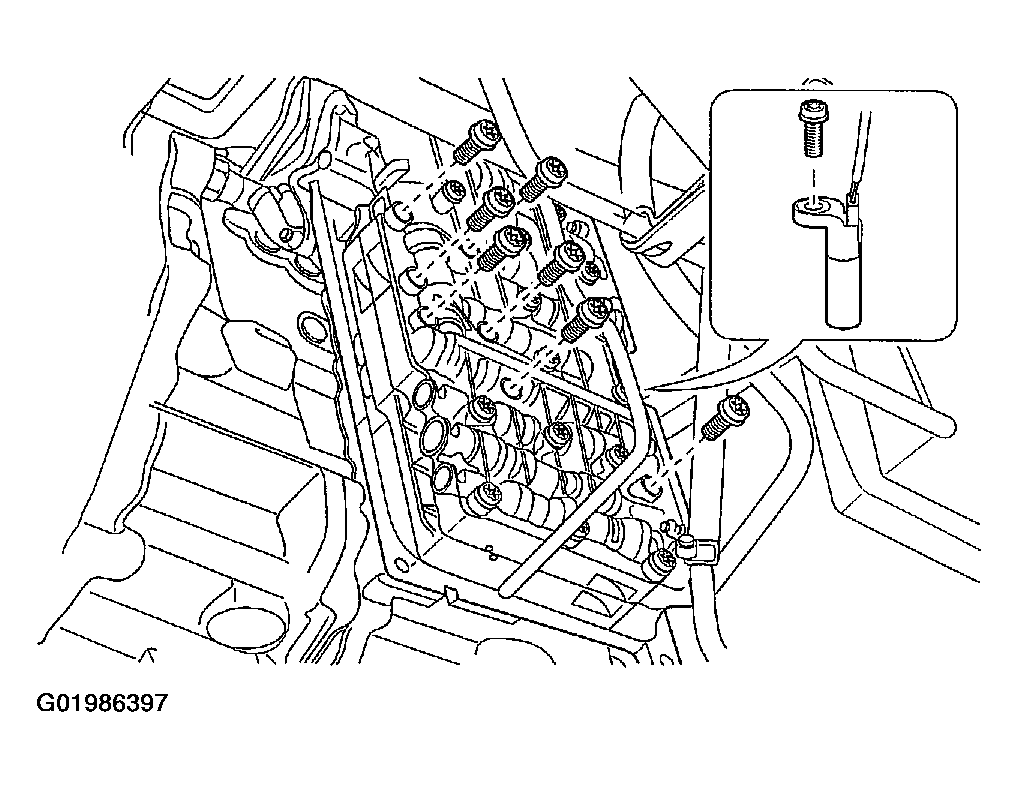
- Tilt the valve body.
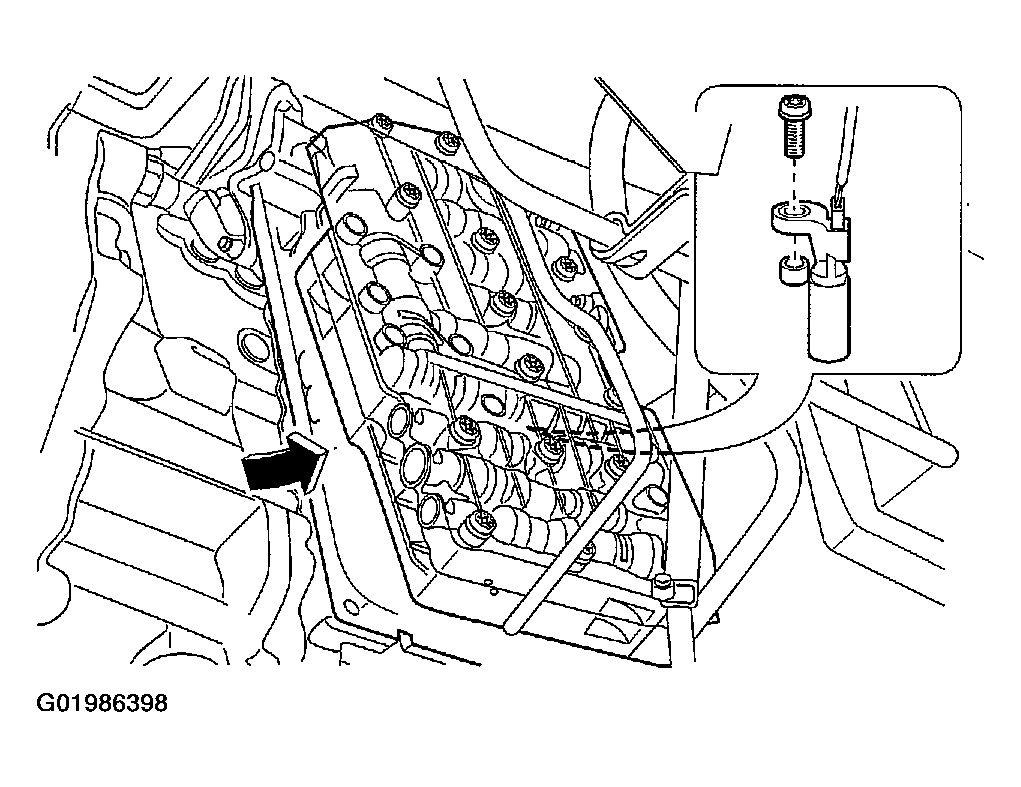
- Install the output speed sensor mounting bolt.
- Tighten the output speed sensor mounting bolt to 6 N.m (53 lb-in).
 Courtesy of SUZUKI OF AMERICA CORP.
- Install the control valve body and the bolts.
- Tighten the valve body mounting bolts to 8 N.m (71 lb-in).
- Install the input speed sensor mounting bolt.
- Tighten the input speed sensor mounting bolt to 8 N.m (71 lb-in).
- Install the oil pan and oil pan gasket. Refer to Oil Pan and Oil Pan Gasket Installation
.
 Courtesy of SUZUKI OF AMERICA CORP.
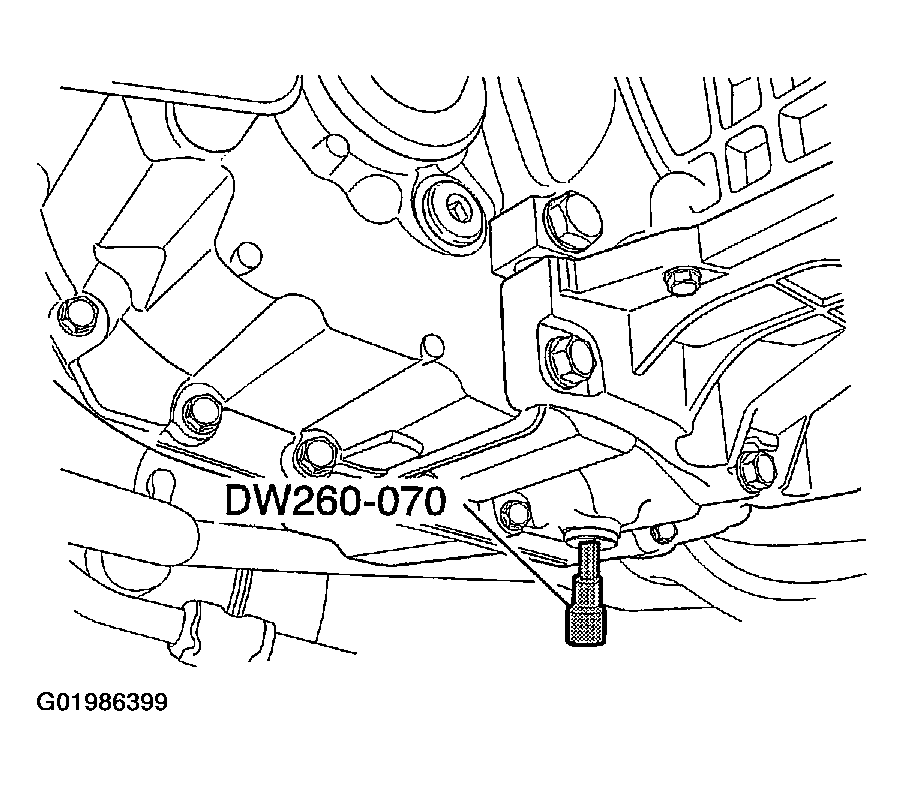
- Install the transaxle fluid drain plug using the plug remove/installer DW260-070.
- Install the engine under cover. Refer to Figure
.
 Courtesy of SUZUKI OF AMERICA CORP.
- Lower the vehicle.
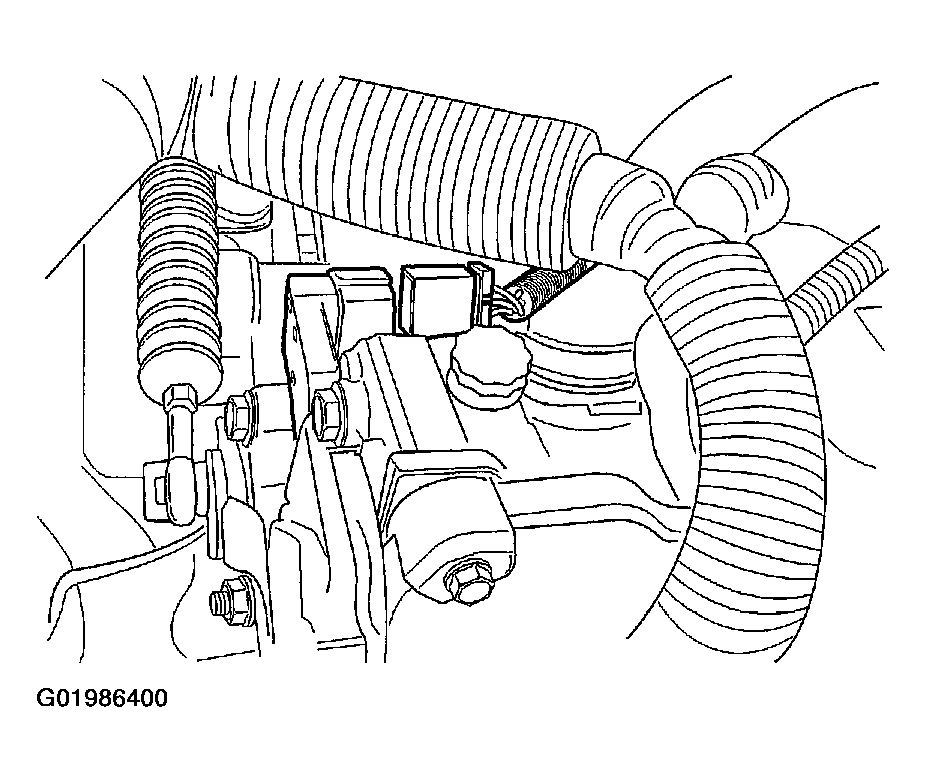
- Connect the transaxle wiring harness and the PNP switch electrical connector.
- Install the air filter housing.
- Refill the transaxle fluid. Refer to Changing the Fluid
- Connect the negative battery cable.
 Courtesy of SUZUKI OF AMERICA CORP.