Compressor Installation
- Add oil to the new compressor. Use the exact amount of oil that you drained from the old compressor.
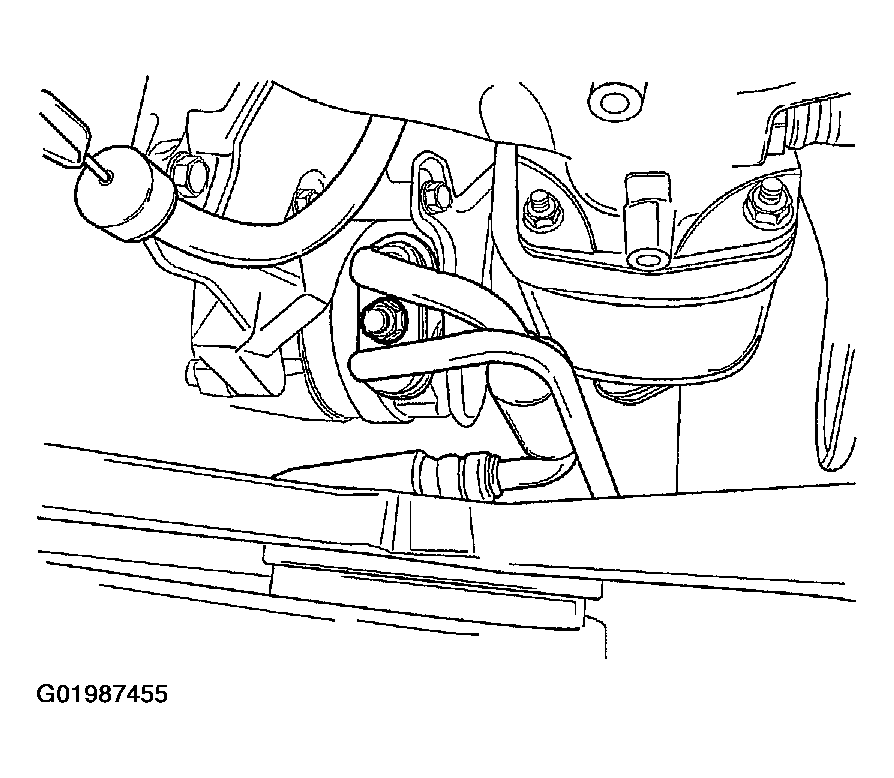
- Install the compressor.
- Install the compressor mounting bolts.
- Tighten the front compressor mounting bolts to 35 N.m (26 lb-ft).
- Tighten the rear compressor mounting bolts to 20 N.m (15 lb-ft).
- Install the serpentine accessory drive belt. Refer to SERPENTINE ACCESSORY DRIVE BELT INSTALLATION
.
 Courtesy of SUZUKI OF AMERICA CORP.
- Install new sealing washers to the suction hose and the discharge hose mounting.
- Connect the electrical connector at the compressor.
- Lower the vehicle.
- Place the suction hose into its cavity in the compressor and install the discharge hose mounting block to clamp it into place. Hold this all together while tightening the retaining nut.
- Tighten the discharge hose connecting block-to-compressor retaining nut to 33 N.m (24 lb-ft).
- Connect the negative battery cable.
- Evacuate and recharge the A/C system. Refer to Discharging, Adding Oil, Evacuating, and Charging Procedures for A/C System
.
 Courtesy of SUZUKI OF AMERICA CORP.