Clutch B/E Disassembly and Assembly
Clutch B/E Disassembly and AssemblyTools Required:
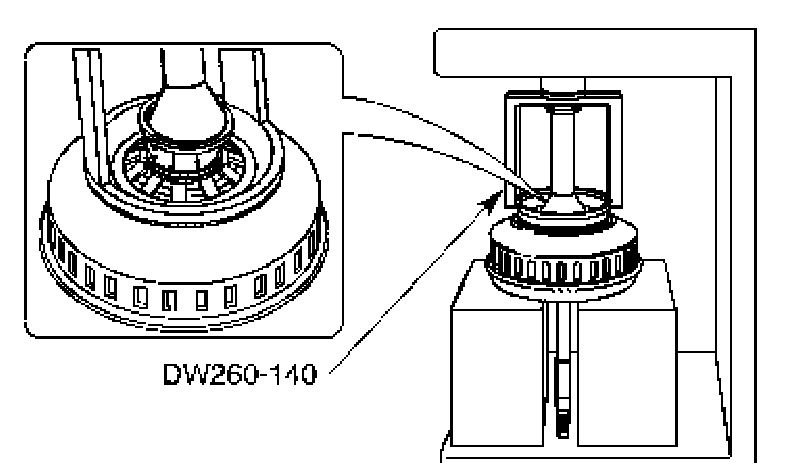
DW260-140 Clutch B Stop Ring Remover/Installer
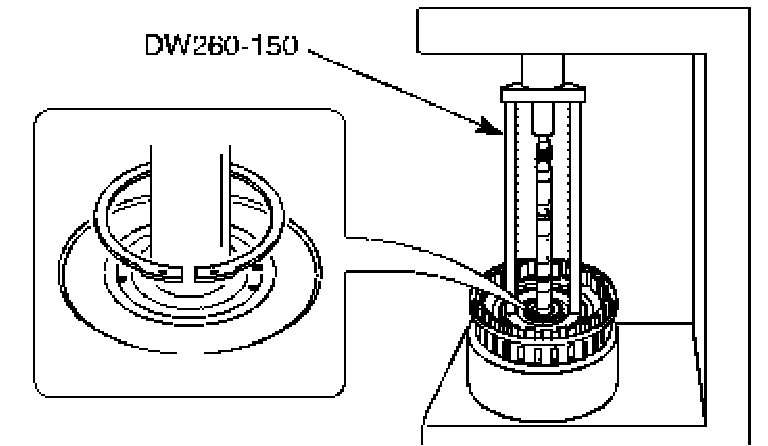
DW260-150 Clutch B Stop Ring Remover/Installer
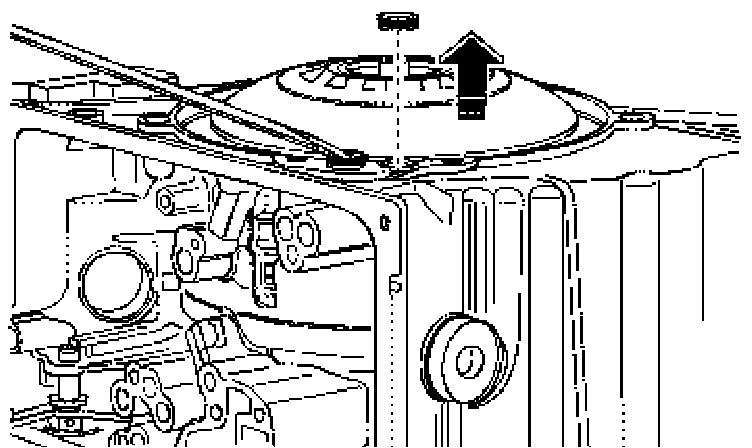
1. Remove the rear cover.
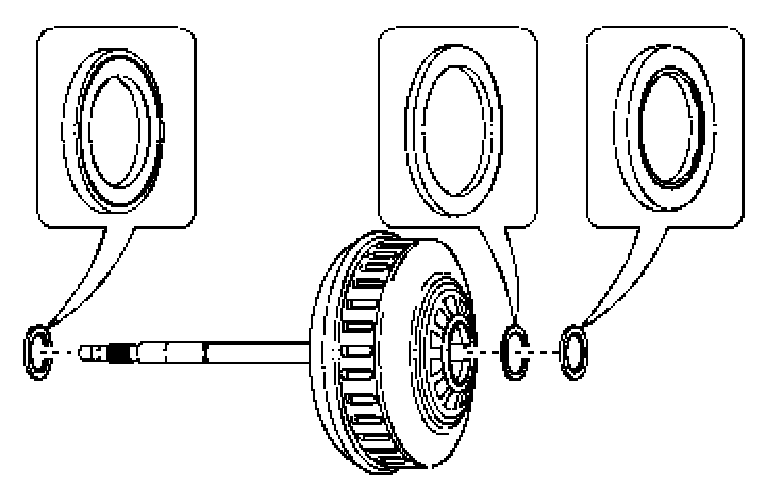
2. Remove the two sealing rings (clutch B/E).
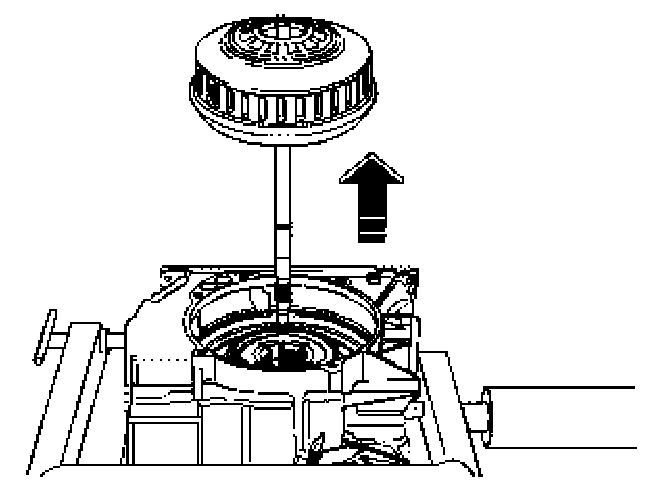
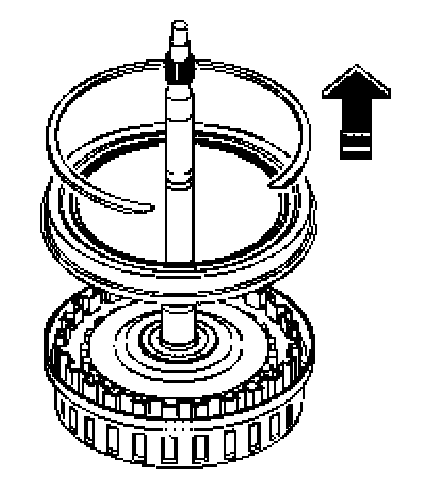
3. Take out input shaft with clutch B/E.
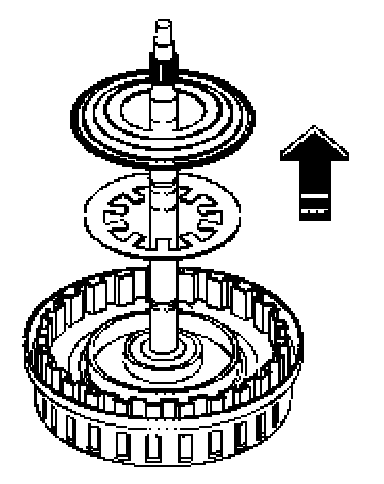
4. Remove needle bearing and thrust washer.
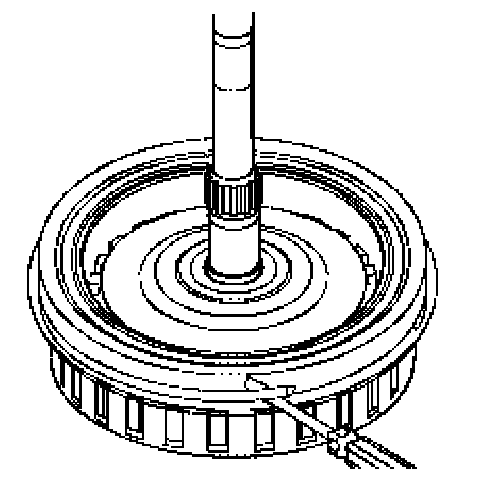
5. Remove shim.
6. Take out the retaining snap ring.
7. Take out the piston B.
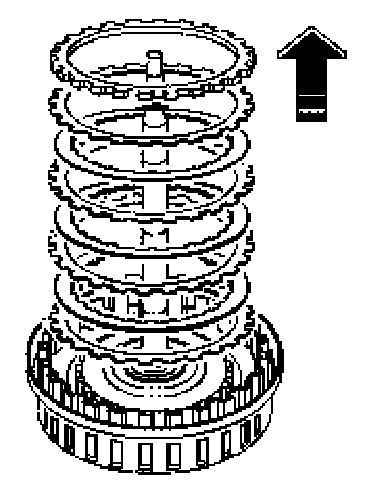
8. Remove disc set B.
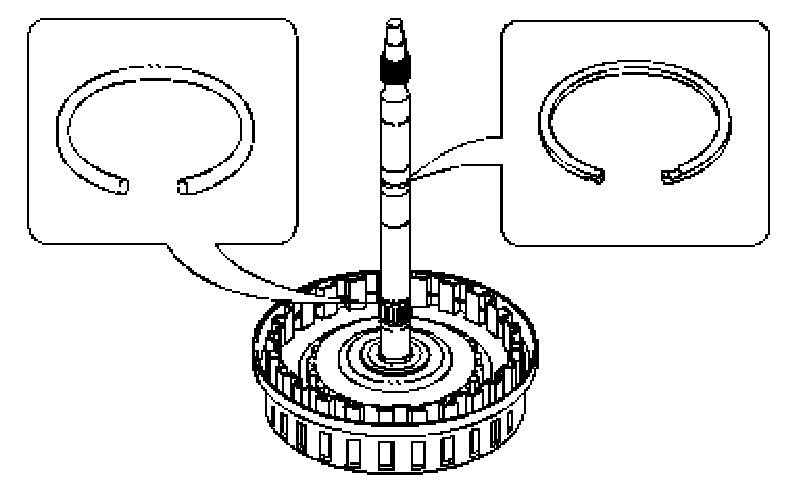
9. Take out the piston rings.
Removal Notice
^ Remove the piston ring for the input shaft and the retaining ring.
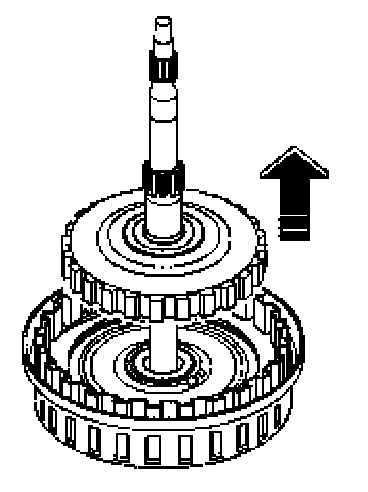
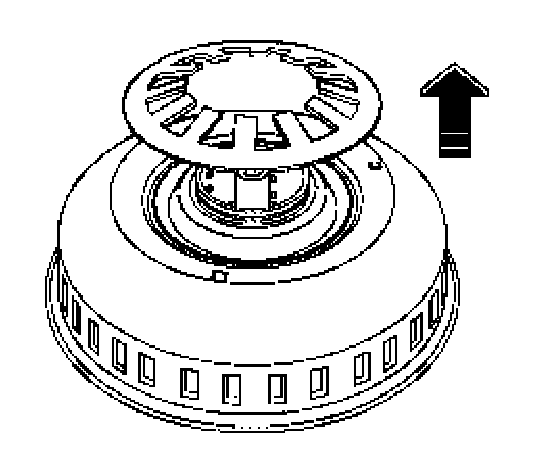
10. Remove inner disc carrier E and needle roller thrust bearing.
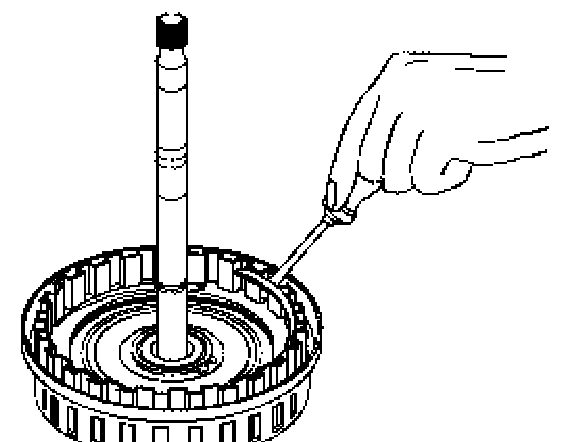
11. Take out the snap ring.
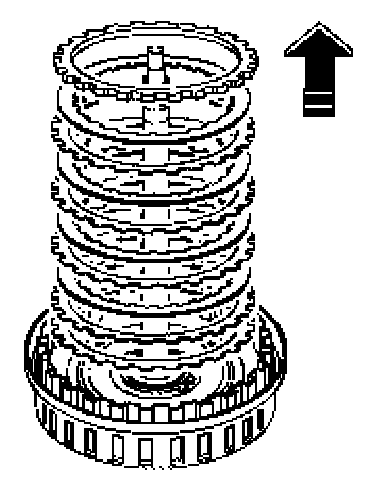
12. Remove disc set E.
13. Press down cup spring (clutch E) with cup spring press fixture.
14. Remove the split stop ring.
15. Remove the oil dam and cup spring.
16. Pull the O-ring off the oil dam.
17. Press down cup spring (clutch B) with cup spring press fixture.
18. Remove the split stop ring.
19. Remove the cup spring.
20. Installation should follow the removal procedure in the reverse order.
Adjustment Notice
Before assembling clutch B/E, setting discs (clutch B/E) have to measured by below measurement procedure.