Removal and Installation
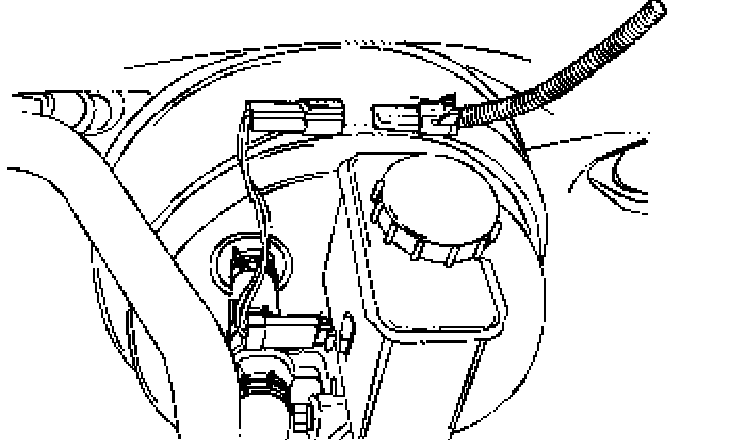
Master Cylinder Assembly Removal1. Disconnect the harness connector that is mounted to the top of the brake fluid reservoir.
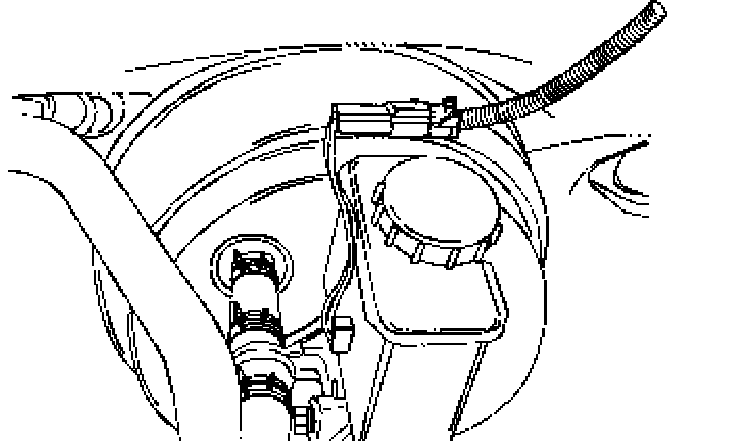
2. Remove the brake fluid level switch by sliding it out of the reservoir. It is not necessary to drain the reservoir.
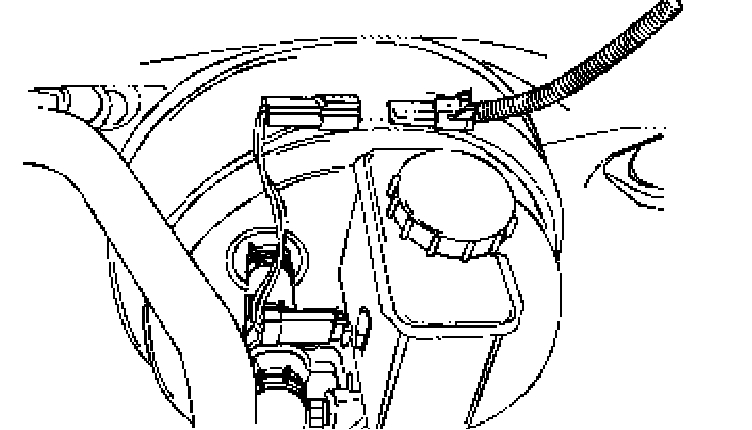
3. Remove the brake fluid level switch and wire harness from the brake fluid reservoir.
4. Disconnect the brake lines from the master cylinder body.
5. For vehicles with the manual transaxle, disconnect the clip that secures the clutch hose connection to the master cylinder and move the clip out of the way.
6. Remove the clutch hose from the master cylinder.
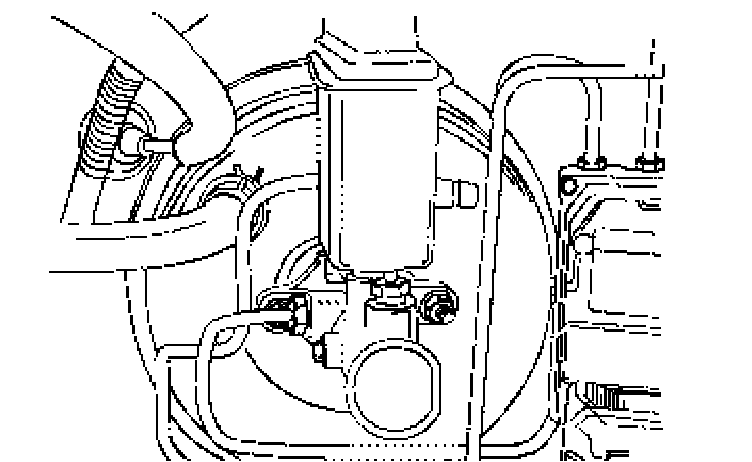
7. Plug the opening to the brake lines to prevent the loss or contamination of the fluid.
8. Remove the master cylinder mounting nuts.
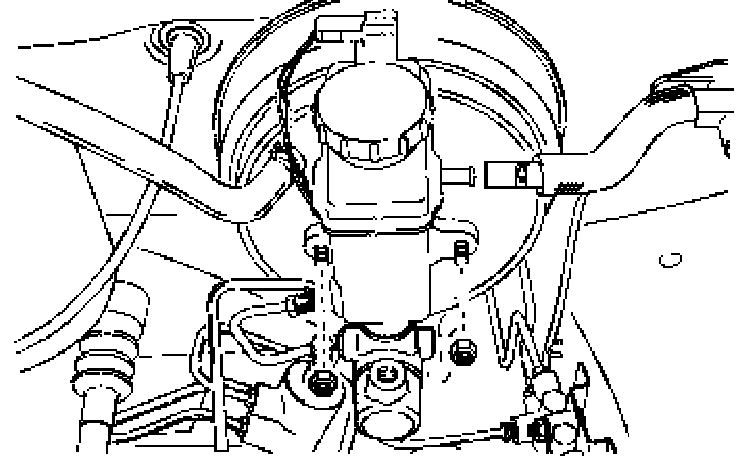
9. Remove the master cylinder assembly.
10. Drain the brake fluid.
Master Cylinder Assembly Installation
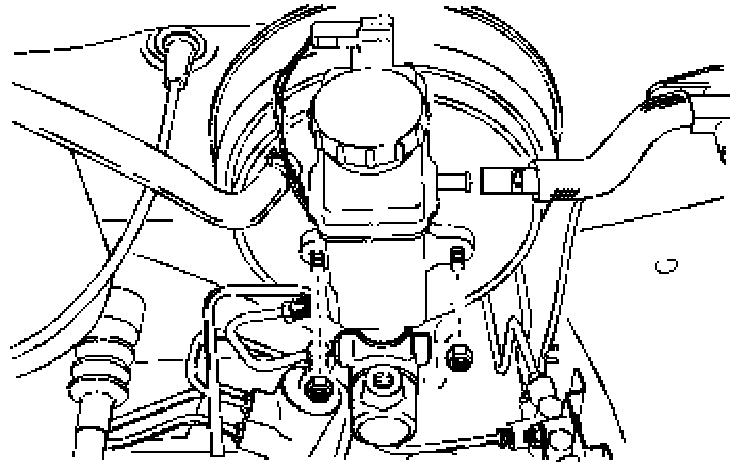
1. Install the master cylinder assembly with the mounting nuts.
Tighten: Tighten the master cylinder mounting nuts to 13 Nm (115 inch lbs.).
2. Install the brake lines to the master cylinder body.
Tighten: Tighten the master cylinder brake lines to 16 Nm (12 ft. lbs.).
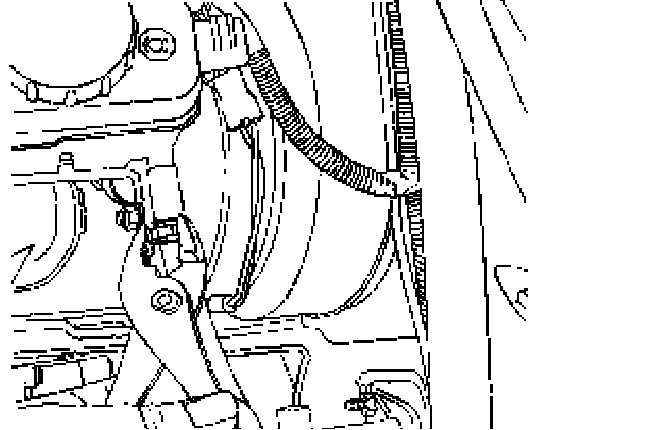
3. For vehicles with the manual transaxle, install the clutch hose connection to the master cylinder with the clip.
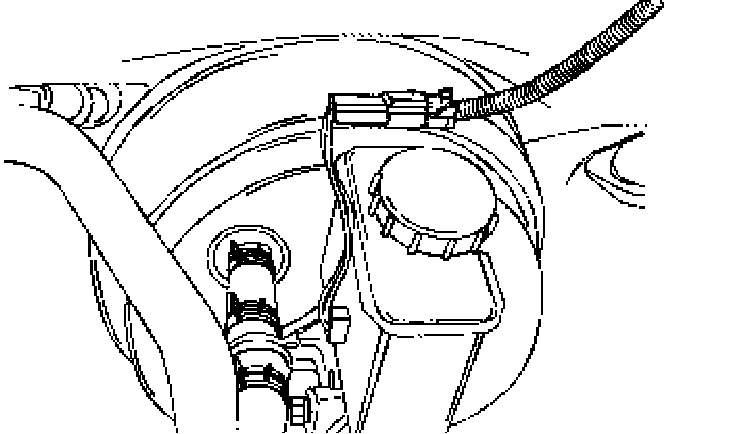
4. Install the low brake fluid level switch by pushing it into the side of the brake fluid reservoir opposite the engine.
5. Install the connector for the low brake fluid level switch by sliding it into its mount on the top of the brake fluid reservoir.
6. Connect the brake fluid level switch to the wiring harness.
7. Add the brake fluid.
8. Check for leaks.
9. Recheck the fluid level.
10. Bleed the brake system.