Front Seatback Removal and Installation
Front Seatback Removal and InstallationFront Seatback Removal
1. Remove the front bucket seat from the vehicle. Refer to Front Bucket Seat Removal.
2. Remove the screws and slide the back panel down to remove it.
3. Remove the each seat trim.
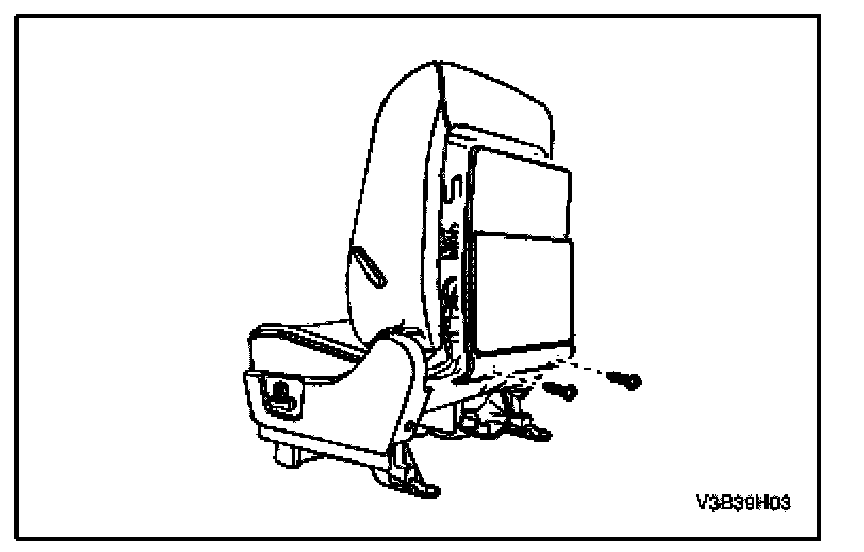
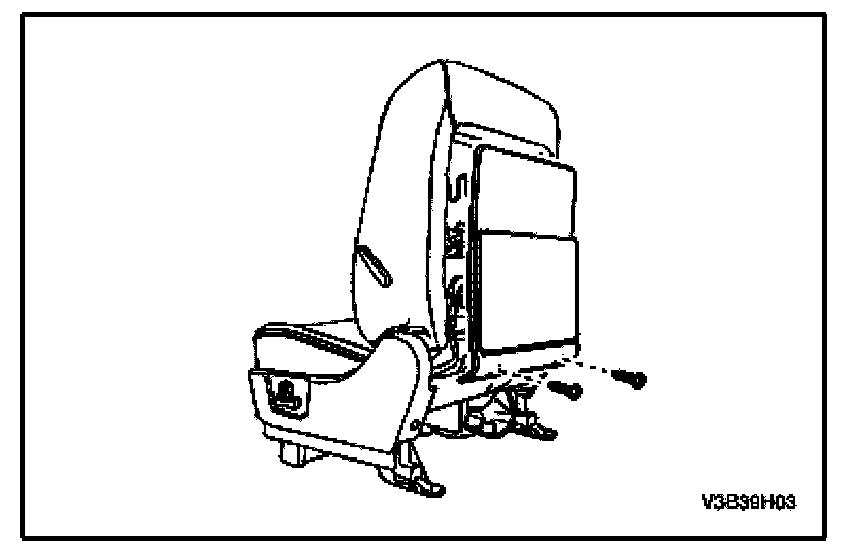
4. Disconnect the electrical connectors.

5. Remove the bolts and the seatback.
Front Seatback Installation
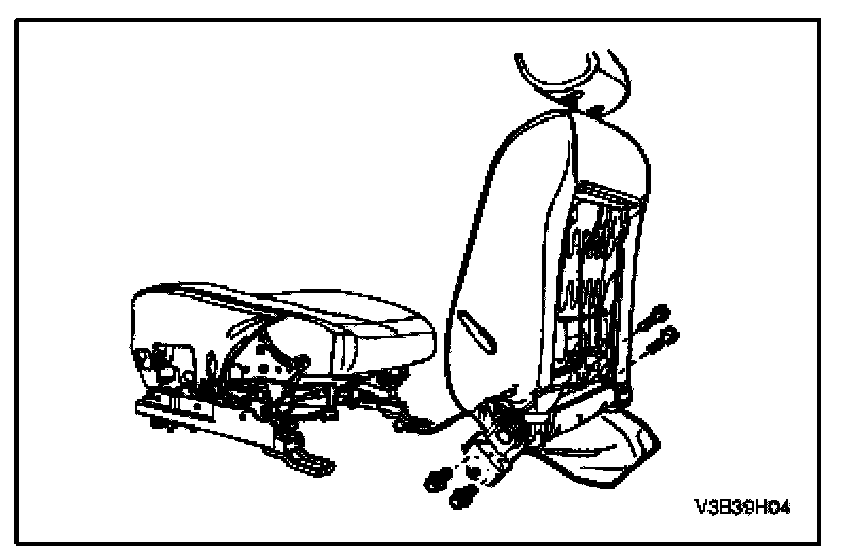
1. Install the seatback onto the seat cushion.
CAUTION: Dissimilar metals in direct contact with each other may corrode rapidly. Make sure to use the correct fasteners to prevent premature corrosion.
2. Install the front seatback bolts.
Tighten:
Tighten the front seatback bolts to 45 N.m (33 lb.ft).
3. Connect the electrical connectors.
4. Install the seat trims to its original position.
5. Install the back panel onto the seat with the screws.
Tighten:
Tighten the front seat cover screws to 12 N.m (106 lb.in).
6. Install the front bucket seat in the vehicle. Refer to Front Bucket Seat Installation.