Crossmember Assembly Installation
Crossmember Assembly Installation1. Install the control arm onto the crossmember assembly.
Tighten: Tighten the stabilizer bar bolts and nuts to 50 Nm (37 ft. lbs.).
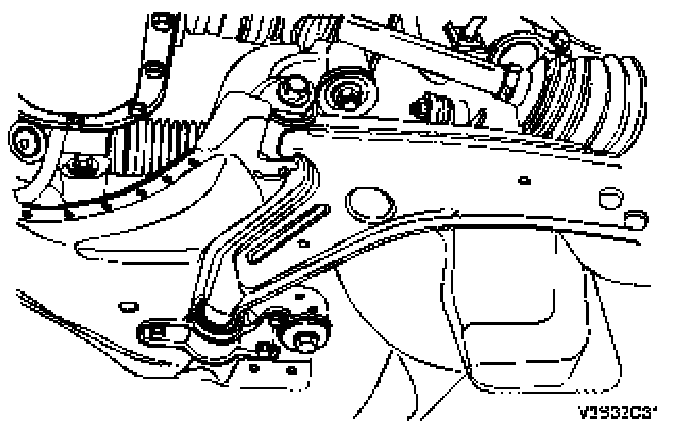
2. Install the crossmember bolts-to-control arm, nuts-to-longitudinal and crossmember.
Tighten: Tighten the crossmember bolts-to-control arm and nuts-to-longitudinal to 150 Nm (110 ft. lbs.).
3. Install the out tie rod and control arm ball joint.
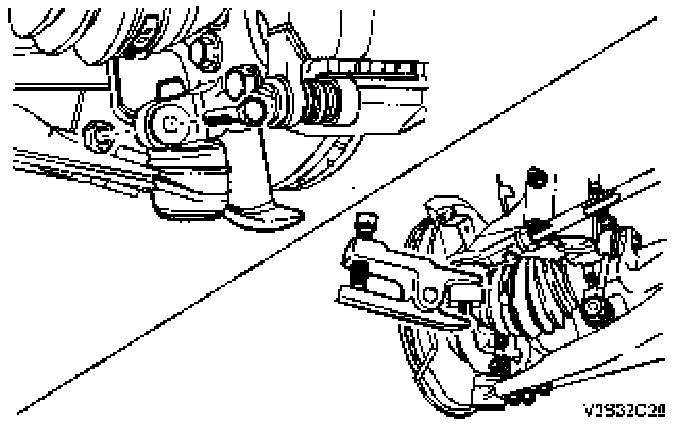
4. Install the front exhaust pipe and centermember.
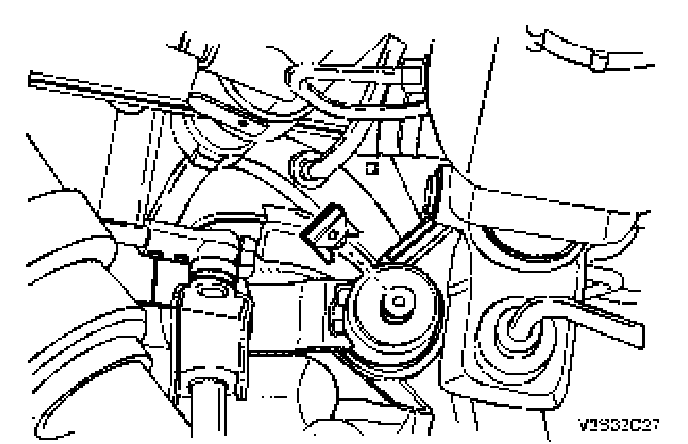
5. In case of manual transaxle vehicle, install the shift control bracket and clip.
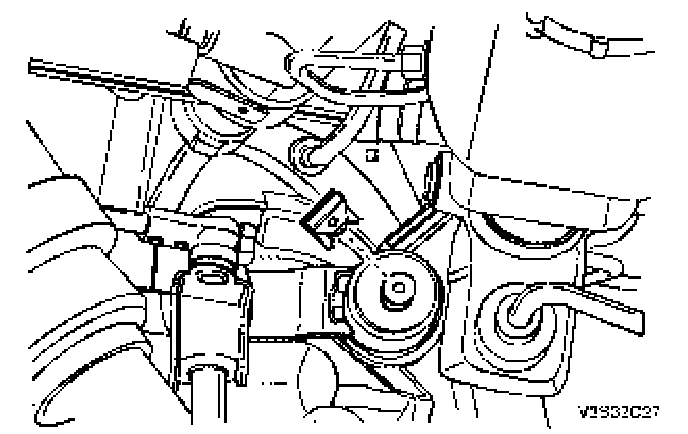
6. Install the steering interim shaft and bolt.
Tighten: Tighten the steering interim shaft bolt to 25 Nm (18 ft. lbs.).
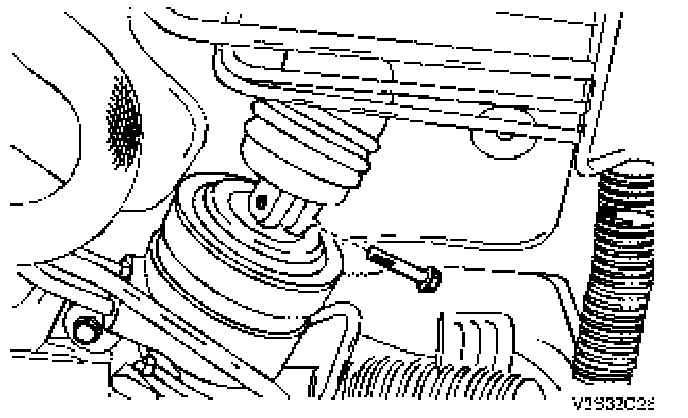
7. Install the power steering pipe union nuts.
Tighten: Tighten the power steering pipe union nuts to 30 Nm (22 ft. lbs.).
8. Fill the power steering oil into the power steering system.