Removal Procedure
- Disconnect the negative battery cable.
- Remove the instrument panel assembly. Refer to Instrument Panel (I/P) Assembly Replacement
in Instrument Panel, Gages, and Console.
- Drain the cooling system. Refer to Draining and Filling Cooling System
in Engine Cooling.
- Recover the refrigerant. Refer to Refrigerant Recovery and Recharging .
- Compress the heater hose clamps at the cowl and slide the clamps toward the engine.
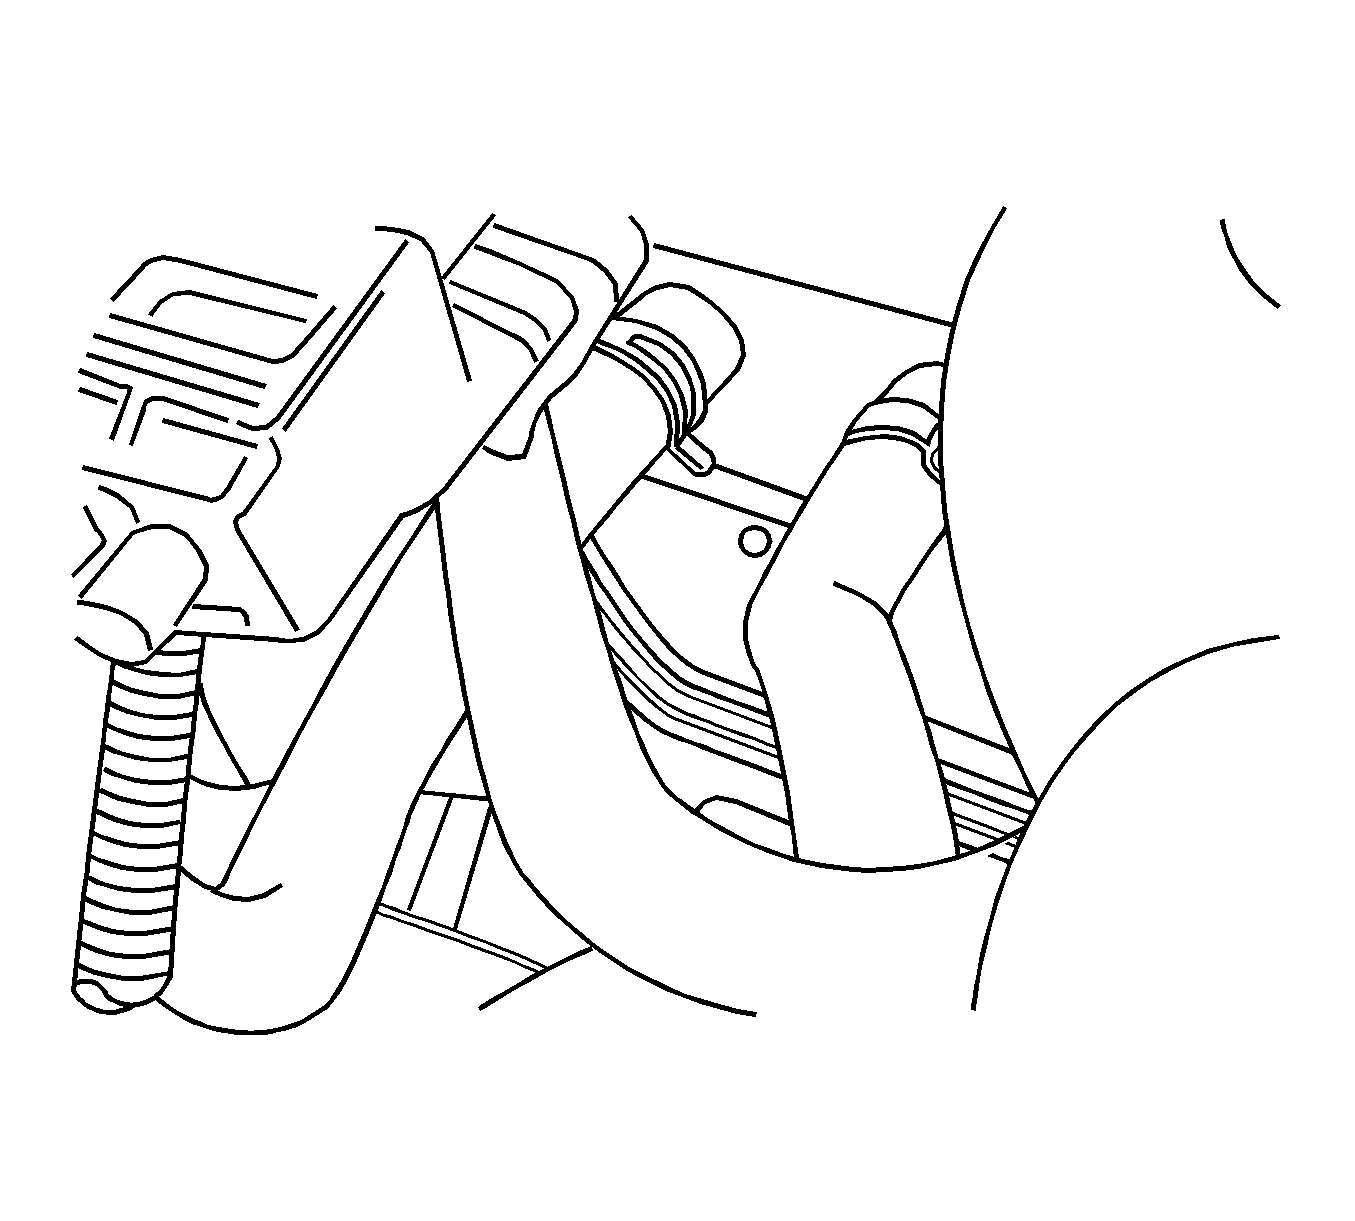 Courtesy of GENERAL MOTORS CORP.
- Remove the 2 heater hoses from the core lines at the cowl.
- Turn the condensation drain hose and pull the hose off.
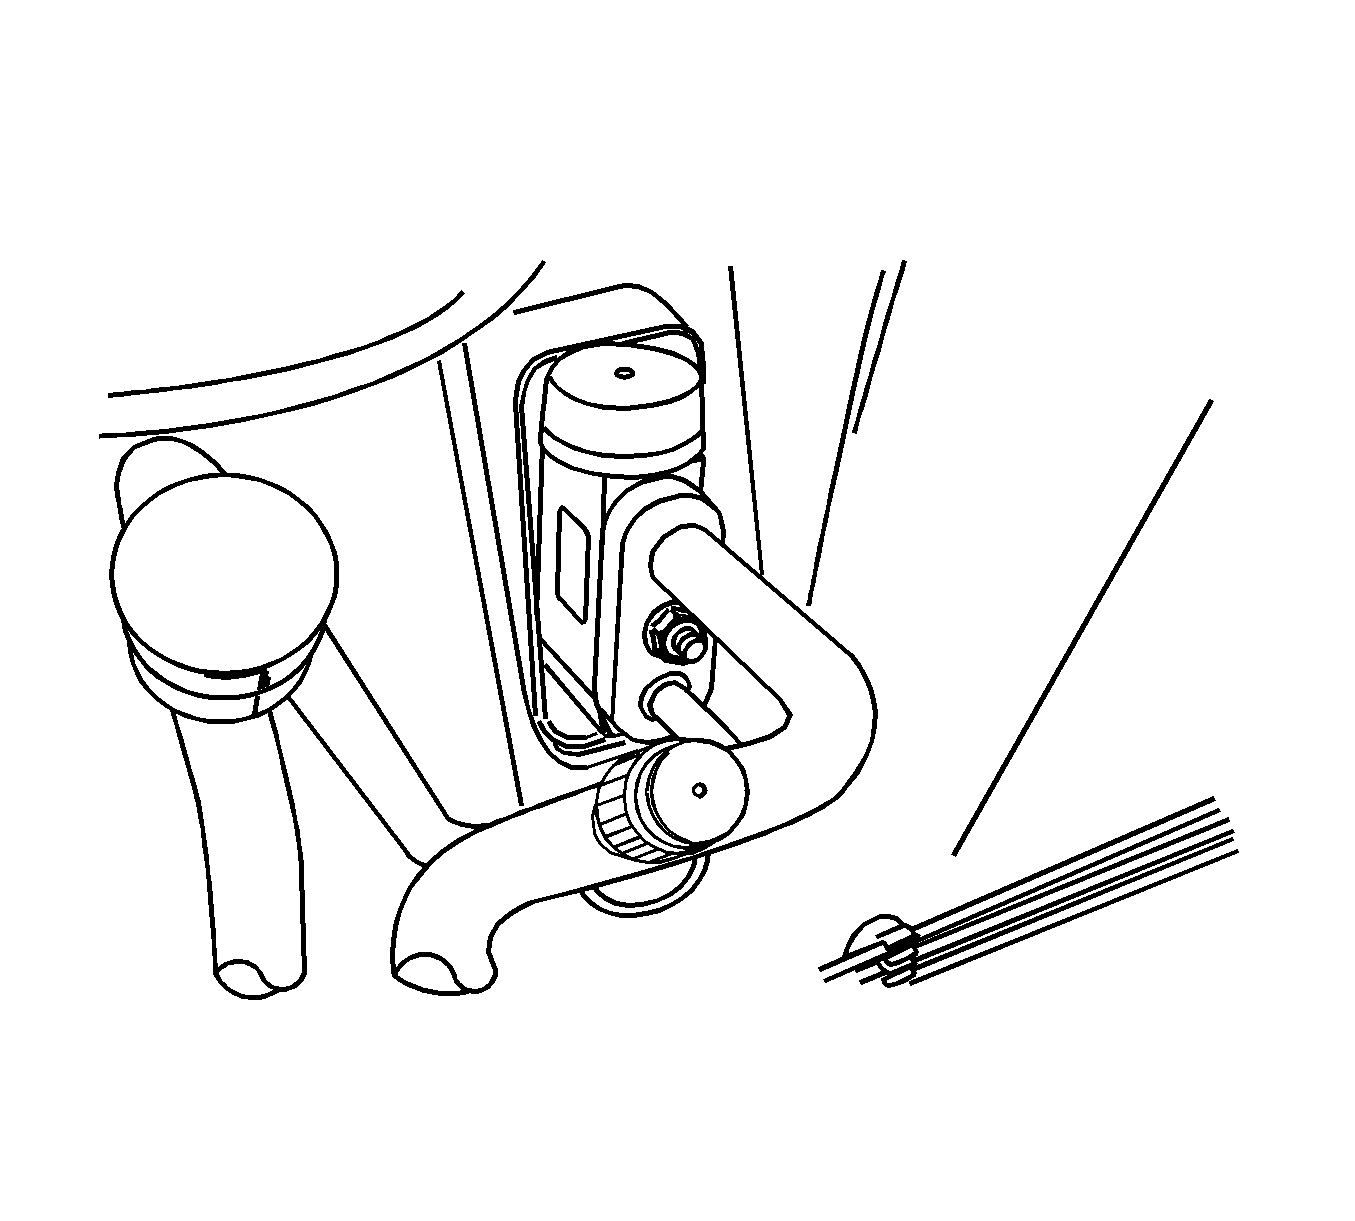 Courtesy of GENERAL MOTORS CORP.
- Remove the nuts that secure the A/C suction hose and liquid evaporator pipe connector block at the cowl.
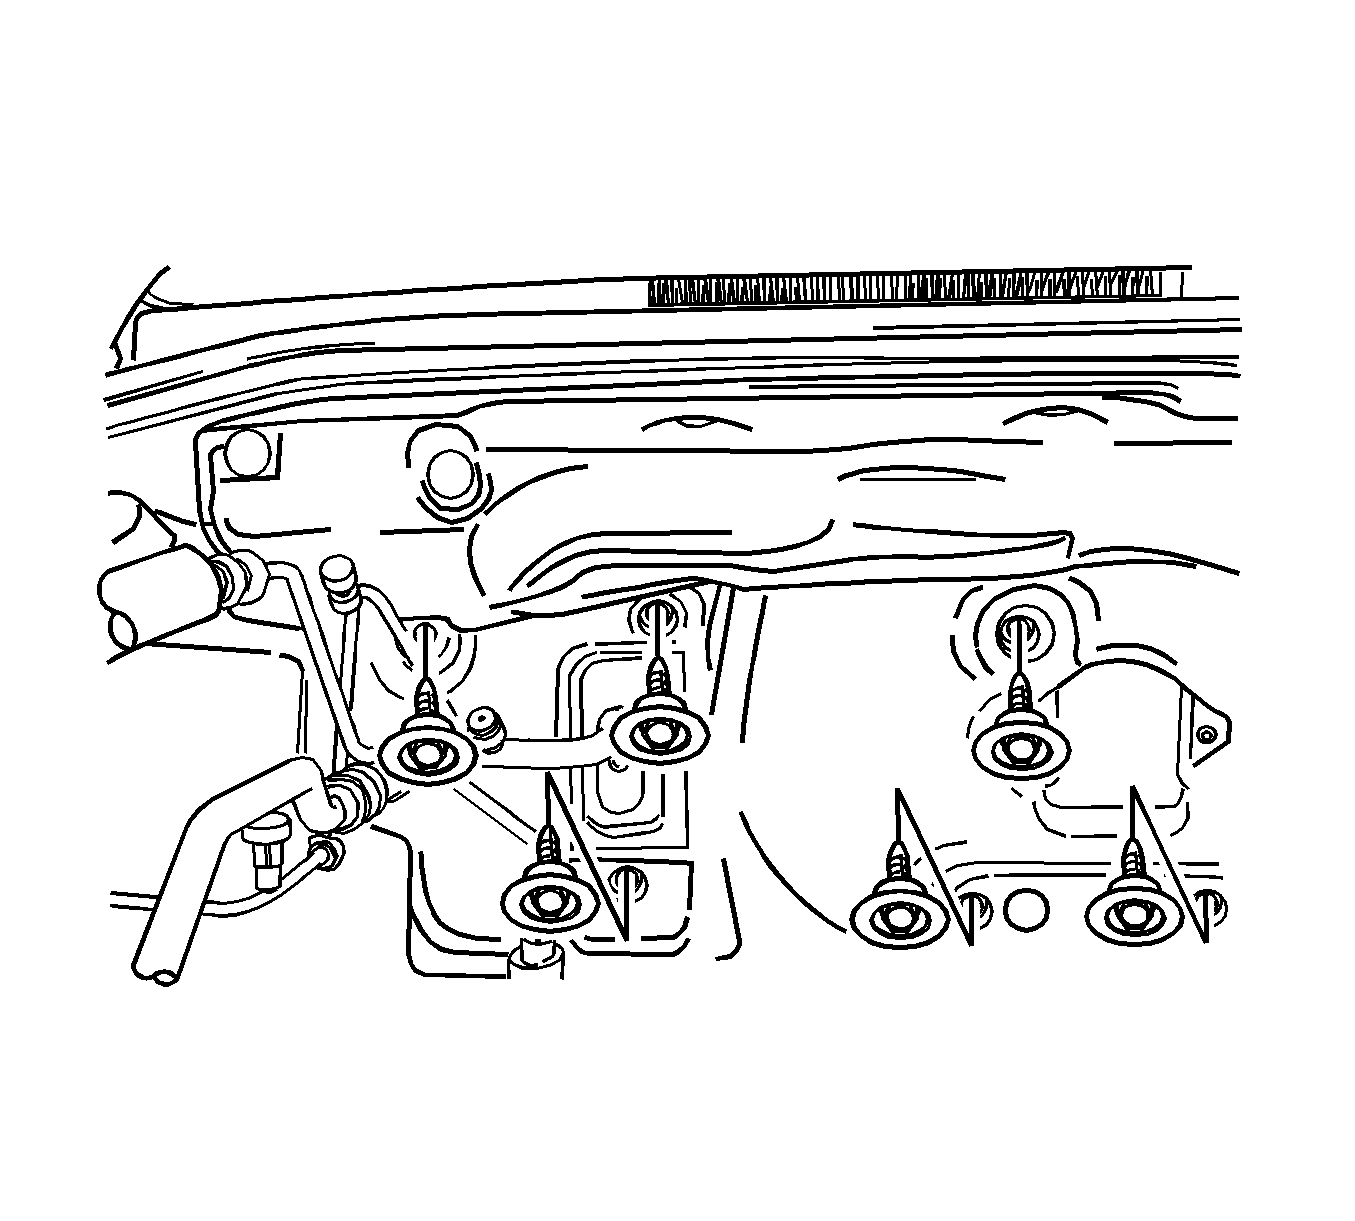 Courtesy of GENERAL MOTORS CORP.
- From the engine side of the cowl, remove the screws that secure the heater/air distribution case assembly to the cowl.
- Remove the heater/air distribution case assembly from the vehicle.