Manual Transaxle Unit Dismounting and Remounting: Dismounting
- Disconnect battery ground cable.
- Remove clutch operating cylinder from T/M with hose still attached.
- Remove gear control cables.
- Undo wiring harness clamps and connectors.
- Remove ground cable from T/M.
- Remove starting motor taking out its bolt and nut.
- Remove exhaust No. 1 pipe bolts
.
- Remove transaxle fastening bolts.
- Support engine by using lifting device.
- Drain transaxle oil.
- Remove engine under covers.
- Remove exhaust No.1 pipe and exhaust No.2 pipe
.
- Remove lower stiffener.
- Remove ball stud bolt form right and left knuckles, then disconnect each suspension arm.
- Pull out drive shaft joint referring to AXLE SHAFTS
.
- Remove center shaft support and center shaft from differential side gear referring to AXLE SHAFTS
.
- Remove starting motor referring to STARTER
.
- Remove dynamic damper from engine rear mounting No.1 bracket.
- Remove engine rear mounting from its bracket.
- Remove engine rear mounting No.1 bracket with No.2 bracket.
- Remove transaxle to engine bolts and nut.
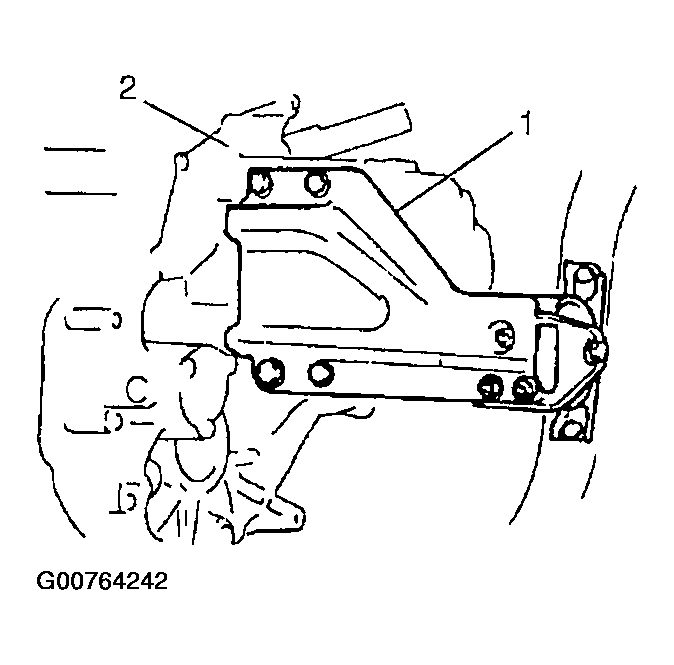
- Lower vehicle and support transaxle (2) with transmission jack.
- Remove engine LH mounting with bracket (1).
 Courtesy of SUZUKI OF AMERICA CORP.
- Remove other attached parts from transaxle, if any.
- Pull transaxle out so as to disconnect input shaft from clutch disc and then lower it.