Disassembly and Reassembly
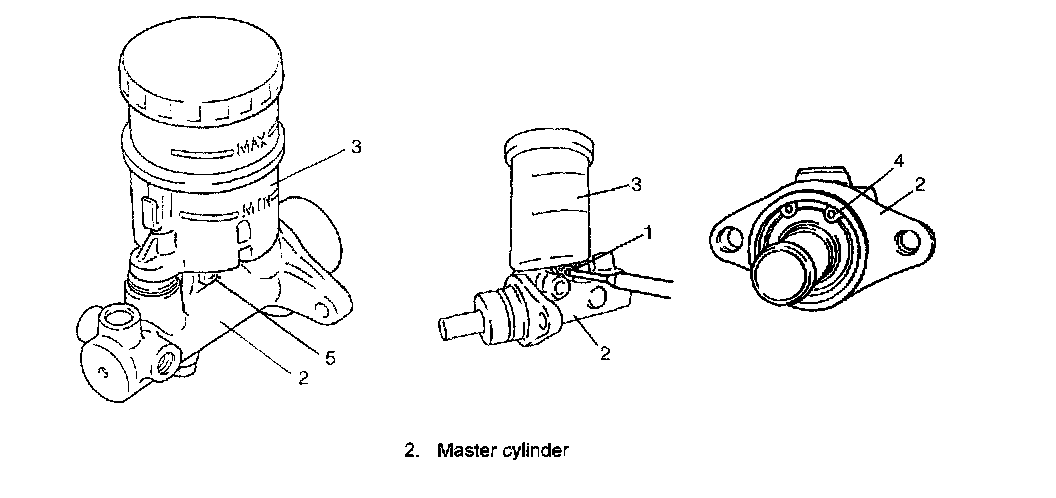
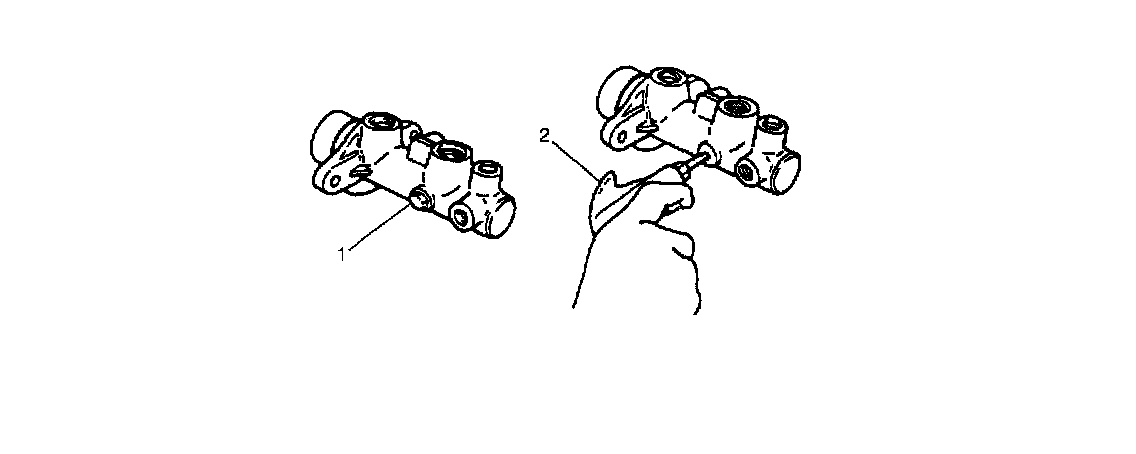
Disassembly1. Remove reservoir pin (1) or connector screw (5) and reservoir (3) from master cylinder (2).
2. Remove circlip (4).
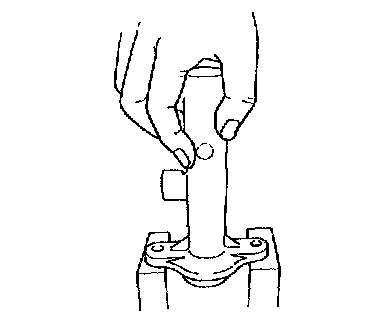
3. Remove pistons.
^ For vehicle with ABS:
a) Pull out primary piston assembly straight so as not to cause any damage to inside of cylinder wall.
b) Pull out secondary piston assembly straight so as not to cause any damage to inside of cylinder wall and by tapping flange with a piece of wood or something soft.
^ For vehicle without ABS:
a) Remove piston stopper bolt (1).
b) Remove secondary piston by blowing compressed air (2) into hole from which piston stopper bolt was removed.
NOTE: Be cautious during removal as secondary piston jumps out.
Reassembly
NOTE:
^ See NOTE at the beginning of the section.
^ Before assembling, wash each part in fluid recommended to use for that vehicle and inspect the parts.
1. Install secondary piston assembly into cylinder.
2. Install primary piston assembly in cylinder.
3. Install plate, cylinder cup and piston stopper (piston stopper, piston guide and plate for G16 engine model without ABS) in that order.
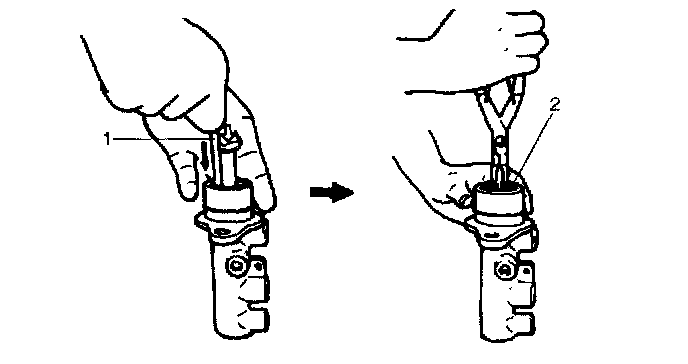
4. Depress primary piston assembly by rod (1), and install circlip (2).
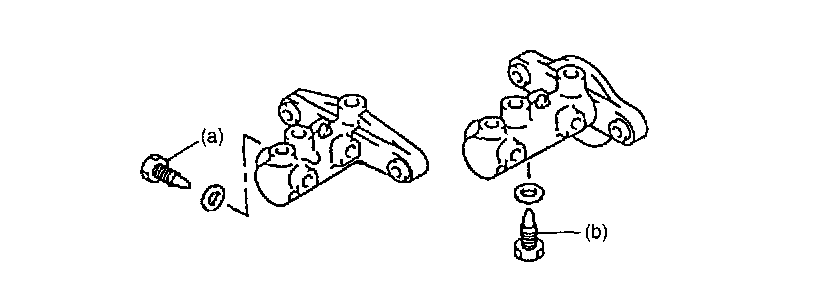
5. Install piston stopper bolt with pistons pushed in all the way and tighten it to specified torque (for vehicle without ABS).
Tightening torque
Piston stopper bolt for J20/H25 engine models (a): 10 Nm (1.0 kgf-m, 7.5 ft. lbs.) J20, H25
Piston stopper bolt for G16 engine model (b): 8.5 Nm (0.85 kgf-m, 6.5 ft. lbs.) G16
6. Apply thin coat of brake fluid to all around new grommets (2 pcs.) and install them to cylinder body, then install reservoir (2) to master cylinder (3).
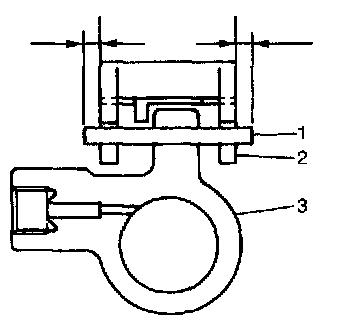
7. Set a new pin (1) in reservoir hole and drive it in. At this time, make end of pin and end face margin of reservoir equal. Or tighten connector screw to specified torque.