Brake Drum: Service and Repair
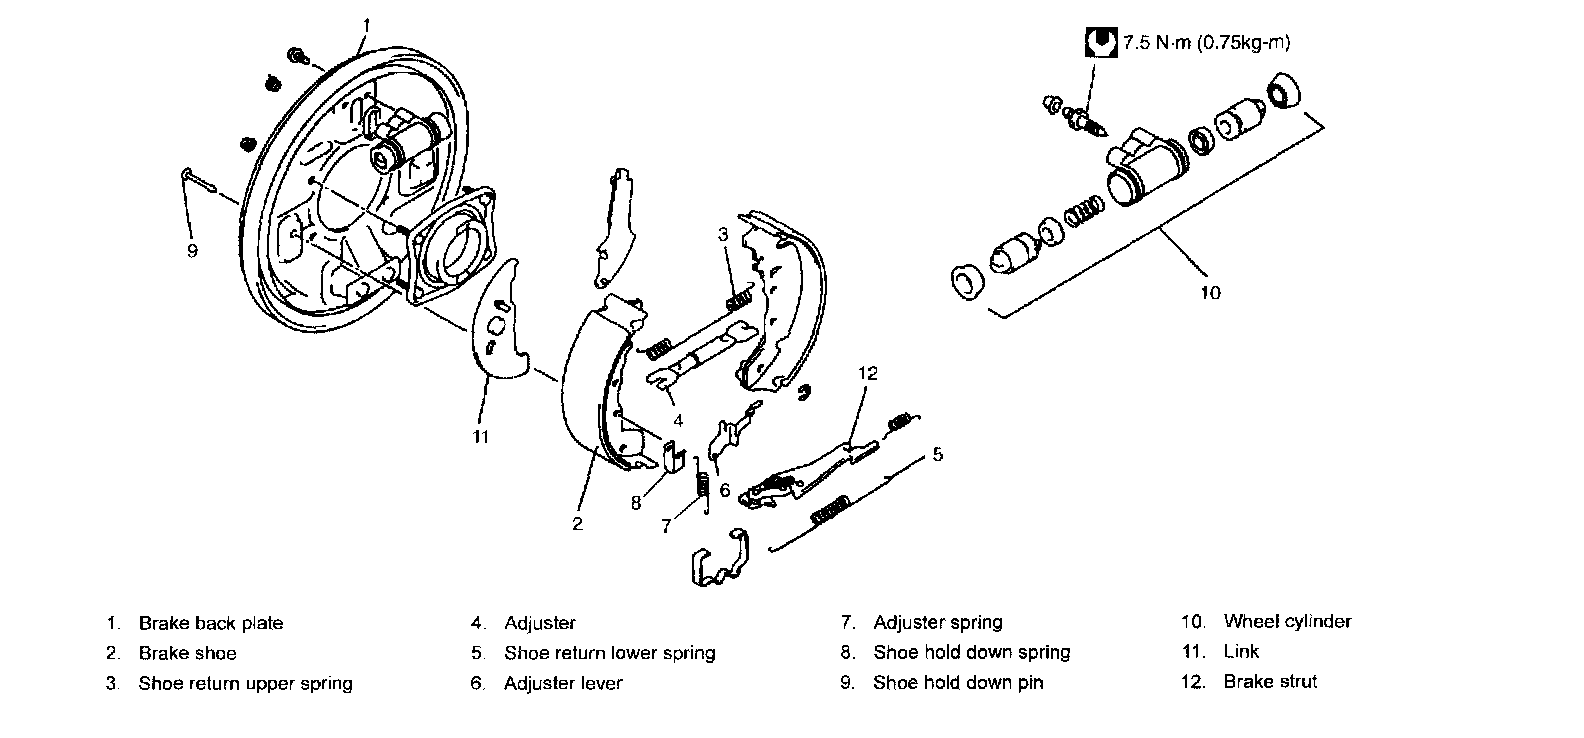
Rear Brake Drum Removal and Installation
Tightening torque
Bleeder plug (a): 7.5 Nm (0.75 kgf-m, 5.5 ft. lbs.)
Removal
1. Hoist vehicle and pull up parking brake lever.
2. Remove wheel.
3. Release parking brake lever.
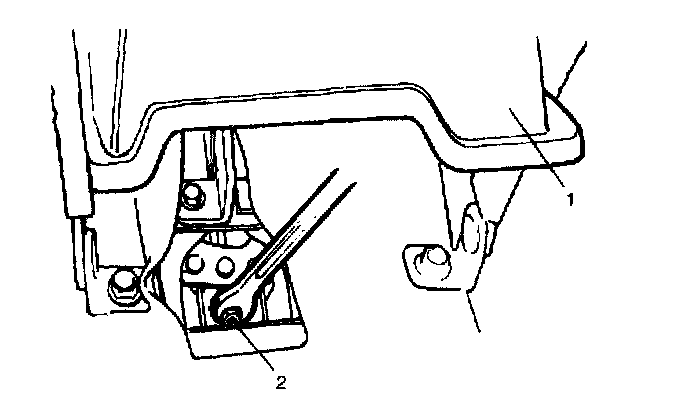
4. Remove parking brake lever cover screws and with rear part of brake lever cover (1) lifted a little, loosen parking brake cable locking nut (2).
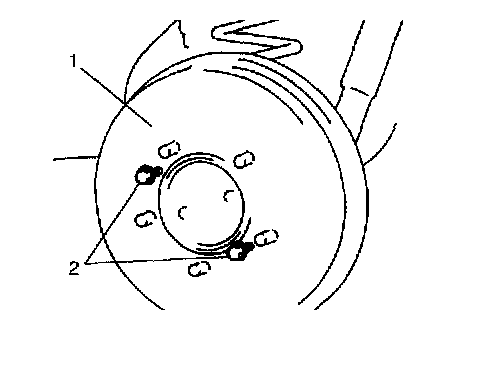
5. Remove brake drum (1) by using 8 mm bolts (2) (2 pcs.).
Installation
Before installation, inspect the parts.
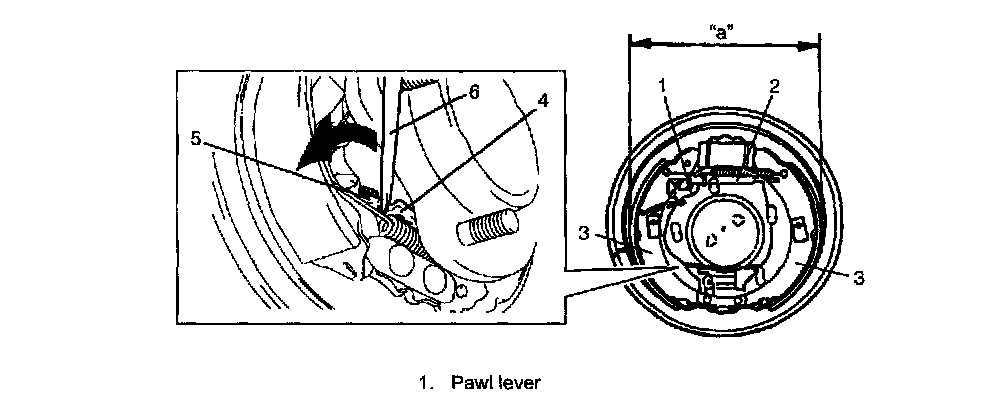
1. Before installing brake drum, check outer diameter of brake shoes (3). If it is not within value as specified, adjust it to specification by turning adjuster (2).
NOTE: For equipped with adjustable strut Before installing brake drum, to minimize length of strut assembly, put flat end rod (6) between rod (4) and ratchet (5) of strut assembly and push down ratchet as shown in figure.
Rear brake shoe outer diameter
"a" of brake shoes "a": 219.4 - 219.7 mm (8.638 - 8.650 inch)
2. Install brake drum after making sure that inside of brake drum and brake shoes are free from dirt and oil.
3. Upon completion of all jobs, depress brake pedal with about 30 kg (66 lbs.) load three to ten times so as to obtain proper drum-to-shoe clearance.
Adjust parking brake cable.
4. Tighten parking brake lever cover screws.
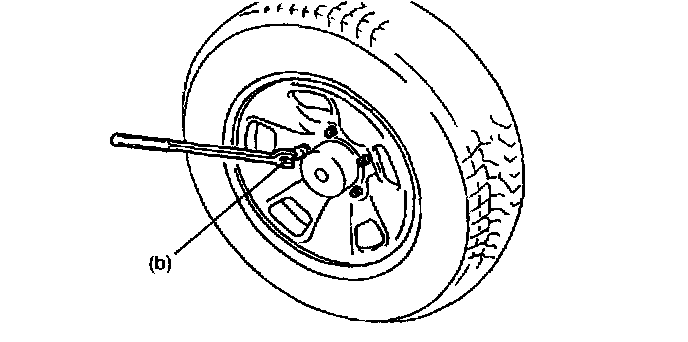
5. Install wheel and tighten wheel nuts to specified torque.
Tightening torque
Wheel nut (b): 100 Nm (10.0 kgf-m, 72.5 ft. lbs.)
6. Check to ensure that brake drum is free from dragging and proper braking is obtained. Then remove vehicle from hoist and perform brake test (foot brake and parking brake).