Brake Pad: Service and Repair
Removal1. Hoist vehicle and remove wheel.
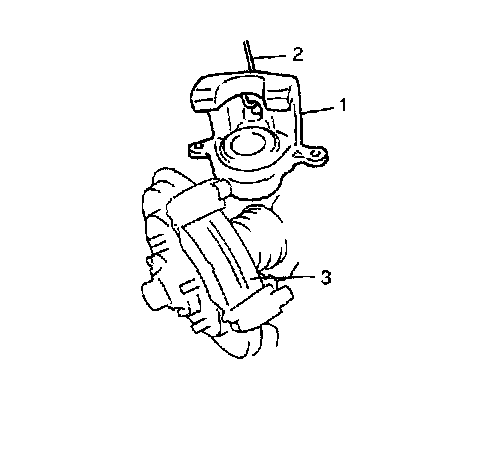
2. Remove caliper pin bolts (2).
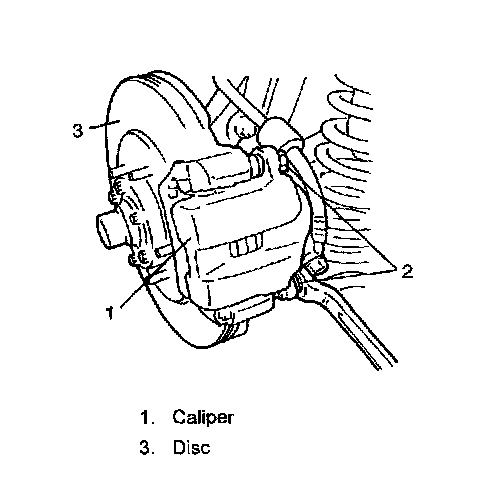
3. Remove E-ring from strut and then remove caliper (1) from caliper carrier.
NOTE: Hang removed caliper (1) with a wire hook (2) or the like so as to prevent brake hose from bending and twisting or being pulled. Don't operate brake pedal with pads removed.
4. Remove pads (3).
Installation
NOTE: Before inflation, inspect the parts.
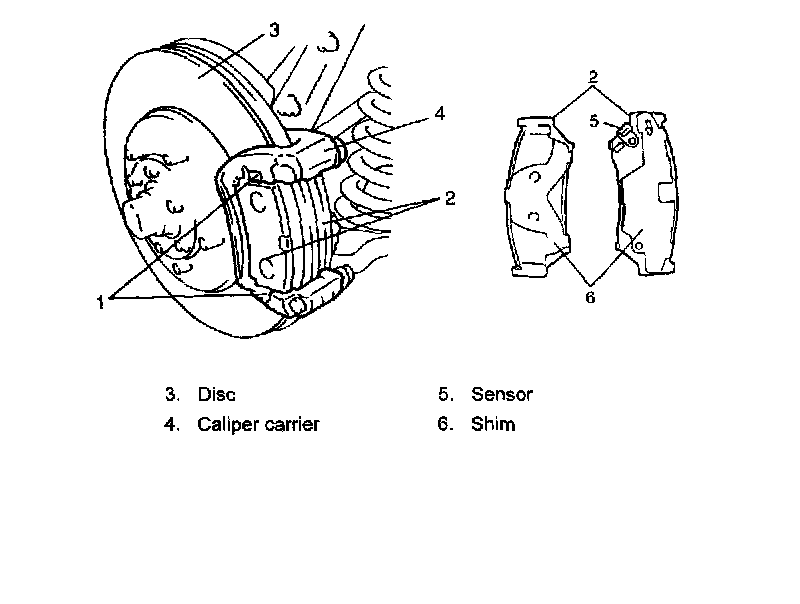
1. Install pad clips (1) and pads (2).
NOTE: Install pad with sensor to body center side of caliper.

2. Install caliper and torque caliper (slide) pin bolts (1) to specification
NOTE: Make sure that boots are fit into groove securely.
Tightening torque
Caliper pin bolt (for H25 engine model) (a): 50 Nm (5.0 kgf-m, 36.5 ft. lbs.)
Caliper pin bolt (for H25 engine model) (b): 85 Nm (8.5 kgf-m, 61.5 ft. lbs.)
Caliper pin bolt (for G16/J20 engine models) (c): 27 Nm (2.7 kgf-m, 20.0 ft. lbs.)
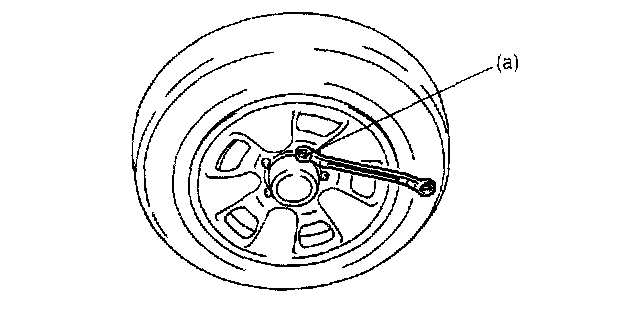
3. Torque front wheel nuts to specification.
Tightening torque
Wheel nut (a): 100 Nm (10.0 kgf-m, 72.5 ft. lbs.)
4. Upon completion of installation, perform brake test