Steering Lower Shaft Assembly Removal And Installation: Removal
- Turn steering wheel so that vehicle's front tires are at straight-ahead position.
- Turn ignition switch to "LOCK" position and remove key.
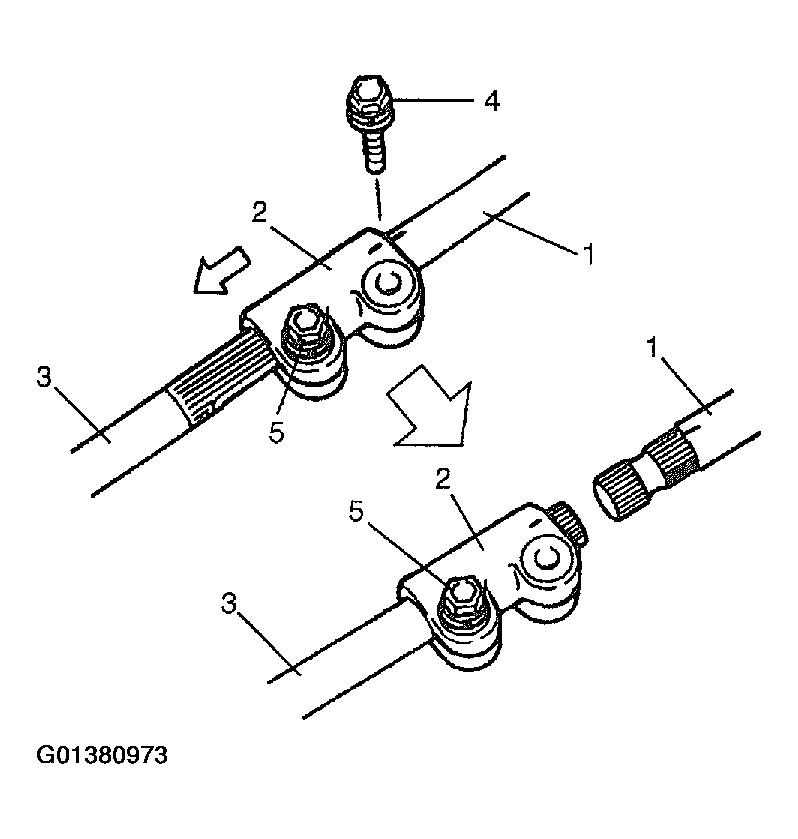
- Make alignment marks (3) on shaft joint (2) and shaft (column side) for a guide during reinstallation.
 Courtesy of SUZUKI OF AMERICA CORP.
- After removing bolt (4) on column (1) side of shaft joint (2) and loosening bolt (5) on its shaft lower assembly (3) side, move shaft joint (2) to shaft lower assembly (3) side (in arrow direction in the figure).
 Courtesy of SUZUKI OF AMERICA CORP.
- Make alignment marks on shaft lower assembly lower joint and pinion shaft for a guide during reinstallation.
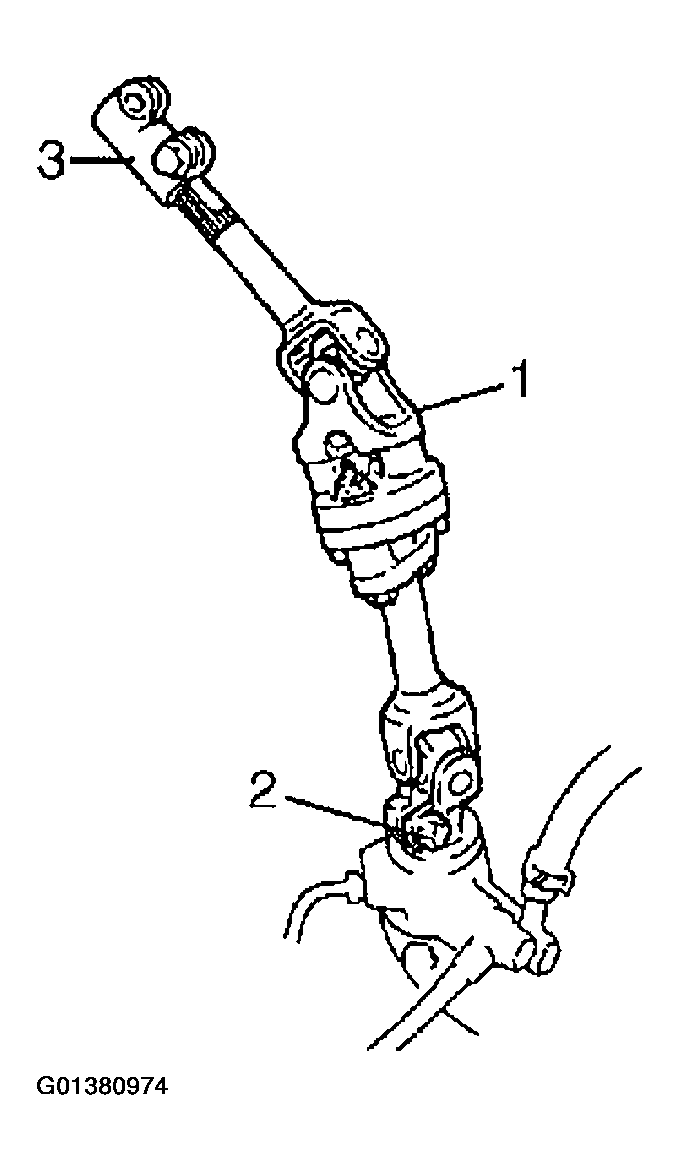
- Remove shaft lower assembly lower joint bolt (2) and then remove shaft lower assembly (1).
- Remove shaft joint bolt (shaft lower assembly side) from shaft joint (3) and then remove shaft joint (3) from shaft lower assembly (1).
 Courtesy of SUZUKI OF AMERICA CORP.