Diagnostic Procedure
- If air bag diagnostic system check has been performed, go to next step. If air bag diagnostic system check has not been performed, go to AIR BAG DIAGNOSTIC SYSTEM CHECK under DIAGNOSTICS.
- Before continuing with diagnosis, ensure scan tool is operating properly and correct cartridge is installed. Turn ignition switch to OFF position. Ensure scan tool is connected properly to Data Link Connector, (DLC), located under left side of instrument panel. If connection is okay, go to next step. If connection is not okay, repair as necessary and go to step 5.
- Turn ignition switch to ON position. Check scan tool communication with Powertrain Control Module (PCM). If communication is okay, go to next step. If communication is not okay, a short to ground exists in Violet/Green or White/Black wire. Replace wiring harness and go to step 5.
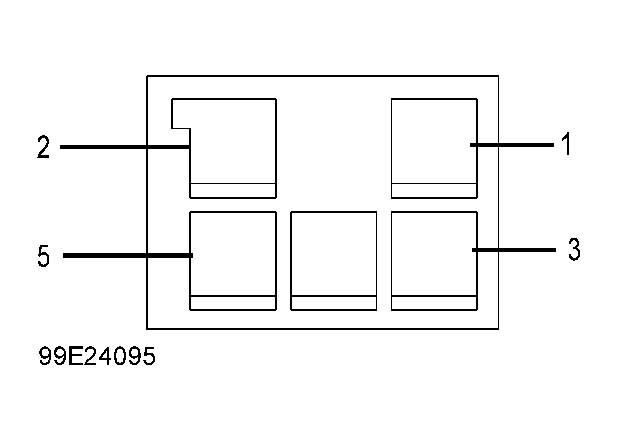
- Turn ignition switch to OFF position. Disconnect SDM connector. See Figure. Disconnect harness connector Q02. See Fig 1. Measure resistance between SDM connector terminal No. 14 and harness connector Q02 terminal No. 5. See Figure. If resistance is one ohm or less, replace SDM. See SENSING & DIAGNOSTIC MODULE (SDM) under REMOVAL & INSTALLATION. Go to next step. If resistance is more than one ohm, an open or high resistance exists in White/Black wire. Replace wiring harness and go to next step.
- Reconnect all air bag system components. Using scan tool, clear all DTC's. Go to AIR BAG DIAGNOSTIC SYSTEM CHECK under DIAGNOSTICS.
 Courtesy of SUZUKI OF AMERICA CORP.