Forward Clutch
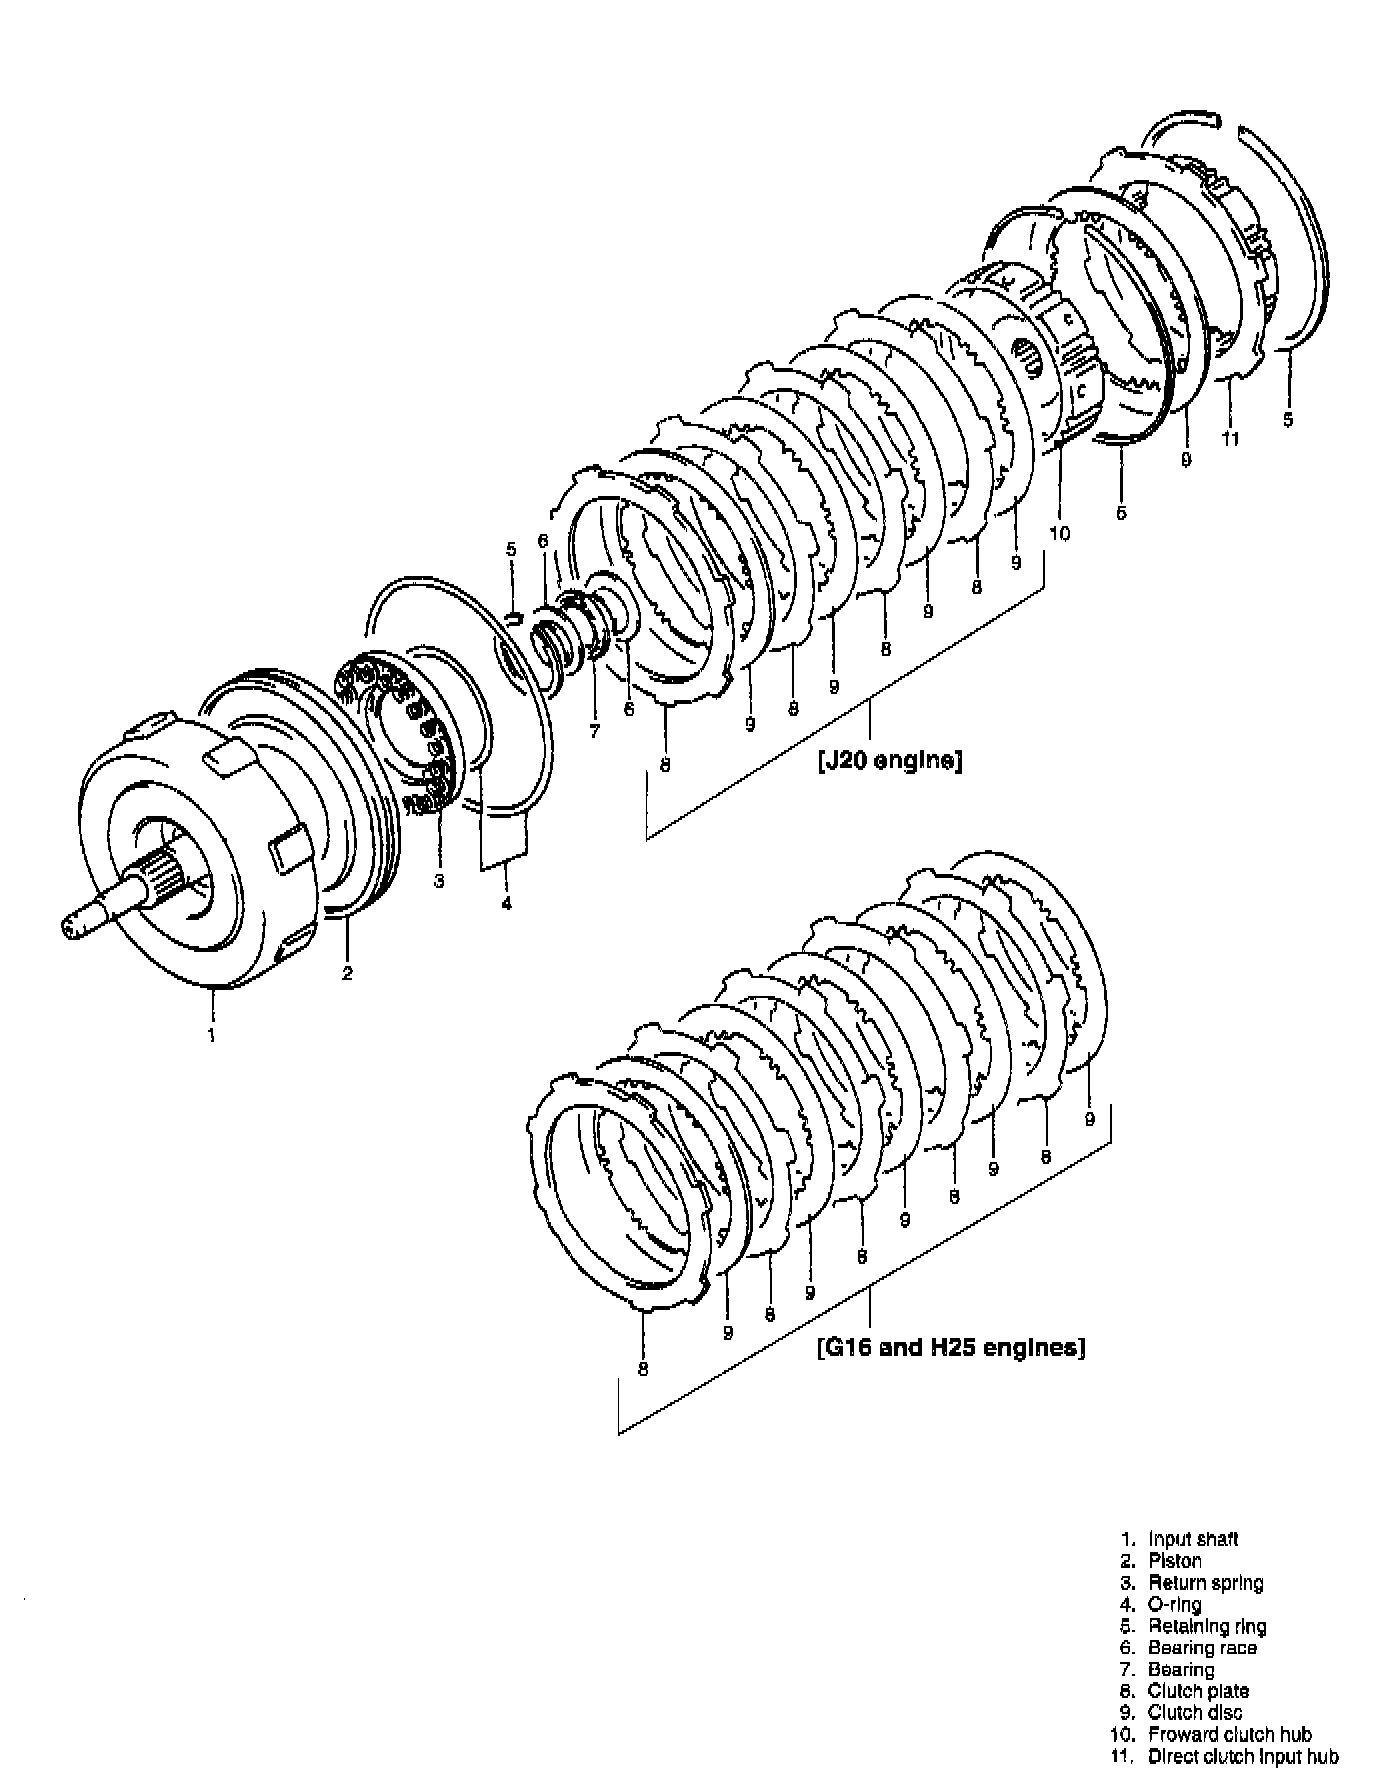
FORWARD CLUTCH
DISASSEMBLY
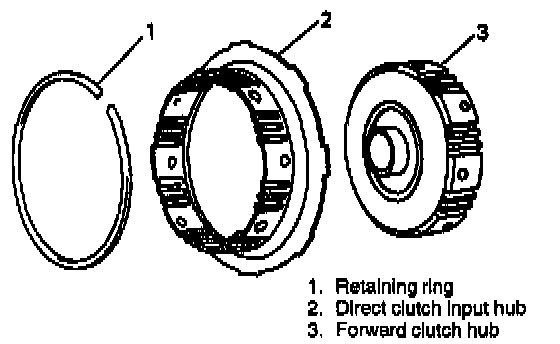
1. After removing retaining ring, remove direct clutch input hub and forward clutch hub.
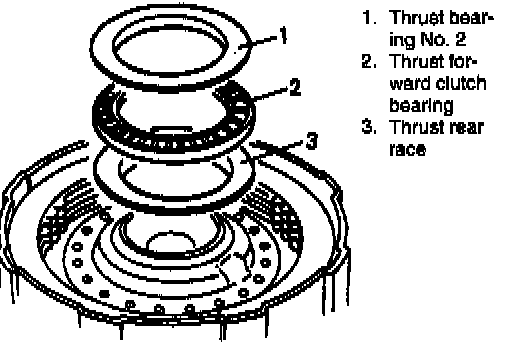
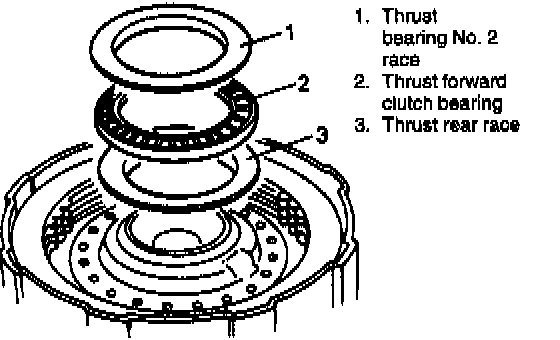
2. Remove bearing race and thrust bearing.
3. Install direct clutch input hub and retaining ring.
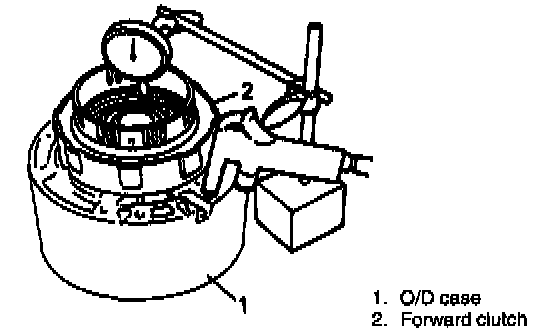
4. Install forward clutch to O/D case. Apply 4 - 8 kg/cm2 air pressure into fluid hole at the right of cut in O/D case and measure movement of forward clutch piston.
Standard forward clutch piston movement: 1.40 - 2.24 mm (0.056 - 0.088 inch)
If measured value is not within standard range, use either 1.8 mm (0.071 inch) or 2.0 mm (0.079 inch) clutch disc to adjust it to standard value.

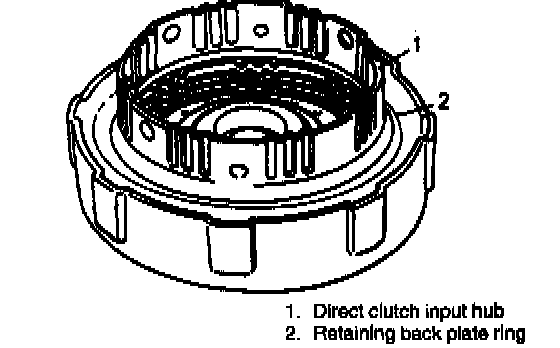
5. Remove retaining ring and then remove direct clutch input hub.
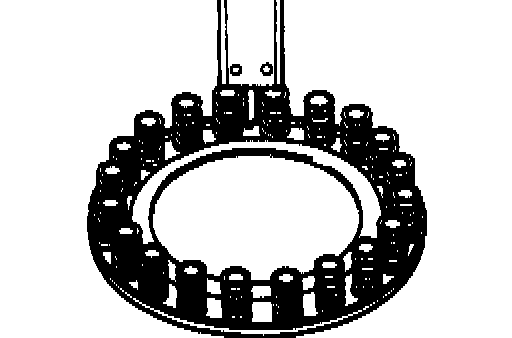
6. Remove retaining ring and then remove all clutch discs.
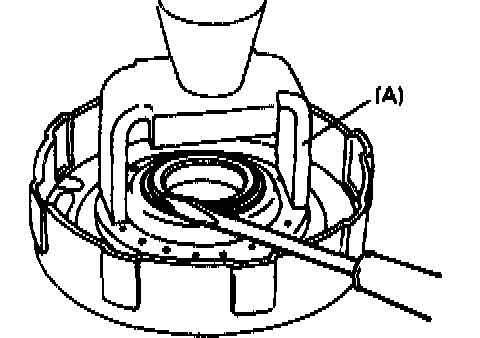
7. Using special tool and hydraulic press, compress forward clutch piston return spring and remove retaining return spring.
Special Tool
(A): 09926-98310
CAUTION: Be careful when applying pressure, for overpressure will cause plate section of piston return spring to deform.
8. Remove forward clutch piston return spring.
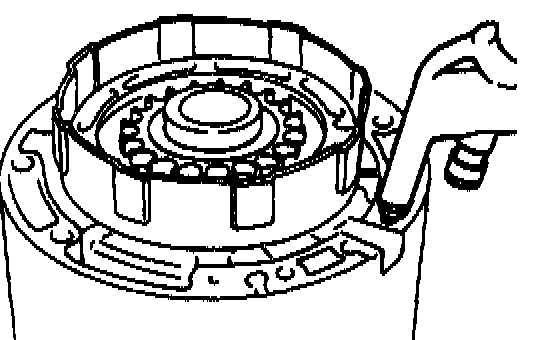
9. Install forward clutch to O/D case. Blow low pressure air into fluid hole at the right of cut in O/D case to remove forward clutch piston.
INSPECTION
Forward clutch piston
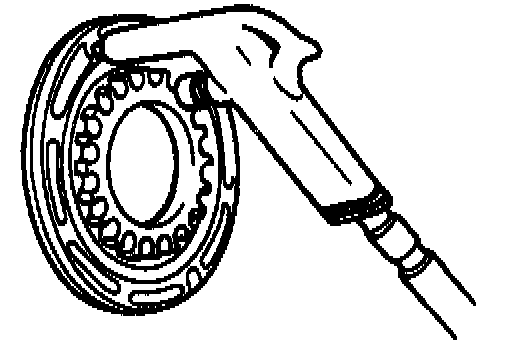
- Shake piston to check that ball is not stuck.
- Blow low pressure air to check ball section for leakage.
Forward clutch piston return spring
- Measure free length.
Standard free length: 15.13 mm (0.596 inch)
INSTALLATION
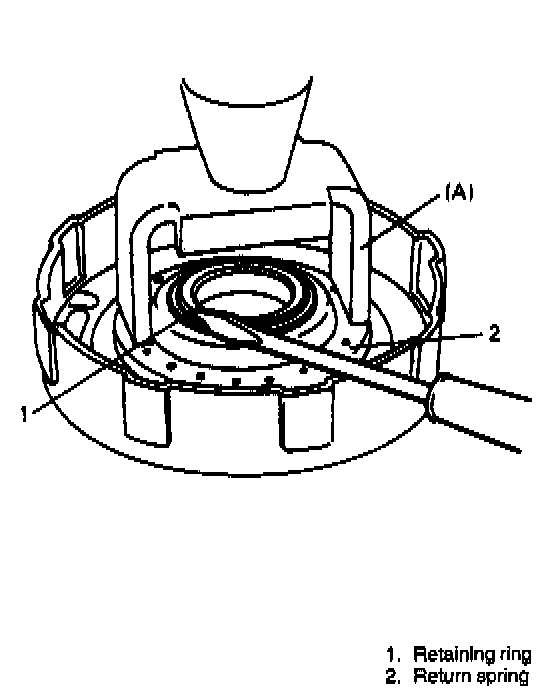
1. Apply A/T fluid to forward input shaft 0-rings, install forward clutch piston and piston return spring to forward input shaft and then install return spring ring with special tool and hydraulic press.
Special Tool
(A): 09926-98310
NOTE:
^ When installing return spring, be careful so that return spring will not fall or tilt.
^ Do not align opening in retaining ring with lug of forward clutch piston return spring at its retainer section.
CAUTION: Be careful when applying pressure, for overpressure will cause plate section of piston return spring to deform.
2. Install clutch discs from the thinnest one to thicker ones to piston side and then install retaining clutch ring.
NOTE:
^ Refer to exploded view when installing each component.
^ Do not match opening in retaining clutch ring and dent in forward clutch input shaft.
3. Install bearing races and thrust bearing.

4. Install forward clutch hub, direct clutch hub and retaining ring in that order.