Oil Pan: Service and Repair
REMOVAL
1. Remove oil level gauge.
2. Raise vehicle and remove both front wheels.
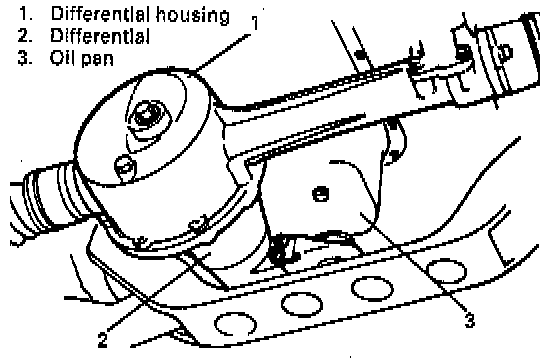
3. Remove front differential housing with differential from chassis.
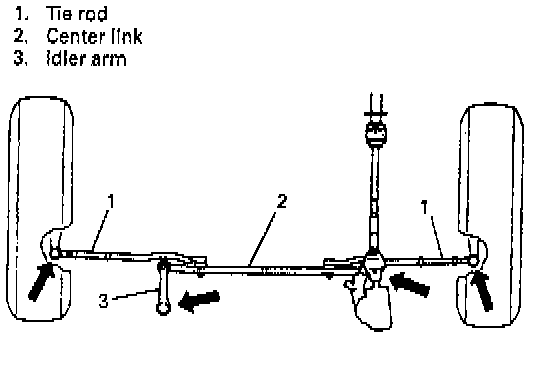
4. Remove tie rod, center link and idler arm.
Disconnection points are marked with arrow mark in figure.
5. Drain engine oil by removing drain plug.
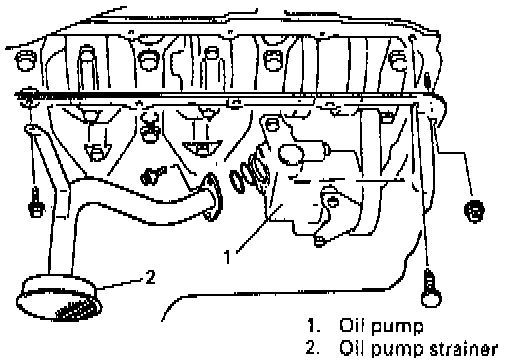
6. Remove oil pan according to following procedure. Oil pan until it stops by way of cross member and oil pump strainer and keep it at that position temporarily. With wrench inserted between oil pan and crank case, and oil pump strainer mounting bolts removed, remove oil pump strainer from oil pump. Then remove oil pan from temporarily supported position.
CLEAN
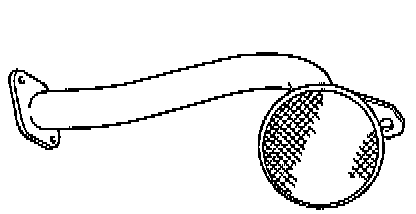
1. Inside of oil pan and oil pump strainer screen.
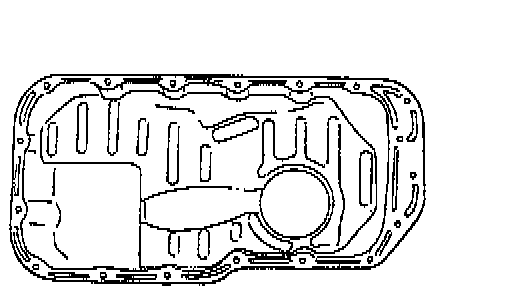
2. Clean sealing surface on oil pan and crank case. Remove oil, old sealant, and dust from sealing surface.
INSTALLATION
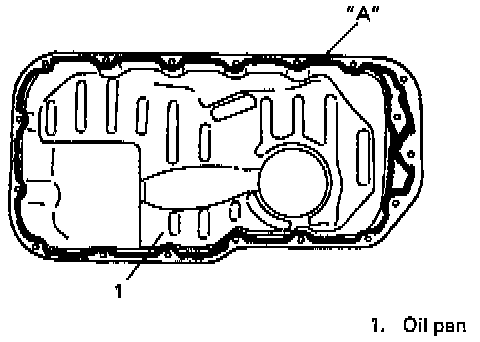
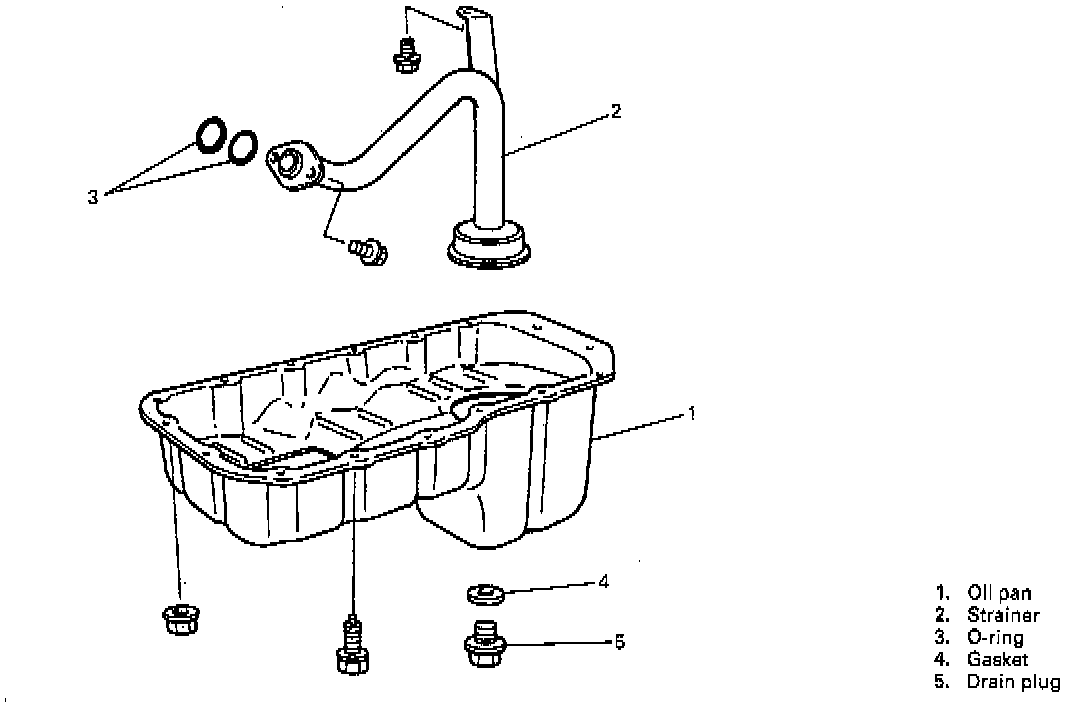
1. Apply sealant to oil pan mating surface continuously as shown in figure.
"A" Sealant: 99000-31150
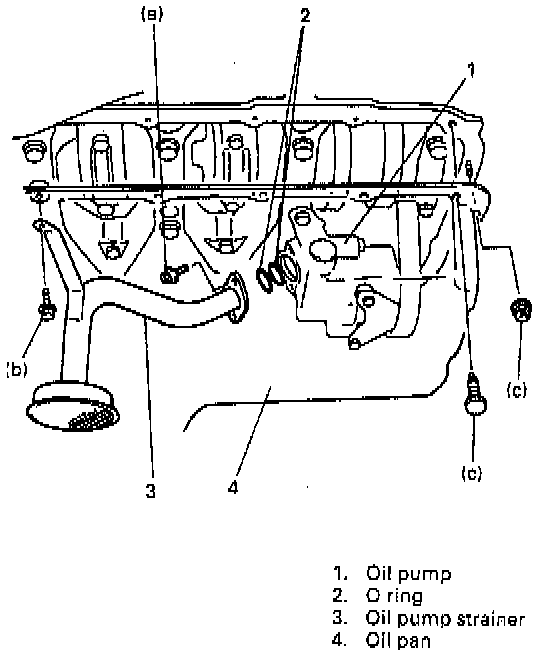
2. Install oil pump strainer and oil pan.
Install O rings in the position as shown in figure.
With oil pump strainer inserted into oil pan, install strainer to oil pump.
Tighten strainer bolts first and then bracket bolt to specified torque.
Tightening Torque
(a): 11 Nm (8.0 ft. lbs.)
(b): 11 Nm (8.0 ft. lbs.)
After fitting oil pan to cylinder block, run in securing bolts and start tightening at the center: move wrench outward, tightening one bolt at a time. Tighten bolts and nuts to specified torque.
Tightening Torque (c): 11 Nm (8.0 ft. lbs.)
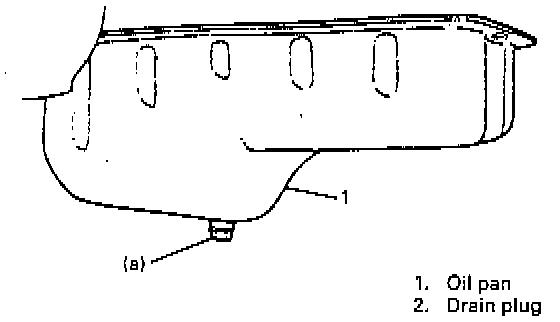
3. Install gasket and drain plug to oil pan. Tighten drain plug to specified torque.
Tightening Torque (a): 35 Nm (25.5 ft. lbs.)
4. Install clutch (torque converter) housing lower plate.
5. Install tie rod, center arm and idler arm.
6. Install front differential housing.
7. Refill front differential housing with gear oil.
8. Install oil level gauge.
9. Refill engine with engine oil, referring to item ENGINE OIL CHANGE.
10. Check engine oil leakage.
11. Check wheel alignment.