Piston & Rod Assembly
- Remove cylinder head. See CYLINDER HEAD under REMOVAL & INSTALLATION. Remove oil dipstick guide, oil pan and screen. See OIL PAN under REMOVAL & INSTALLATION.
- Ensure pistons, connecting rods and rod caps are marked for reassembly reference. Remove carbon from top of cylinder bores. Remove connecting rod caps. Install protective hose over connecting rod bolts.
- Remove connecting rod and piston assembly through top of cylinder block. Mark cylinder number on piston crown. Remove piston rings.
- Use Piston Pin Remover/Installer (09910-38211).
- Check piston pin-to-bore fit. Pin should press in piston smoothly by hand at room temperature. When assembling, apply engine oil to outside of pin and to piston pin bore.
- Position piston upward. Align piston, pin and rod with Piston Pin Remover/Installer (09910-38211). Press pin into piston and rod using a hydraulic press. See Fig 1.
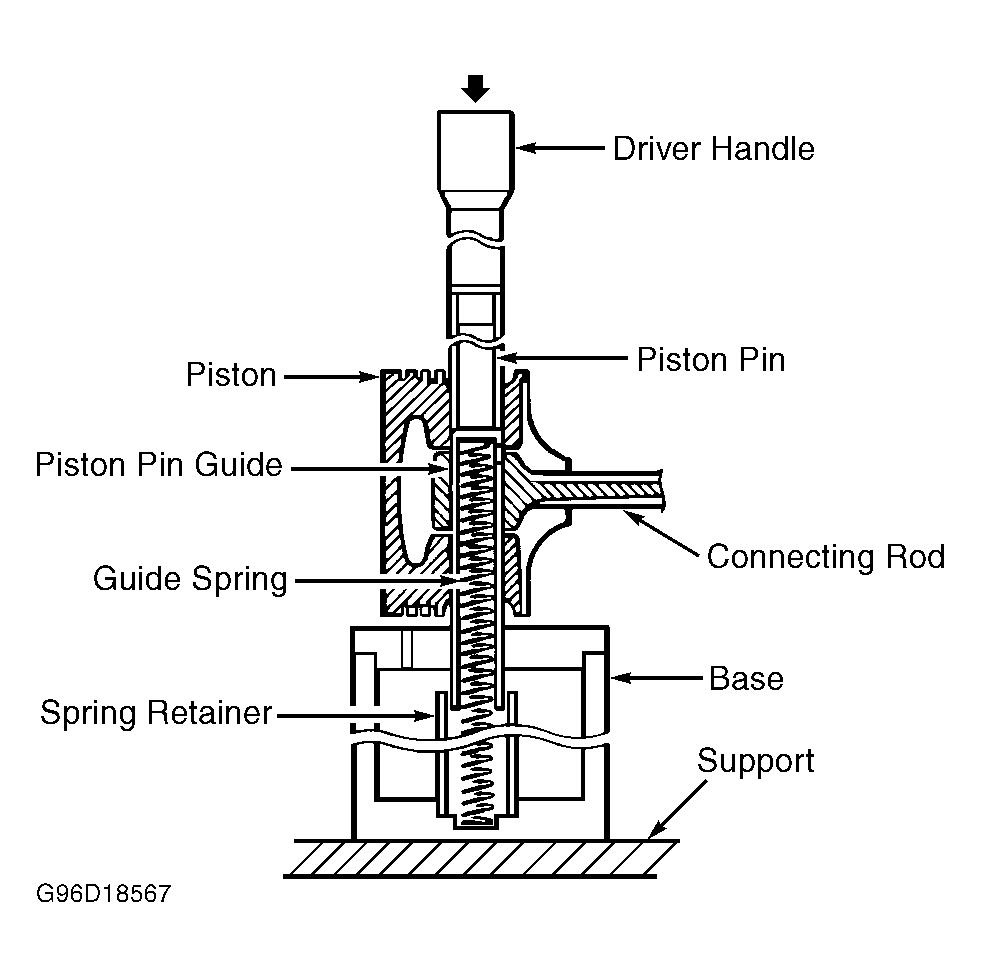 Courtesy of SUZUKI OF AMERICA CORP.