Removal & Installation
- Disconnect negative battery cable. Remove battery and tray. Disconnect clutch cable and bracket from transaxle. Disconnect wiring harness clamps and connectors. Disconnect speedometer cable from transaxle. Remove transaxle-to-engine mounting bolts. Remove starter and mounting plate.
- Raise and support vehicle on lift. Drain transaxle fluid. Remove left inner fender panel. Remove front section of exhaust pipe. Disconnect shift rod, bushings, and control shaft from transaxle. Remove lower plate/dust shield from clutch housing.
- Disconnect lower ball studs and suspension control arms. Disconnect left drive axle from transaxle, using a screwdriver to pry drive axle from differential. Remove drive axle center support bearing and pull center shaft assembly from differential. Remove transaxle brace. Remove remaining engine-to-transaxle mounting bolts. Remove rear engine mount bolts.
- Lower vehicle, and support engine using hoist. Support transaxle using a jack. Remove left engine mount and brace. Remove any remaining components attached to transaxle assembly. Remove transaxle from vehicle.
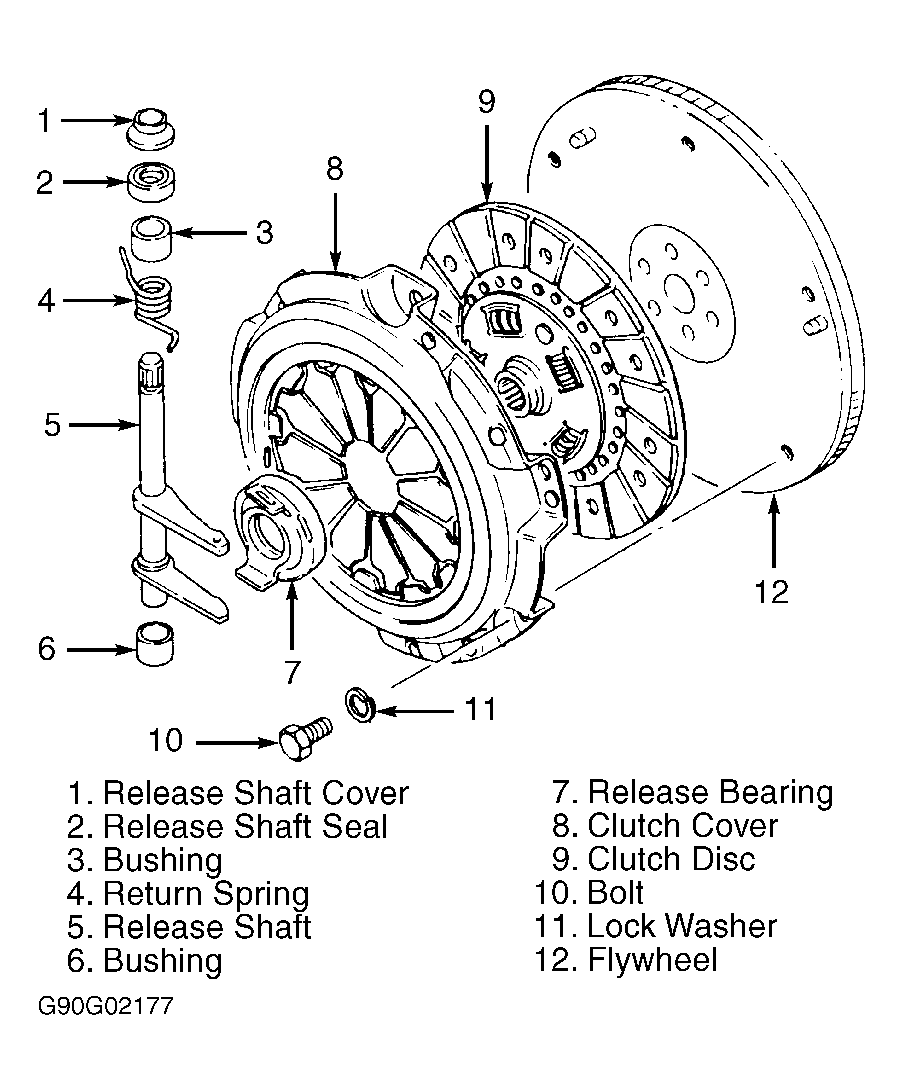
- Mark pressure plate and flywheel for reassembly reference. See Fig 1
. Loosen pressure plate attaching bolts alternately until pressure plate is released. Remove clutch disc and pressure plate.
 Courtesy of SUZUKI OF AMERICA CORP.