III. Adaptation of Defogger Wiring
Step-1. Be sure the ground cableis disconnected at battery.
Step-2. Remove the cover plate
(four screws) from below steering column. This will make the installation of the provided defogger switch much easier.
Step-3. Remove the defogger
toggle switch from the vehicle. Remove the 1' ground wire and 2' power wire (black 12 ga.) The 15' black 12 ga. wire to the rear window should be left in place It will be used in Step-5.
FIGURE 2:
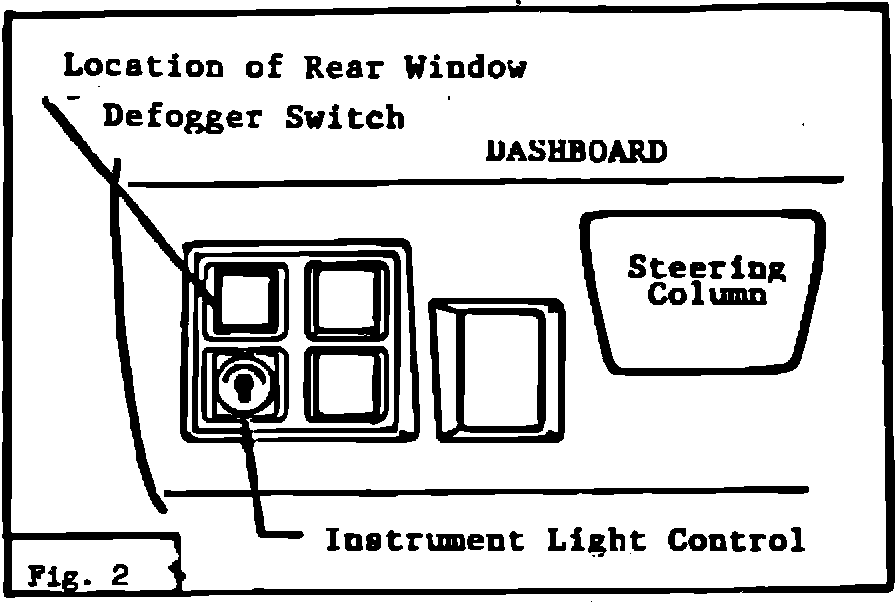
Step-4. Carefully cut the
plastic surrounding the toggle switch hole to provide room for insertion of the provided defogger switch. Refer to Fig. 2.
NOTE: A short-bladed knife or exacto blade is suitable for the cutting of Dash.
FIGURE 3:
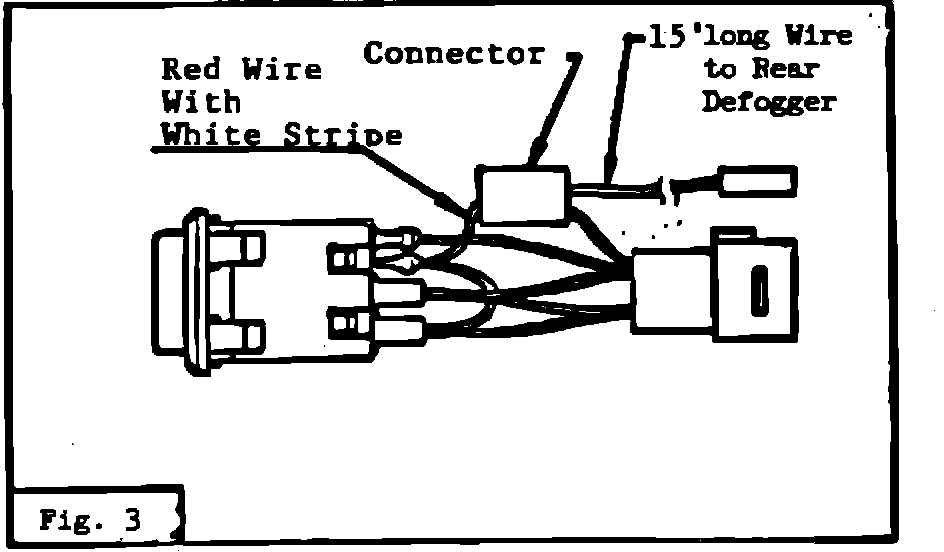
Step-5. Connect the 15' black 12 ga. defogger wire to the red with white stripe
wire on the defogger switch with the provided connector. Refer to Fig. 3.
Step-6. Locate the unused plug behind the defogger switch hole. Connect the
defogger switch to this plug.
Step-7. Install a 15 amp fuse at the fuse box in the space marked "rear defogger".
Step-8. Install the cover plate.
Step-9. Reconnect the ground cable.
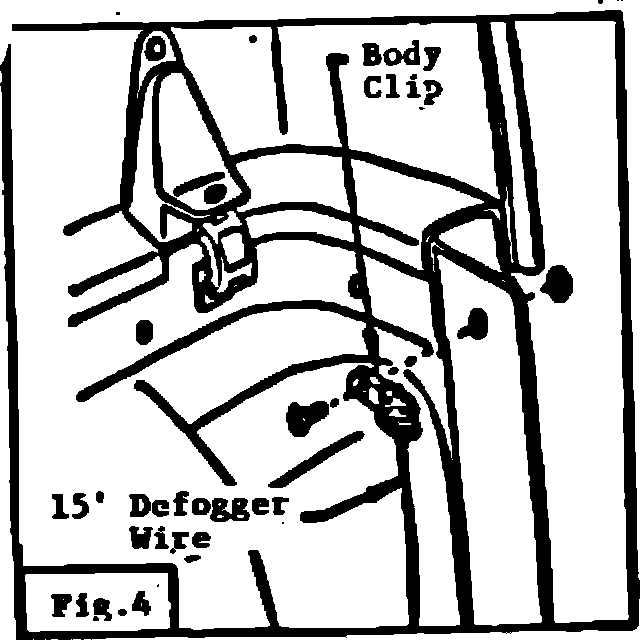
FIGURE 4:
III. ADAPTATION OF DEFOGGER WIRING-TAILGATE
Step-1. Locate the provided body clip extrusion clip
and ground wire.
Step-2. Route the defogger wire through the body clip
and fasten to the vehicle. Refer to Fig. 4.
FIGURE 5:
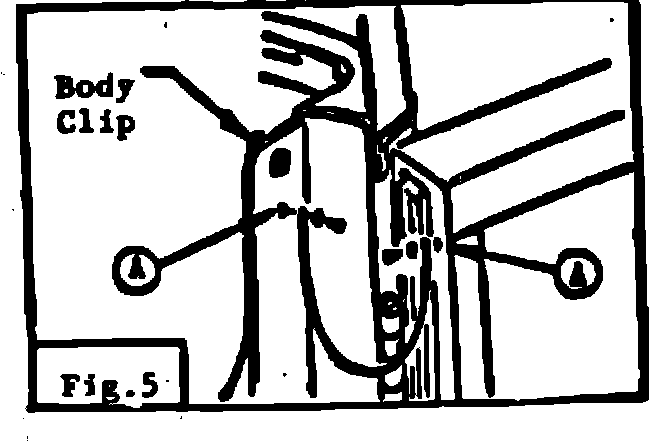
Step-3. Disconnect the tailgate cable at the vehicle
body. Swing tailgate open and drill two 1/8" holes for the ground wire. Refer to Fig. 5.
Step-4. Fasten the ground wire to these new holes with
the provided machine screws.
Step-5. Reconnect the tailgate cable.
FIGURE 6:
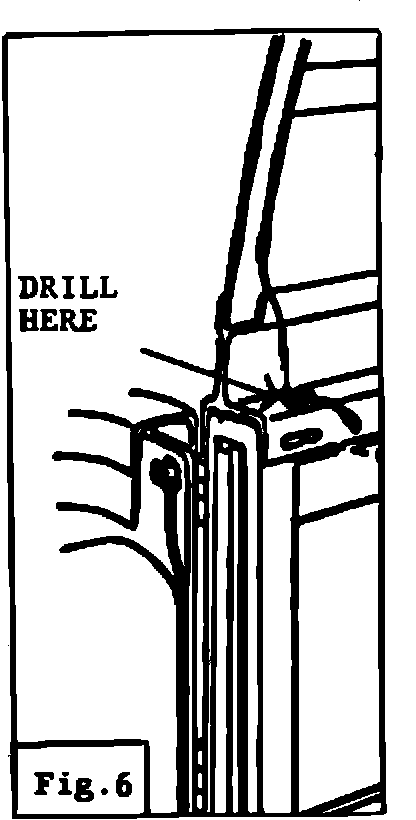
Step-6. When the glass assembly returns from the lass
shop, drill a 1/8" bole in the extrusion ease to mount the extrusion clip. Take care not to damage the baked enamel finish of the extrusion. Refer to Fig. 6.