October 30: LEMON manuals on a temporary server, it is slow and having issues, download the manuals you need! Later in November we will switch back to the fast server.
6MT Model
- Remove the spring pin from the slider.
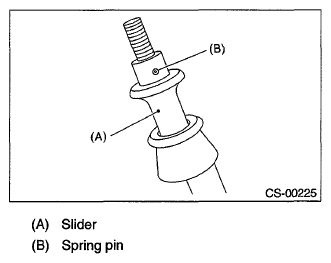 Courtesy of SUBARU OF AMERICA, INC.
- Remove the slider and spring.
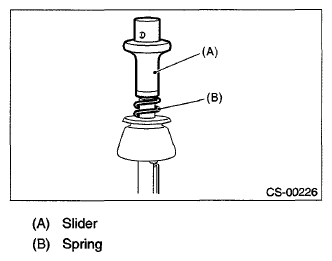 Courtesy of SUBARU OF AMERICA, INC.
- Cut the band clip.
- Remove the reverse check cable from the cable plate.
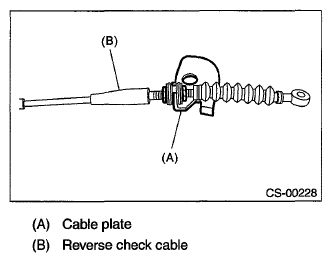 Courtesy of SUBARU OF AMERICA, INC.
- Remove the reverse check cable from the gear shift assembly.
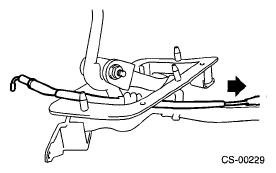 Courtesy of SUBARU OF AMERICA, INC.
- Remove the holder and spring.
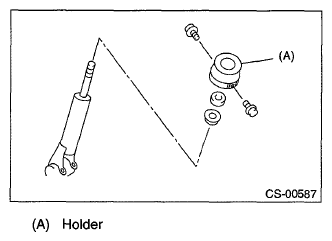 Courtesy of SUBARU OF AMERICA, INC.
- Disassemble the lock wires.
NOTE:
Do not reuse the lock wire.
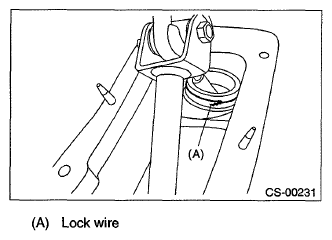 Courtesy of SUBARU OF AMERICA, INC.
- Remove the boss from the rod.
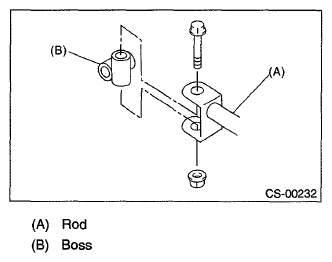 Courtesy of SUBARU OF AMERICA, INC.
- Remove the rod from lever.
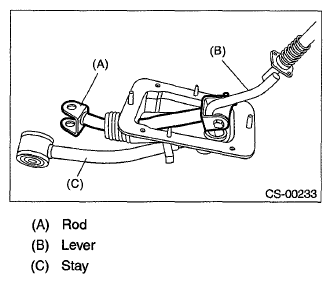 Courtesy of SUBARU OF AMERICA, INC.
- Separate the rod and inner boot.
- Remove the snap ring from the stay.
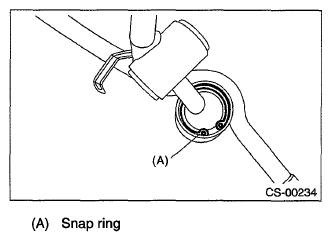 Courtesy of SUBARU OF AMERICA, INC.
- Separate the gear shift lever and the stay.
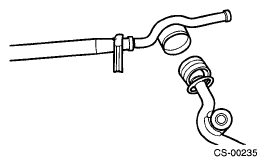 Courtesy of SUBARU OF AMERICA, INC.
- Remove the boot and bushing from gear shift lever.
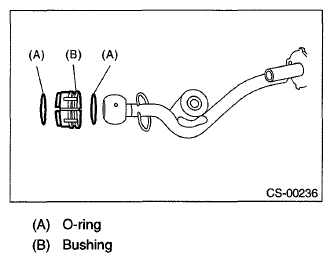 Courtesy of SUBARU OF AMERICA, INC.
- Remove the spring pin, and then remove the bushing and snap ring.
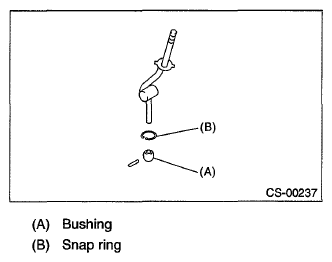 Courtesy of SUBARU OF AMERICA, INC.
- Remove the bushing and spacer from the boss.
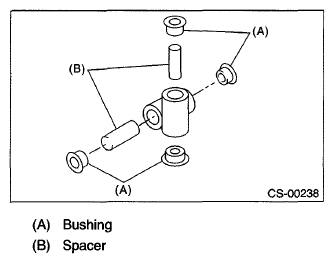 Courtesy of SUBARU OF AMERICA, INC.
- Remove the bushing and cushion rubber from the stay.
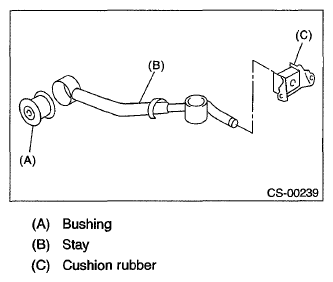 Courtesy of SUBARU OF AMERICA, INC.