September 30: LEMON manuals is back up on a temporary server! Slowness is possible
Removal And Installation: Removal
- Remove battery and bracket.
- Remove air duct and air cleaner assembly, refer to
"REMOVAL
".
- Disconnect terminal cord assembly harness connector and park/neutral position (PNP) switch harness connectors.
- Disconnect harness connectors of mass air flow sensor, intake air temperature sensor, revolution sensor, turbine revolution sensor, vehicle speed sensor and ground cable.
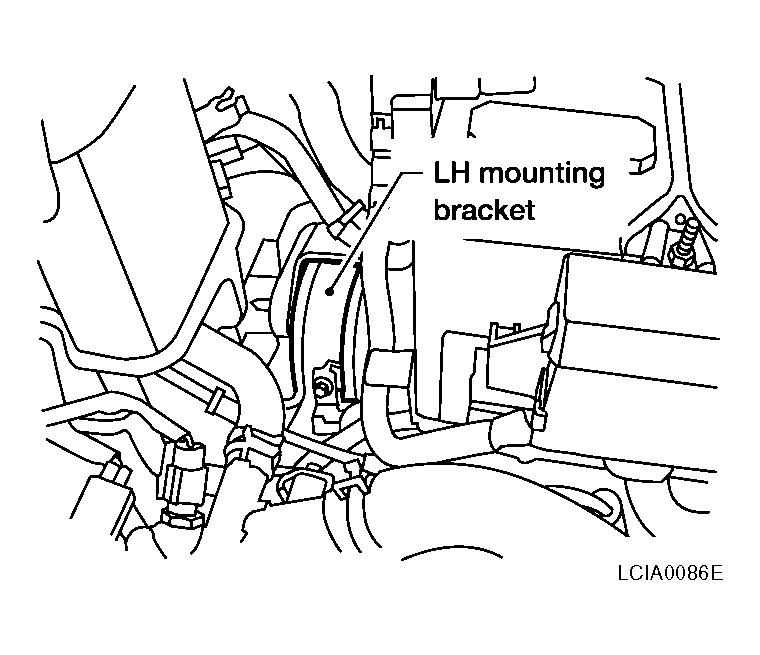
- Remove LH mounting bracket from transaxle and body.
 Courtesy of NISSAN MOTOR CO., U.S.A.
- Disconnect control cable at transaxle side.
- Remove drive shafts, refer to
"REMOVAL
".
- Drain ATF.
- Remove push clips and engine undercover.
- Disconnect fluid cooler piping.
- Disconnect and remove starter motor from transaxle, refer to
"REMOVAL
".
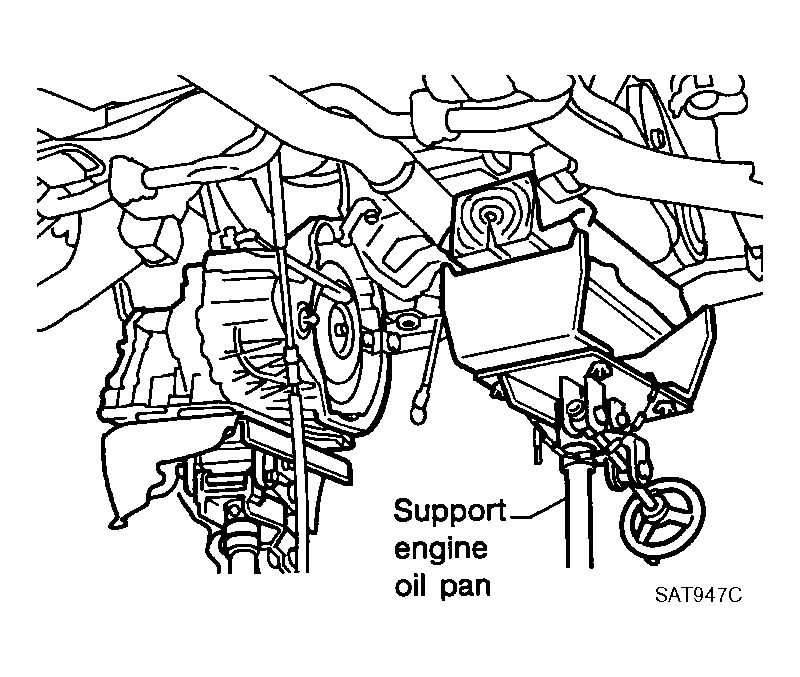
- Support engine by placing a jack under oil pan.
- Do not place jack under oil pan drain plug
.
- Remove center member.
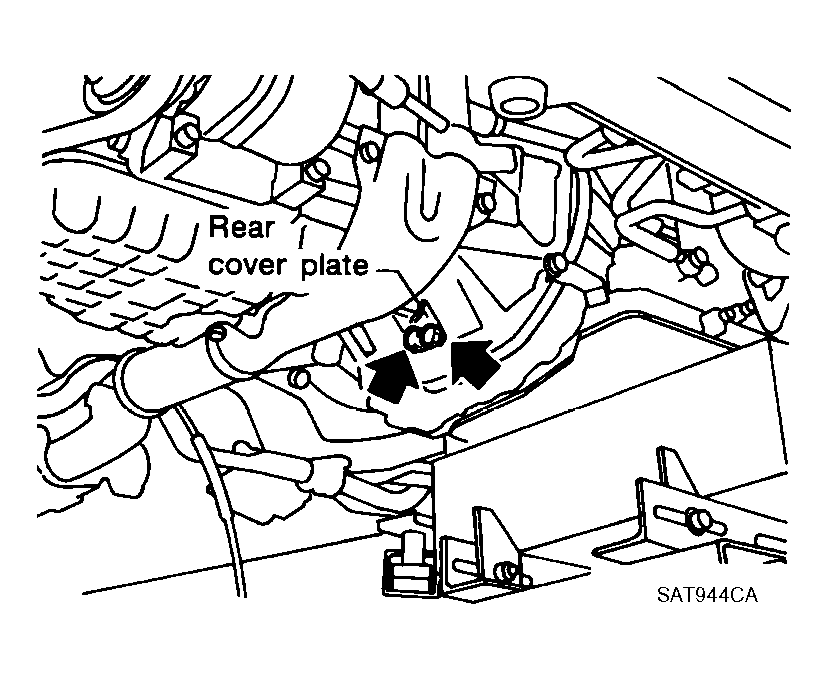
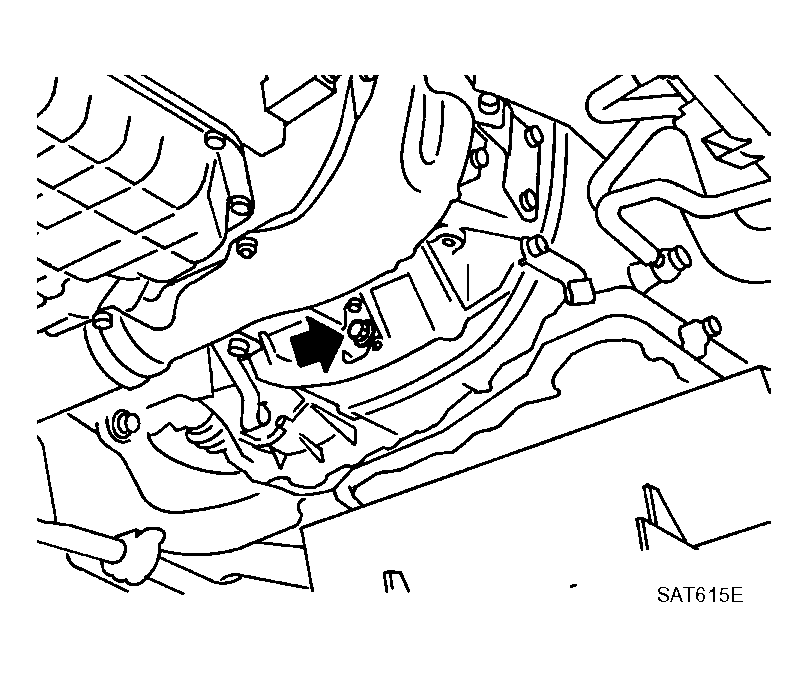
- Remove rear cover plate and bolts securing torque converter to drive plate.
- Rotate crankshaft for access to securing bolts
.
 Courtesy of NISSAN MOTOR CO., U.S.A.
 Courtesy of NISSAN MOTOR CO., U.S.A.
- Support transaxle with a jack.
 Courtesy of NISSAN MOTOR CO., U.S.A.
- Remove bolts fixing A/T to engine.
- Lower transaxle while supporting it with a jack.