Accessory Socket
ACCESSORY SOCKET REMOVAL/INSTALLATIONFront
1. Disconnect the negative battery cable.
2. Remove the following parts.
1. Decoration panel
2. Front console box mat
3. Indicator panel
4. Front console box
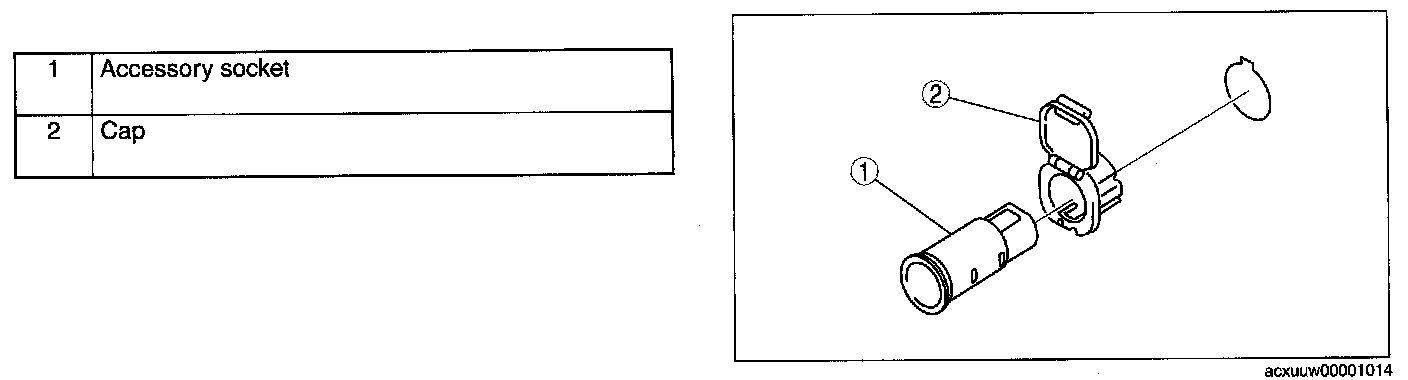
3. Remove in the order indicated in the table.
4. Install in the reverse order of removal.
Center
1. Disconnect the negative battery cable.
2. Remove the console panel.
3. Remove the console.
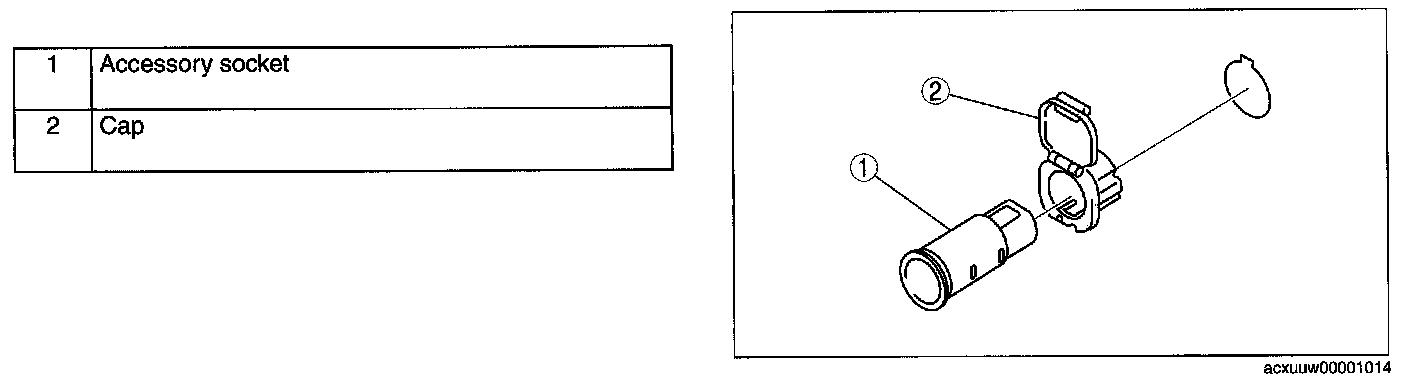
4. Remove in the order indicated in the table.
5. Install in the reverse order of removal.
Rear
1. Disconnect the negative battery cable.
2. Remove the following parts.
1. Trunk box
2. Seat side box
3. Trunk end trim
4. Third-row seat
5. Rear scuff plate inner (RH)
6. Third-row seat belt lower anchor installation bolt (RH)
7. Trunk side trim (Passenger side)
3. Remove the console panel.
4. Remove the console.
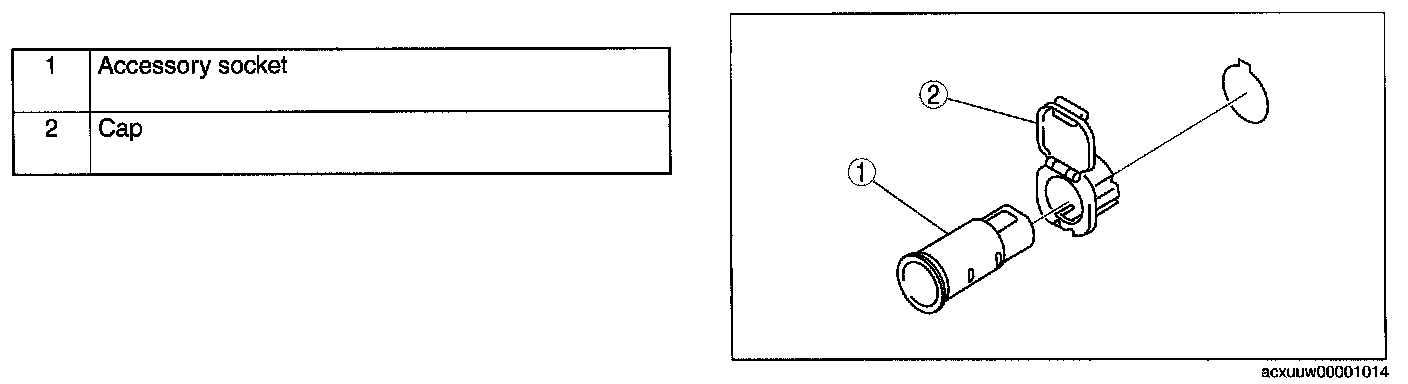
5. Remove in the order indicated in the table.
6. Install in the reverse order of removal.
Accessory Socket Removal Note
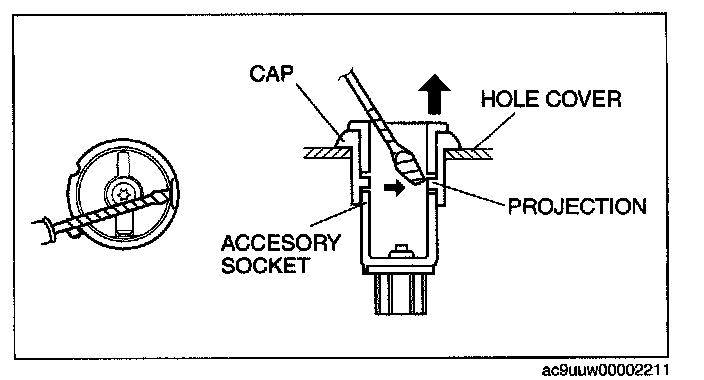
1. While pressing a tape-wrapped flathead screwdriver against the cap projection, pull the accessory socket outward.
Cap Removal Note
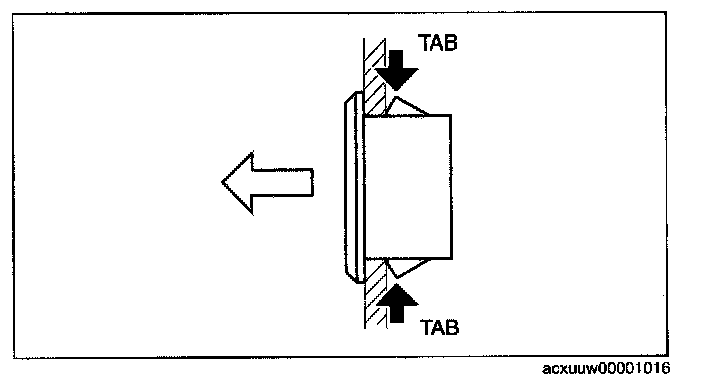
1. While pressing the tabs, pull the cap outwards.